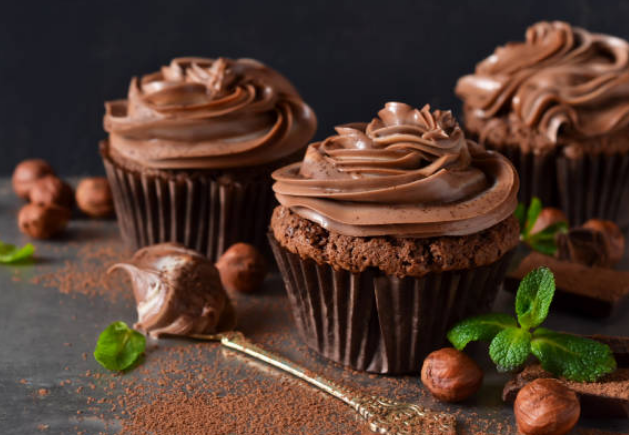
Making chocolate cupcakes from scratch can be easy if you follow these tips.
Bring All Ingredients to Room Temperature When Making Chocolate Cupcakes From Scratch
When you use eggs or milk straight from the fridge, they don’t mix as well with the dry and room temperature ingredients. This can lead to clumps in your batter. A cake might also be dense rather than airy and fluffy due to improper ingredient mixing.
Warm the butter to 70 degrees Fahrenheit while warming the eggs and other liquids to 60 degrees Fahrenheit, according to Rose Beranbaum, the author of The Cake Bible. The temperature of the butter is particularly important: the colder it is, the longer it will take to break it down into a cream consistency, increasing the risk of overmixing your batter. For the greatest results, use excellent, soft butter.
Beranbaum recommends that the finished batter be between 70 and 75 degrees Fahrenheit. You don’t need to use a thermometer every time you create a cake, but you should feel your ingredients and estimate their temperatures. Allow the eggs and butter to remain for a few minutes longer if they are still cool to the touch before baking.

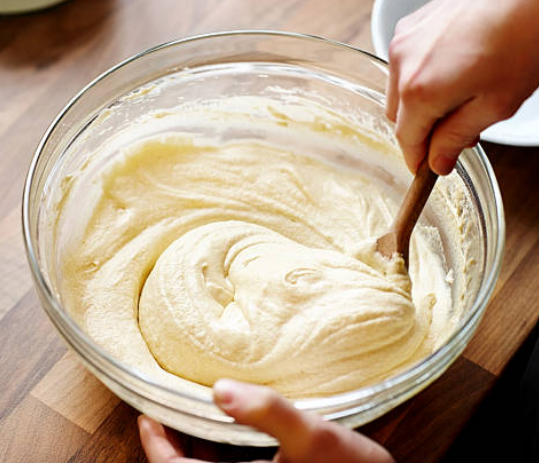 Mix With Caution
Use a light touch when mixing the batter. Creating air bubbles in your batter that expand in the oven is the key to baking fluffy, moist cupcakes. If you over-mix the mixture, the bubbles may burst, resulting in a brick-like cake. To avoid this, always mix on low speed and stop just as all of the components have blended together.
Use a Scoop!!
There’s nothing worse than taking a tray of cupcakes out of the oven and discovering that they are either overcooked or practically raw on the inside. The simplest way to ensure that all of your cupcakes bake at the same time is to ensure that you use the exact same amount of batter in each cupcake liner.
Because cupcakes are so much smaller than cakes, this is especially important – a few tablespoons’ difference between two 8′′ cake pans will not make a significant difference, but if two cupcakes are off by the same amount, the results can be drastically different. The most effective method of ensuring even batter distribution is to use a large cookie scoop”” for standard-sized cupcakes and a small cookie scoop”” for mini cupcakes.
For best results, fill the liners approximately two-thirds of the way.
Don’t Rush When Making Chocolate Cupcakes From Scratch – Cool, Cool, Cool
It’s a recipe for disaster to decorate cupcakes before they’ve completely cooled. The icing is going to melt. I let a batch of cupcakes cool for 10 minutes inside the cupcake pan whenever I need them to cool quickly. Then I take them out of the pan and put them in the freezer for about 20 minutes each. They’re cool and ready to be embellished. Simple and quick.
Frost The Entire Cupcake
Cupcakes that have been left out for an extended period of time will dry out and become unappealing. When you frost cupcakes, the frosting acts as a light seal, allowing the cupcakes to retain their moisture longer after baking.
Remember to use enough frosting to cover the entire exposed top of the cupcake and your cupcakes will retain their moisture for a longer period of time. This is especially useful if you’re baking cupcakes for a display or event where they’ll be left out in the open for an extended period of time without being covered.
After Making Chocolate Cupcakes From Scratch How Do I Store Them?
When it comes to storing frosted cupcakes, it all depends on when you plan to eat them. Examine the following alternatives and select the one that best suits your needs.
If you plan on eating the buttercream frosted cupcakes within one or two days, it’s fine to store them at room temperature. This is actually the greatest spot to keep them since they won’t dry out and the cake and icing will be soft and ready to eat. This option will not work if you use whipped cream frosting because the icing cannot be left out of the fridge. Cupcakes should be kept at room temperature for no longer than two days.
Refrigerate frosted cupcakes:
Once your cupcakes are securely wrapped and sealed, they can be preserved in the refrigerator. Frosted cupcakes can be stored in the refrigerator for up to 4-5 days before becoming hard and dry. Before serving, remove the cupcakes from the fridge, unwrap them, and allow them to come to room temperature for at least an hour. Cold cupcakes with cold frosting aren’t as tasty, but they’ll warm up quickly if you take them out ahead of time!
Freeze frosted cupcakes:
Wrap buttercream frosted cupcakes securely in plastic wrap and keep in the freezer for up to three months. That’s correct! Frosted cupcakes can be stored in the freezer for up to three months if properly sealed. Make sure to remove them from the freezer ahead of time and allow them to come to room temperature before serving. It should take about 2-3 hours for them to thaw completely.
It is not advisable to freeze cupcakes that have been frosted with whipped cream frosting. Whipped cream frosting does not defrost well (nor does any cream-based product), and it will crumble when thawed. If you want to refrigerate whipped cream cupcakes or ice them the day of your event, keep them in the fridge.
How Do I Transport my Cupcakes?
Whether you’ve offered to bring cupcakes to a dinner party for dessert or baked a dozen or two for a birthday party, you’ll need a safe and secure way to transport those adorable tiny individual cakes.
But you don’t want to risk losing or destroying any of your cupcakes! How can you transport cupcakes so that they arrive in the same condition as when you first made them?
Here are some tips:
Use a roasting pan instead of the original baking pan – Place the cleaned cupcake pan in a roasting pan (disposable or not) deep enough to completely contain the iced cakes’ tops. Return your cupcakes to the tin’s cups after they’ve cooled and ice them. After that, cover the pan with foil and you’re good to go.
A resealable, shallow container – If your cakes aren’t heavily iced, stack them in a large, shallow plastic container until they’re just touching. As you travel, make careful to keep the container horizontal.
Shelving liner with anti-slip properties – Layer non-skid shelving liner (or even a silpat mat) in your resealable container or shallow boxes (such as sheet cake boxes) that are deep enough to hold the iced cakes to keep them from moving about. Place the cupcakes close together but not touching; the liner will hold them in place.
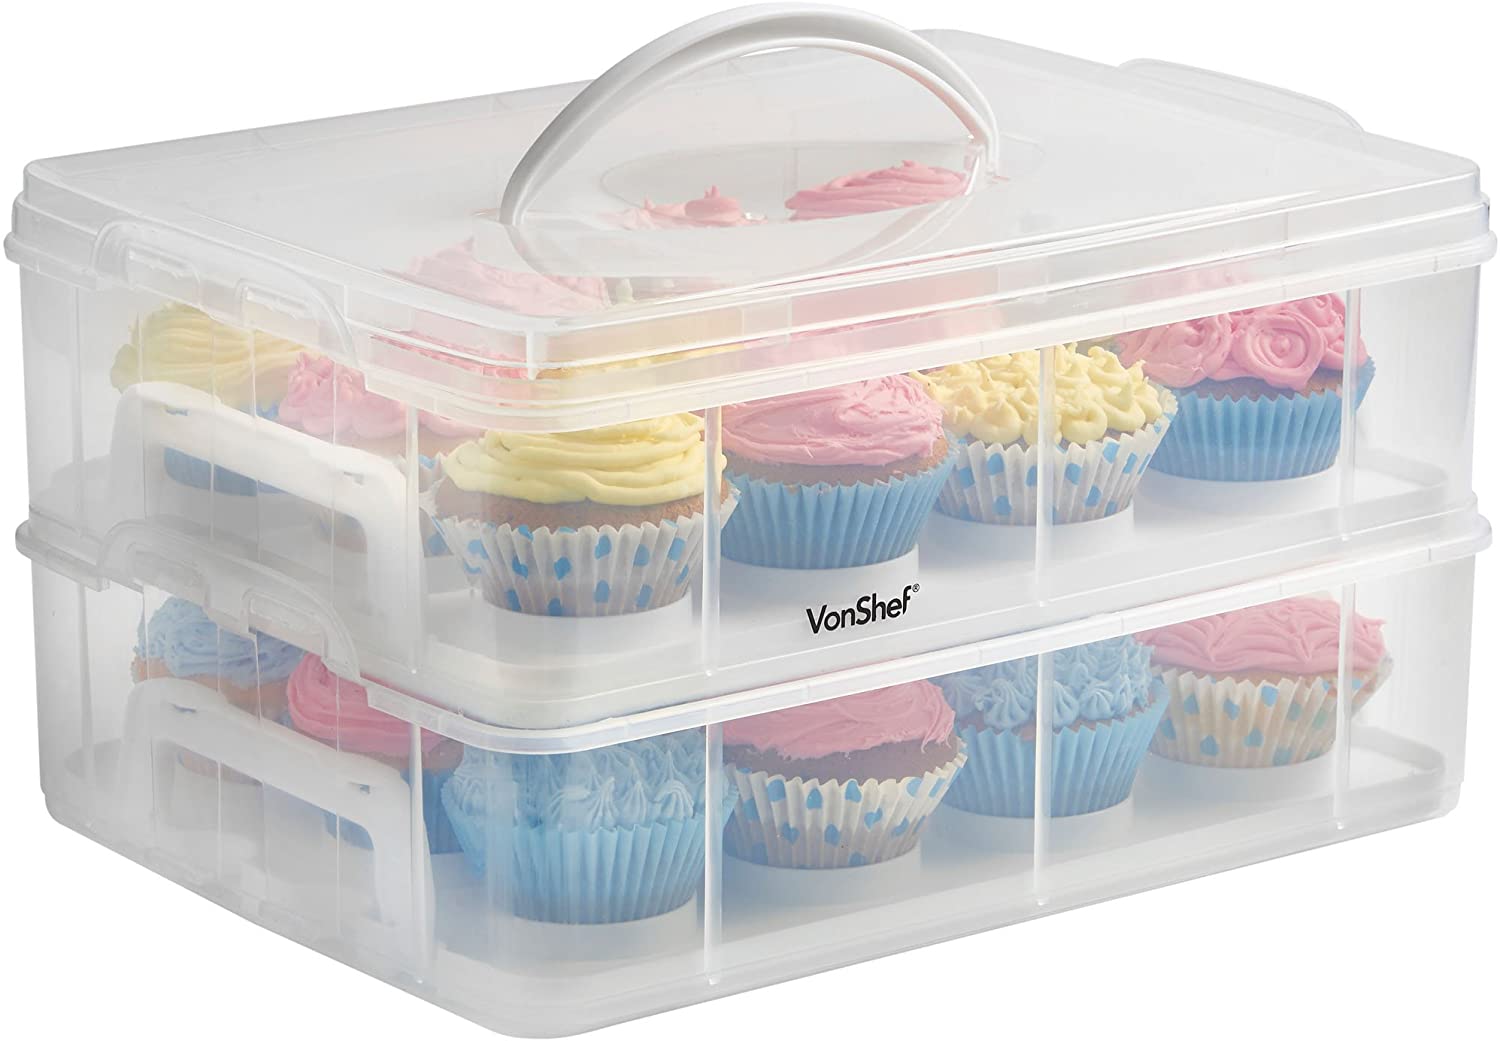 A cupcake carrier – If you love cupcakes and have some extra room in your home, a cupcake carrier might be worth investing in. Many of them are stacked, allowing you to tailor them to the number of cupcakes you’ll be transporting.
Another classic you might want to try for your next event is a hummingbird cake.
[content-egg-block template=offers_list]