I’m going to kick things off with a little science behind the creaming method. This isn’t just about mixing butter and sugar; it’s also about creating a foundation for your baked goods. The creaming method is a critical step where the sugar is beaten into the butter until the mix is light and fluffy. It sounds deceptively simple, but the success of many baked treats hinges on this process.
Why is creaming so important, you ask? Well, it’s all about the texture and volume. During creaming, sugar crystals cut into the butter, creating tiny air pockets. These pockets catch the gases released by your leavening agent during baking, causing the batter to rise and giving you that desirable tender crumb.
You’re also going to find out about the role of sugar in the creaming process. It’s a natural preservative and contributes to browning and flavor, but here, it’s crucial for aeration. Without the proper creaming of butter and sugar, your cakes might end up dense or heavy, far from the light and moist texture you’re aiming for.

Now, moving into the thick of things, we’ll be venturing into the detailed how-to of achieving that perfect creamed mixture. I’m here to help you with a comprehensive step-by-step guide, complete with the dos and don’ts. Buckle up, because next, we’re going to dive into the specifics of selecting your ingredients, timing, and technique to get the creaming just right.
Step-by-Step Guide to Creaming Butter and Sugar
Creaming butter and sugar is a pivotal step in baking that sets the stage for the final product’s texture and taste. Let’s kick things off by selecting the right type of butter. Temperature is paramount; ideally, your butter should be at room temperature. This means it should hold its shape but yield slightly when pressed. If it’s too hard or too melty, you won’t get that perfect consistency.
Now for the sugar: consistency is equally critical here. You’re going to find out about granulated sugar being the go-to for creaming, as its crystal size is just right for incorporating air into the butter. Be sure to measure it carefully; precision is non-negotiable in baking!
When it comes to the sequence, start by beating the butter alone until it’s smooth and creamy. Then, gradually add sugar to avoid overwhelming the mixture. If you dump it all at once, you’re going to lose that vital airiness we’re aiming for.
You can always adjust your approach down the road, but for creaming, the tools at hand can make or break your success. A stand mixer is most bakers’ tool of choice due to its consistency and power. However, a hand mixer can also do the job; just ensure you’re comfortable with its handling for the duration of the process.
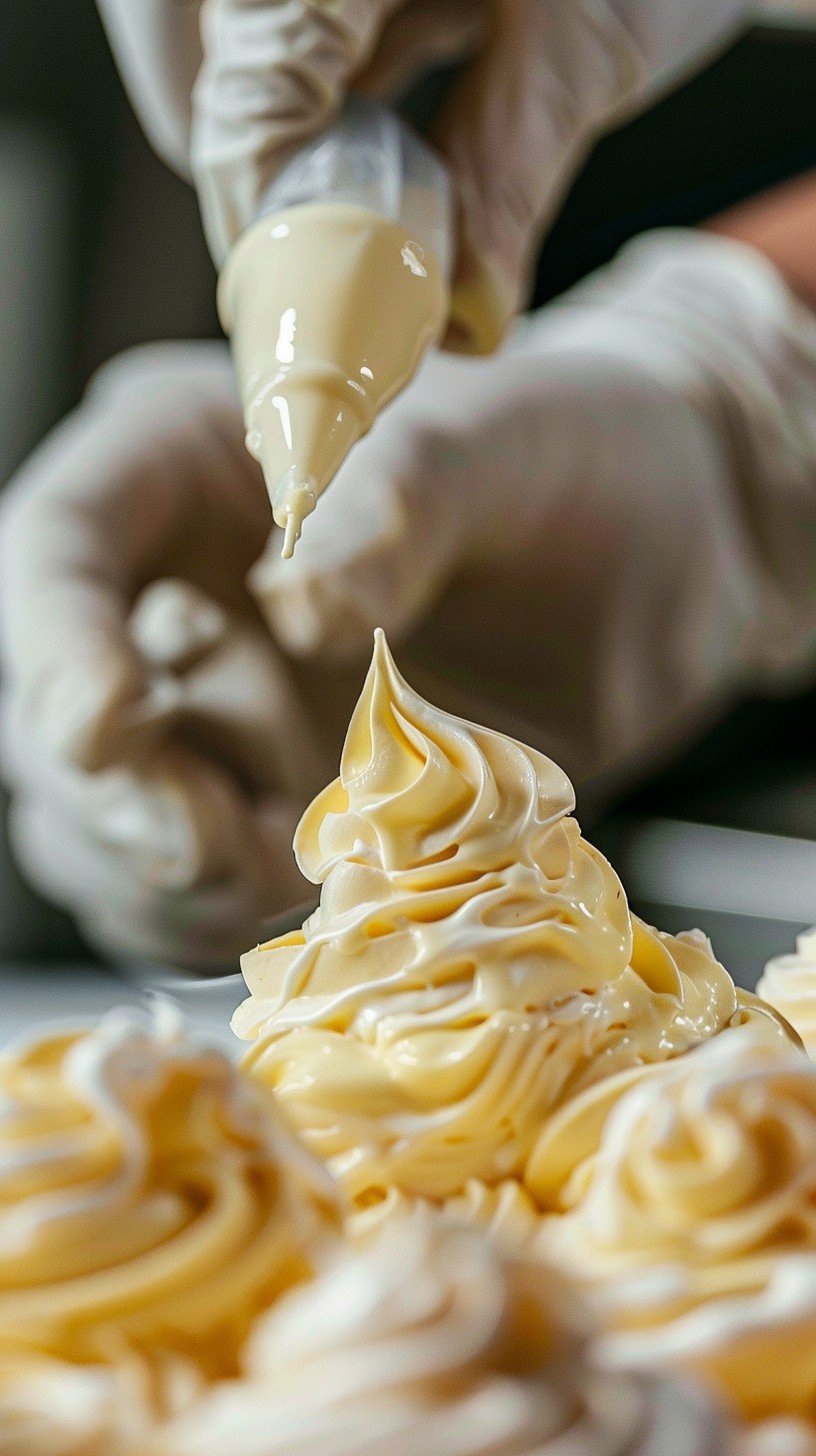
So what should you be looking for? As you beat the butter and sugar, you’ll notice the color lightening and the mixture increasingly growing in volume. This visual cue signifies that air is being trapped inside, creating a fluffy base that’s going to make your baked goods oh-so-delicious.
Just don’t focus too much on perfection when you’re starting out. There’s going to be a learning curve. Watch out for common pitfalls, like creaming at too high a speed, which can overheat the butter, or not creaming long enough, leading to a dense, flat cake.
Once you’ve mastered this step, you’re well on your way to creating baked masterpieces. In the next section, I’m here to help you with advanced tips and how to troubleshoot common creaming issues, so hang tight!
Advanced Tips and Troubleshooting
I’m going to help you polish your creaming technique with a few advanced tips that can make a notable difference in your baking.
Even seasoned bakers run into issues with creaming butter and sugar. If you find your mixture looking over-creamed—greasy and too soft—chances are, it’s been mixed for too long. Alternatively, under-creamed butter won’t trap enough air, resulting in dense cakes. To fix over-creaming, chill the mixture for a bit before proceeding. If under-creamed, just keep mixing a little longer, checking frequently.
In my opinion, the key to maintaining consistent quality is practice and attention to detail. Make sure you’re creaming at medium speed and stopping once you’ve achieved that pale, fluffy texture.
For those with dietary restrictions or preferences, such as vegan baking, the creaming process doesn’t have to be a roadblock. Use vegan butter and make sure it’s at the optimal creaming temperature, just as you would with dairy butter.
Remember, you can always adjust your approach down the road as you become more familiar with how various ingredients behave during creaming. Choose something that resonates with you, whether it’s adjusting the sugar amount slightly or experimenting with different types of fat to find what works best for the items you love to bake.
I really hope that these tips and tricks enhance your baking projects and elevate the quality of your delightful sweets. Now, don your apron, preheat that oven, and put these approaches to the test. Happy baking!