
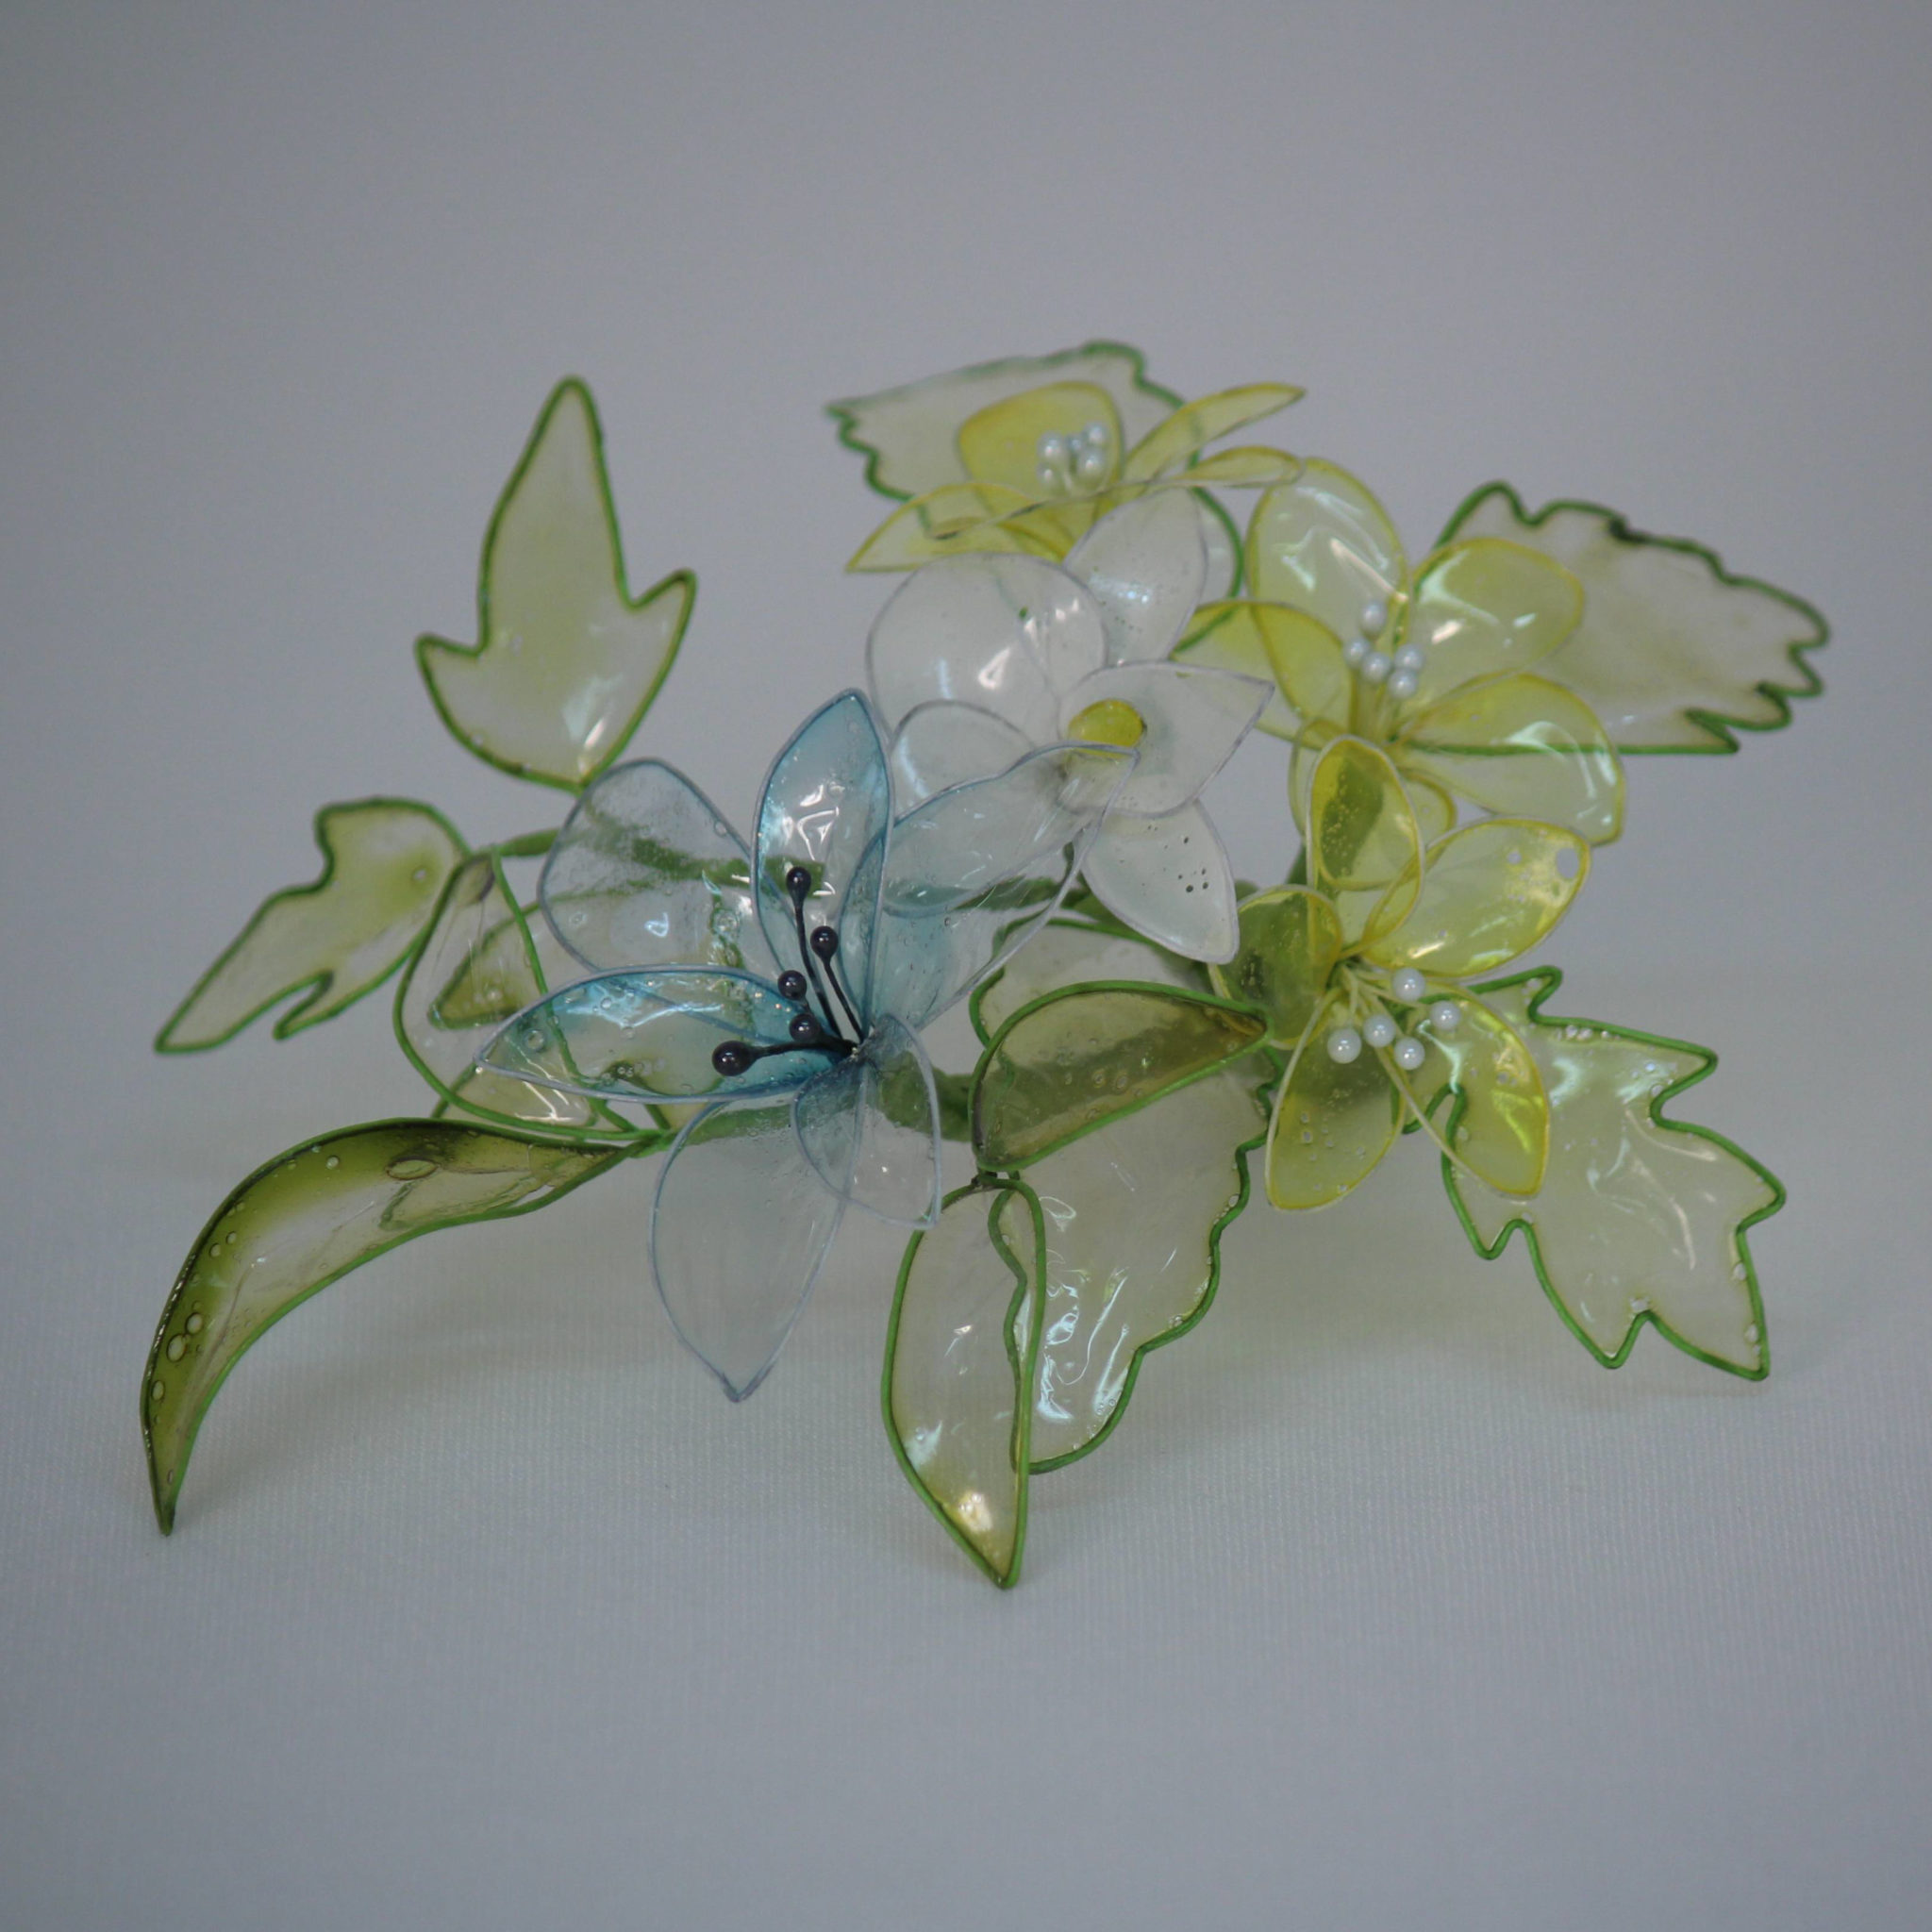
A Walk Through Time With Gelatin!
By Diane Simmons
Known for their translucent beauty and durability, gelatin flowers have been a part of cake decorating for several decades, found in books as far back as the 1960’s. Oh how things have changed over the years though, take a walk through time as Diane shares methods with you from old school to modern school and beyond.
Prepping the Gelatin:
Gelatin Mixture
1 Tbsp unflavored gelatin (Knox, etc.- Not Jello)
2 ½ Tbsp water
Food colors (airbrush colors dissolve better)
*To alter the recipe, simply maintain the ratio of 2 ½ parts water to 1 part gelatin
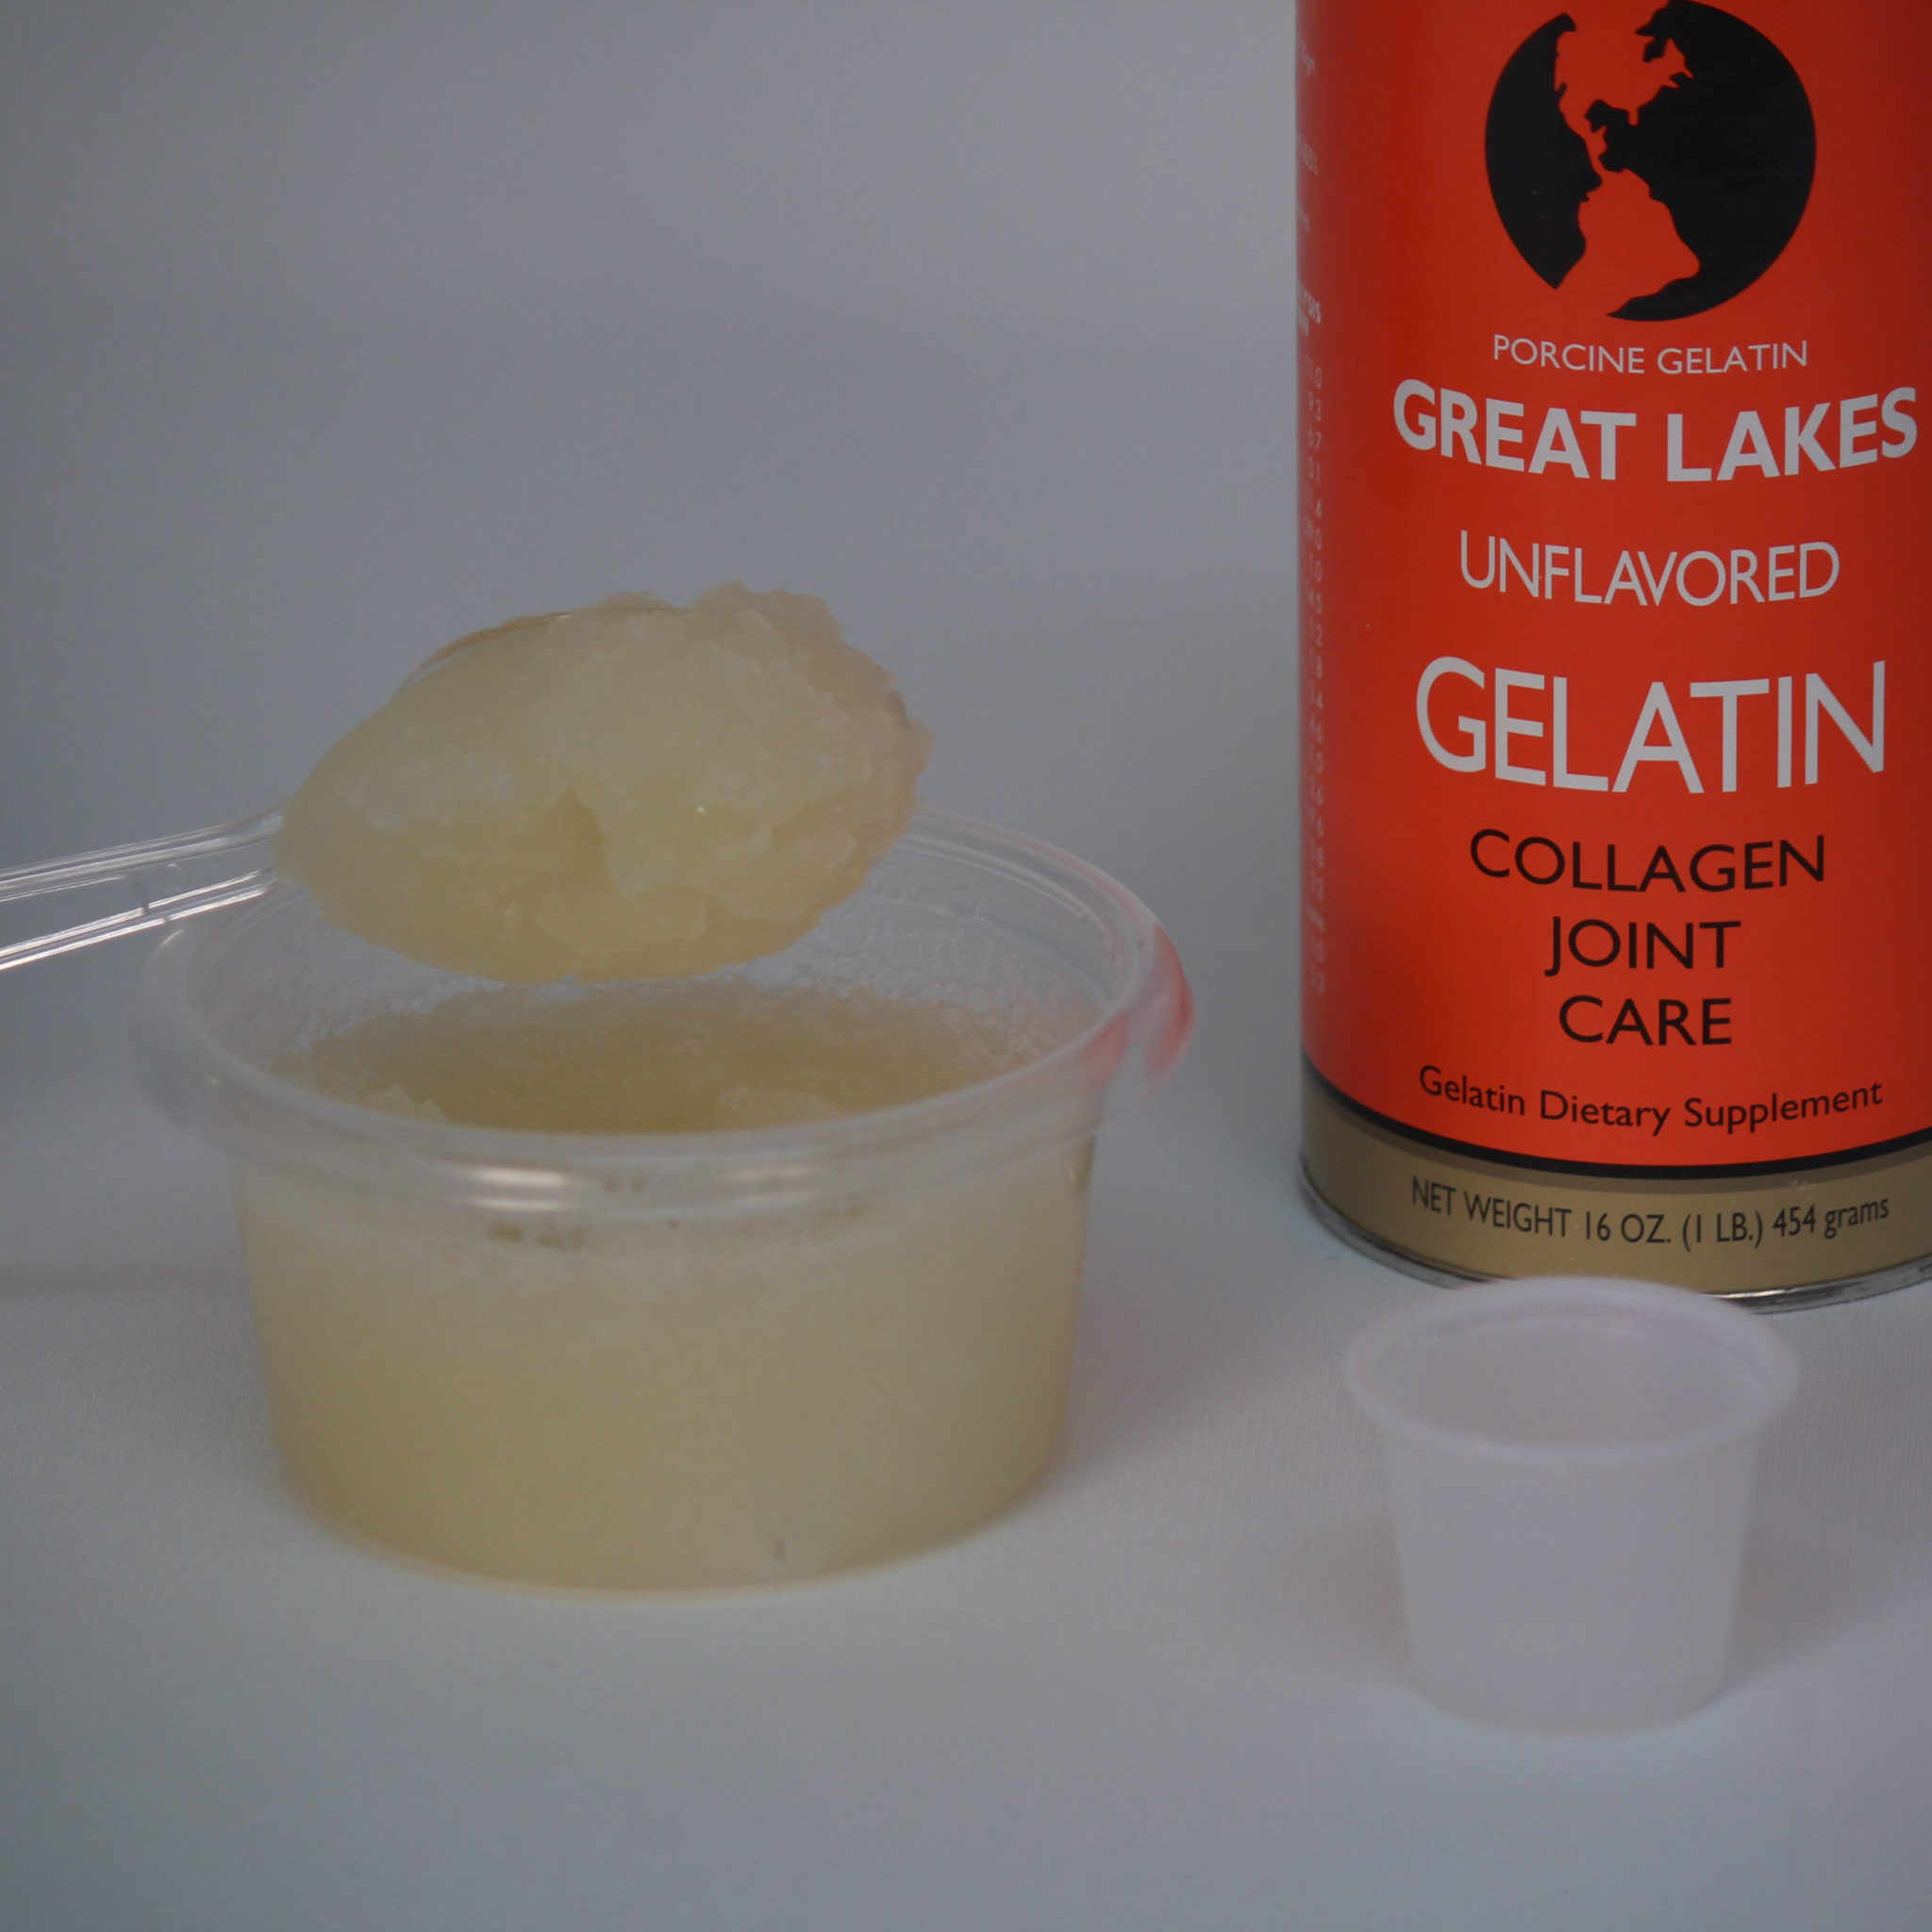 Step 1:
-Place gelatin in a microwave safe bowl
-Sprinkle gelatin over top and stir together
-Let sit for 3-5 minutes (will be very thick)
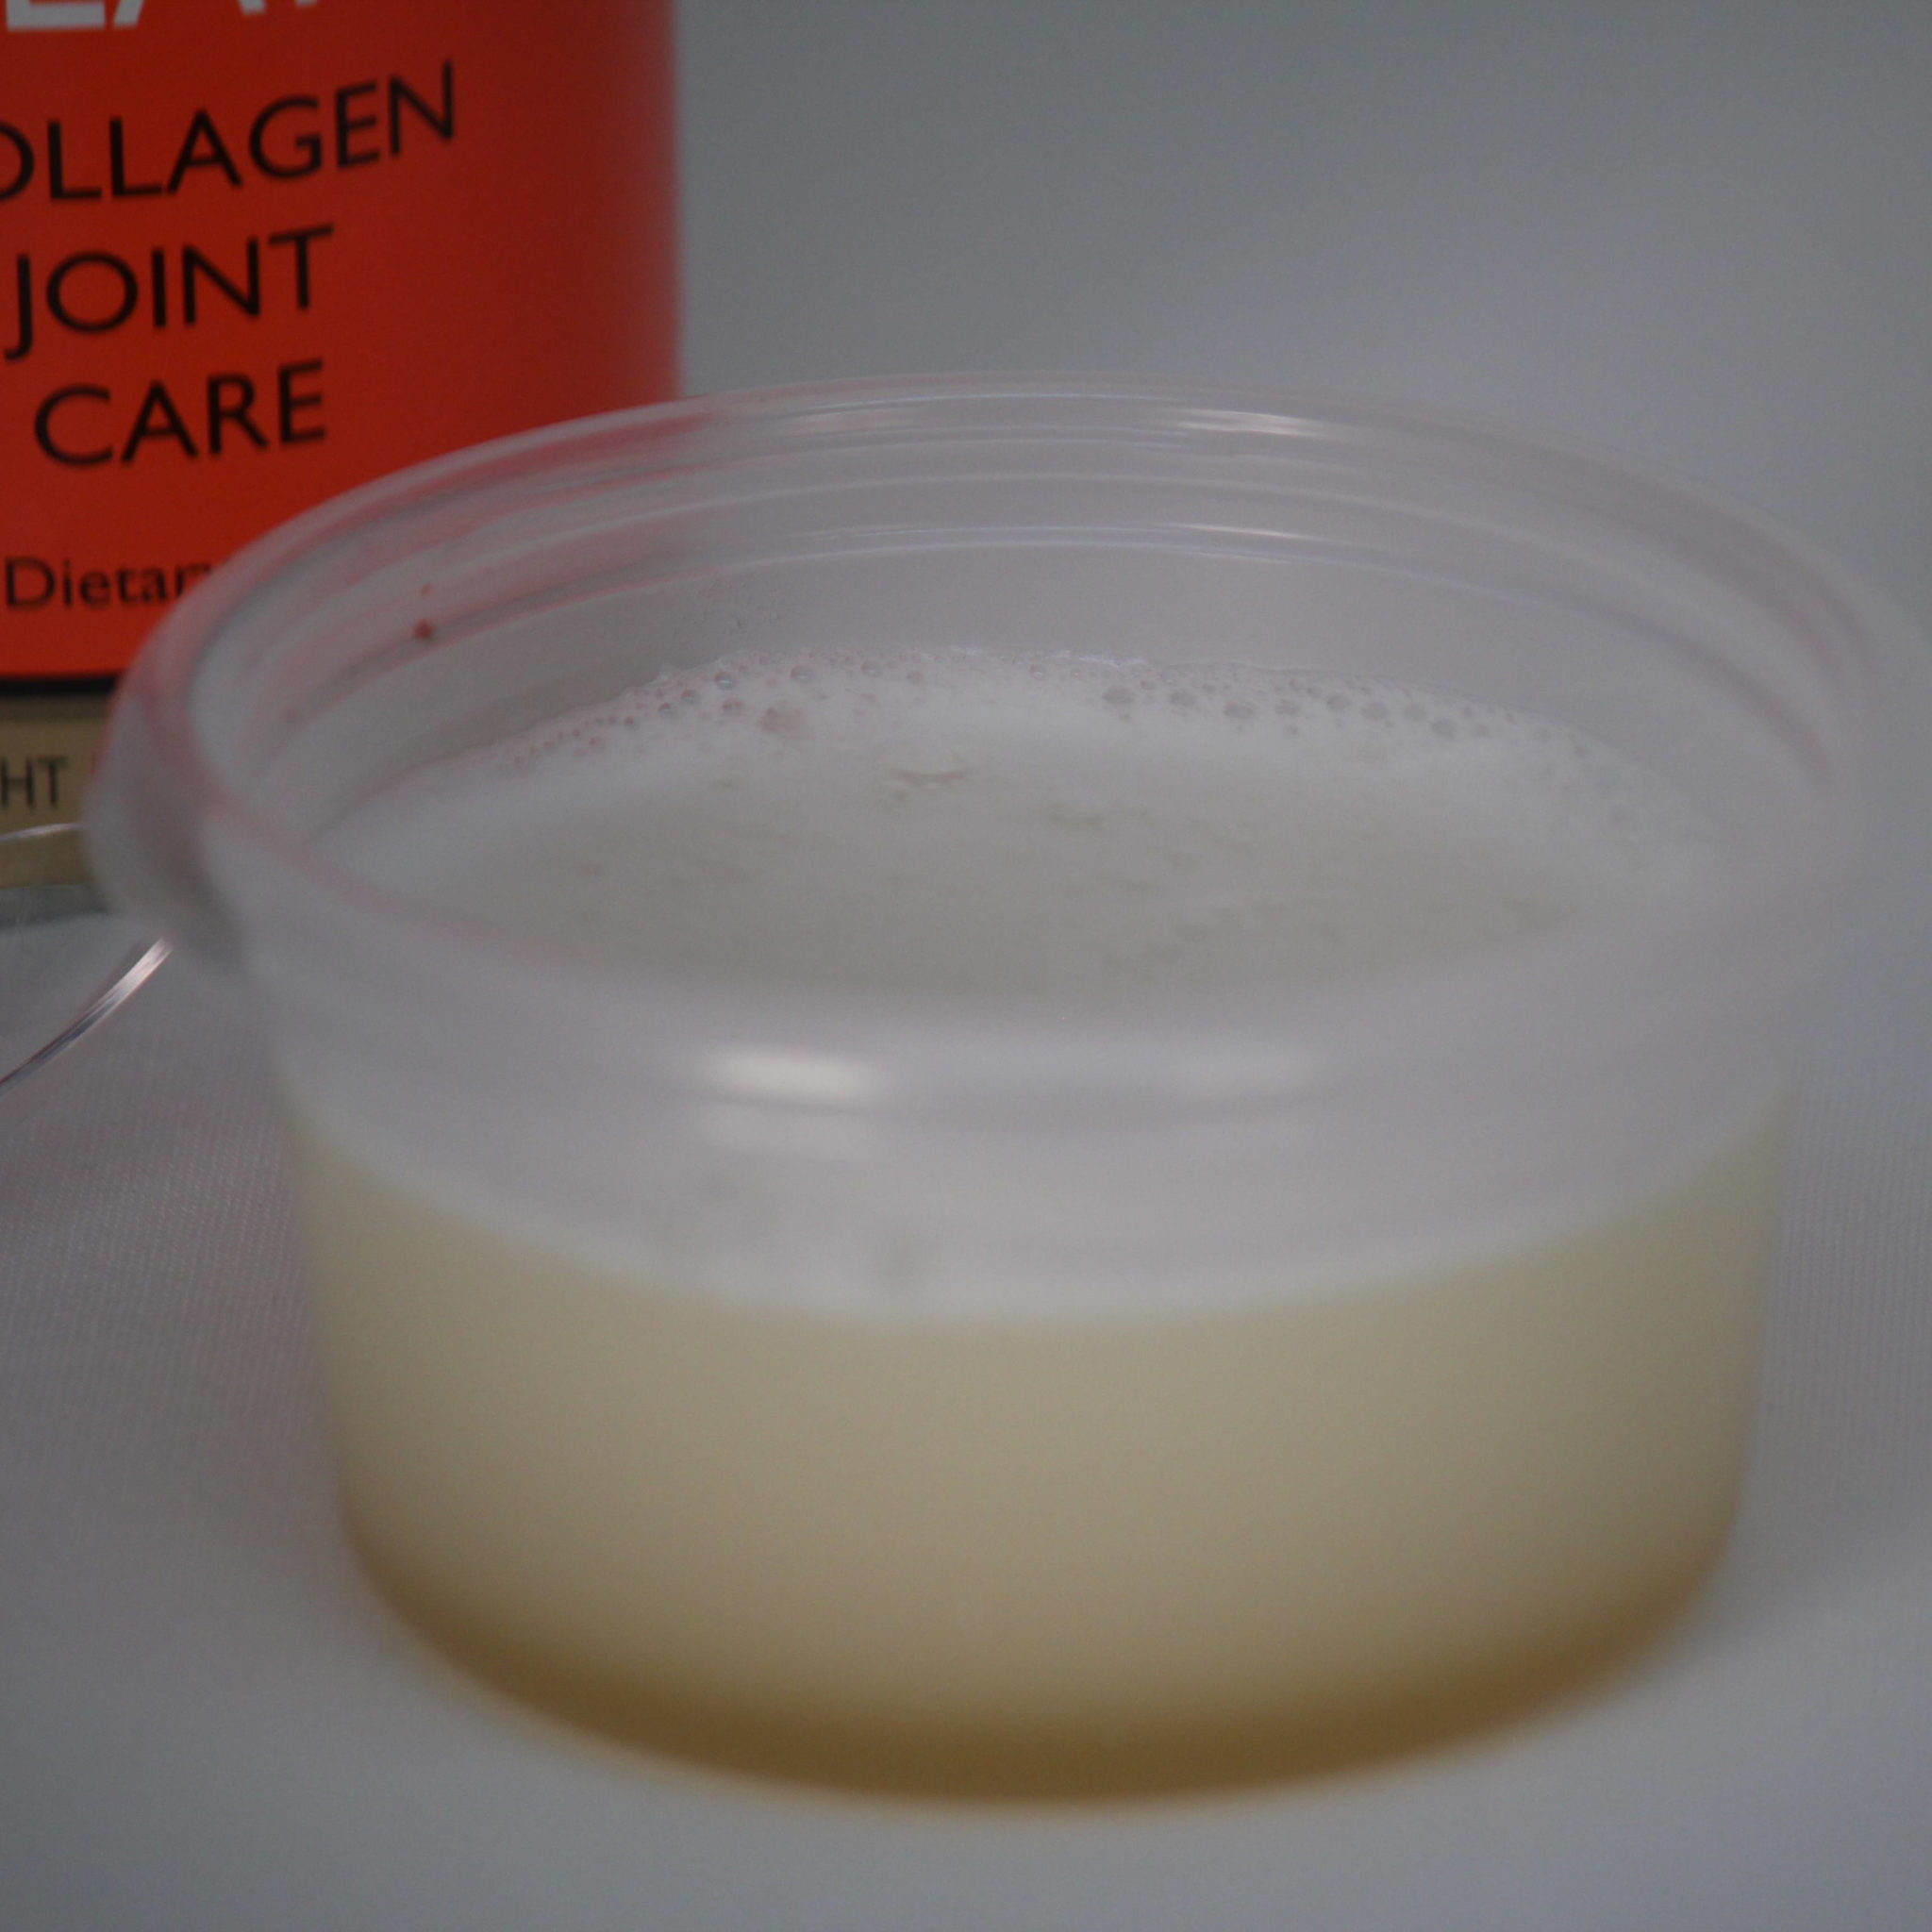 Step 2:
-Place in microwave for 10 sec intervals, stirring until all gelatin is dissolved

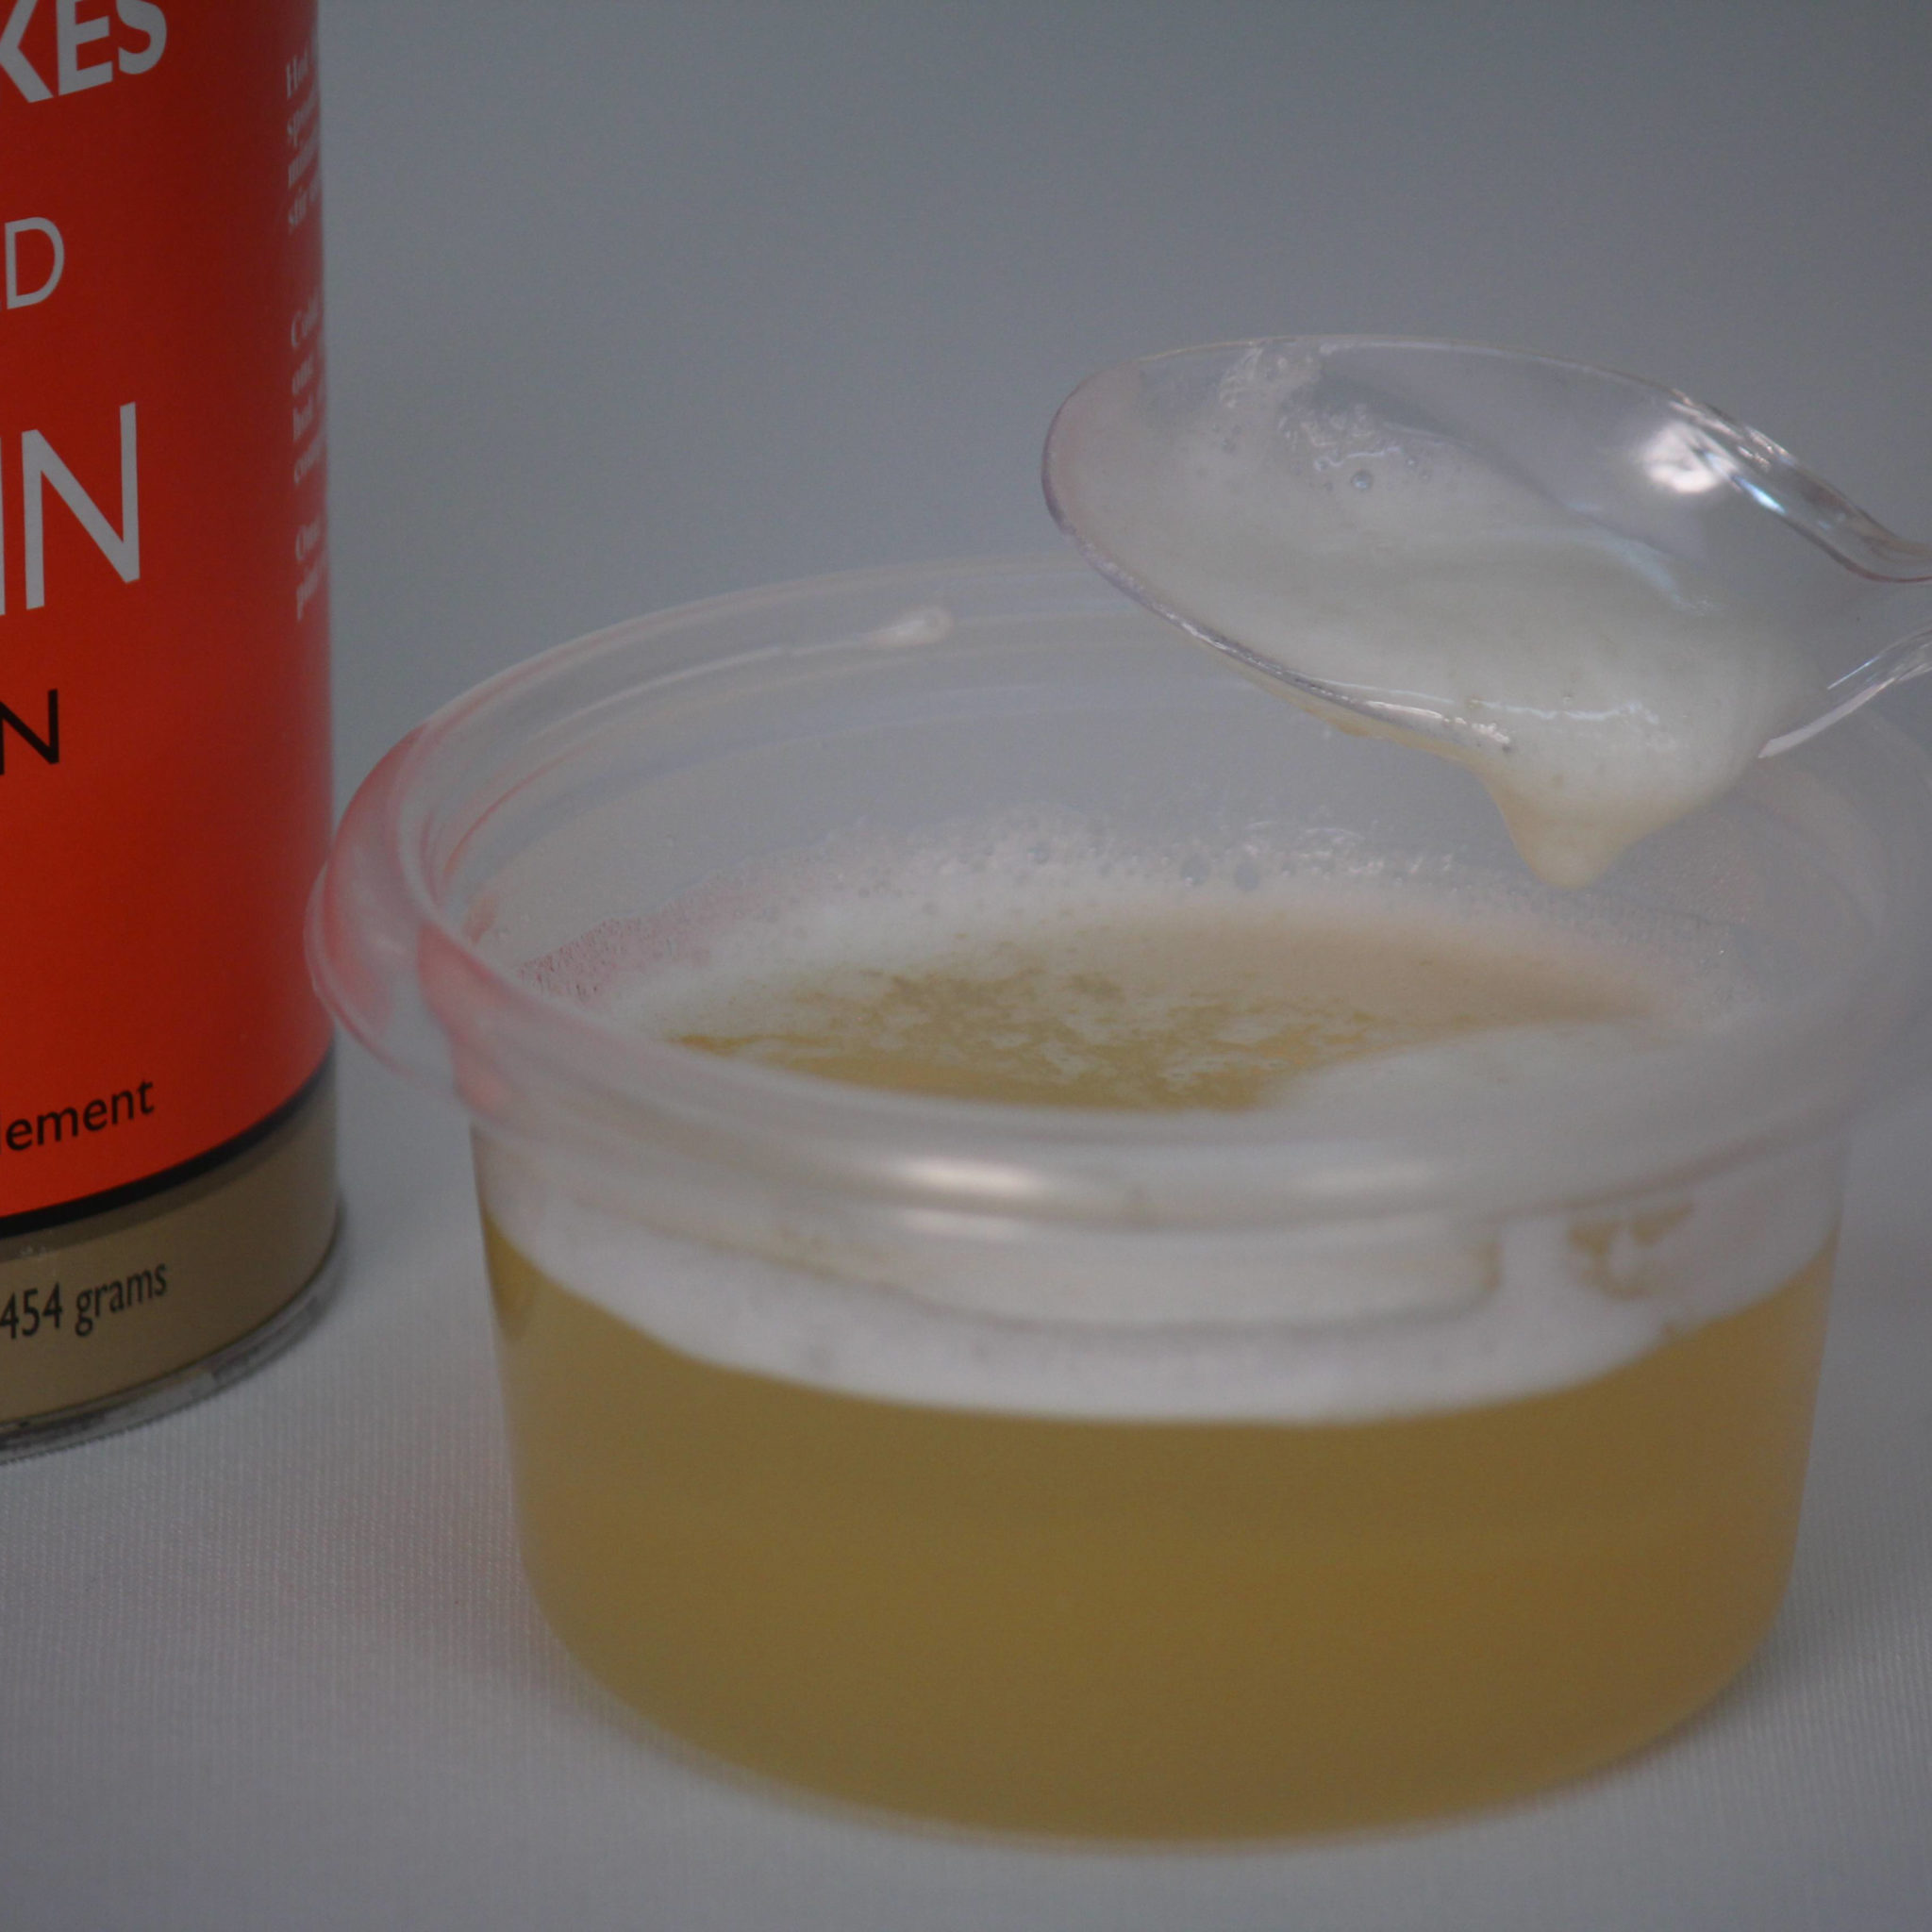
Step 3:
-Allow to sit for 5-10 minutes for the foam to rise to the top
-Gently scoop this away with a spoon
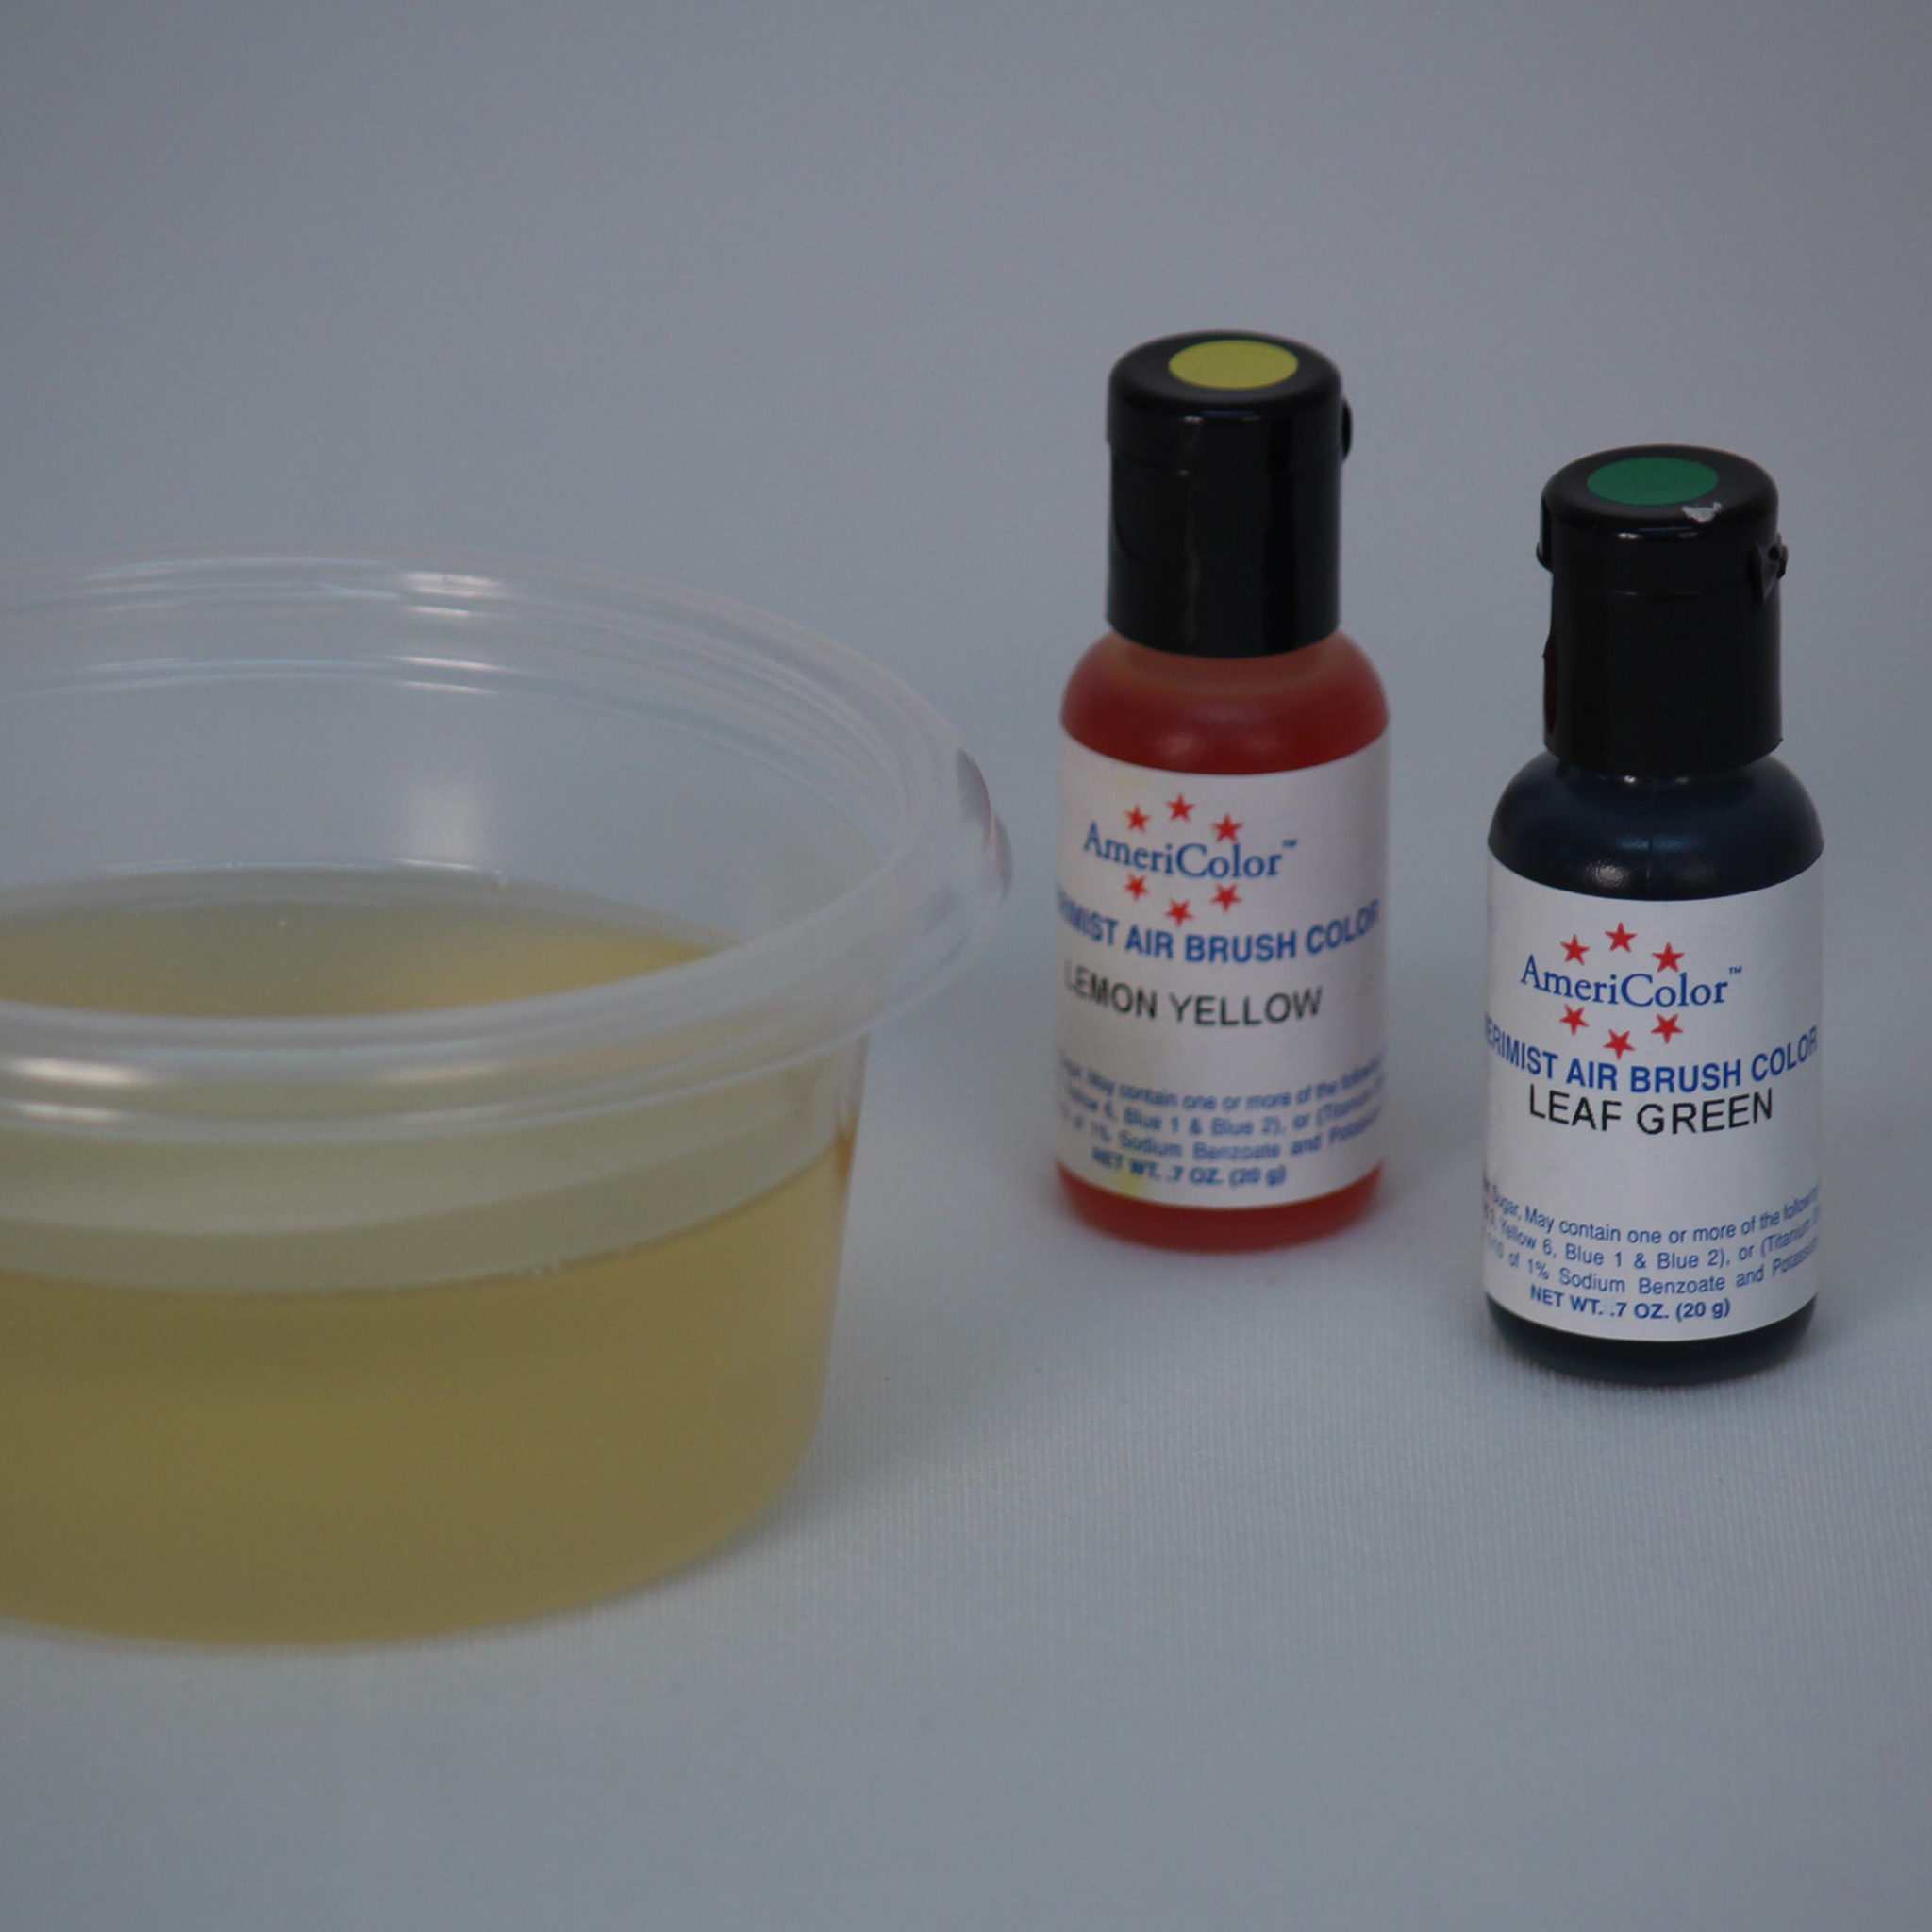
Step 4: Gelatin is now clarified (clear) and ready to add desired food color.
Tips:
-Airbrush color works best if you have it as it is already liquid
-Gelatin can be rewarmed as needed (do this in 5-10 sec intervals)
-You want the gelatin to be the consistency of nail polish when using (if too warm it will be much thinner, if too cool it will be very thick and gooey)
-Leftover gelatin can be saved and reused, just make sure it always gets fully warmed to a liquid state every 24 hrs whether you are using it that day or not (to prevent mold)
-Yellow food color tends to cause excess air bubbles, just scoop off the excess bubbles as you did when first clarifying
-Once dried, gelatin art pieces are good indefinitely
 Back In The Days
When kids had to walk to school three miles through three feet of snow uphill both directions (as we’ve all heard), gelatin flowers used to be created with wire frame and dipping method as shown here.
When working with gelatin, it is best to use paper covered 28 or 30 gauge wire. (Cloth covered wire will come unraveled)

Option A:
-Wrap 28 gauge wire around a wooden dowel or other round object
-Twist ends together
-Add a point if desired with tweezers or other tool of choice
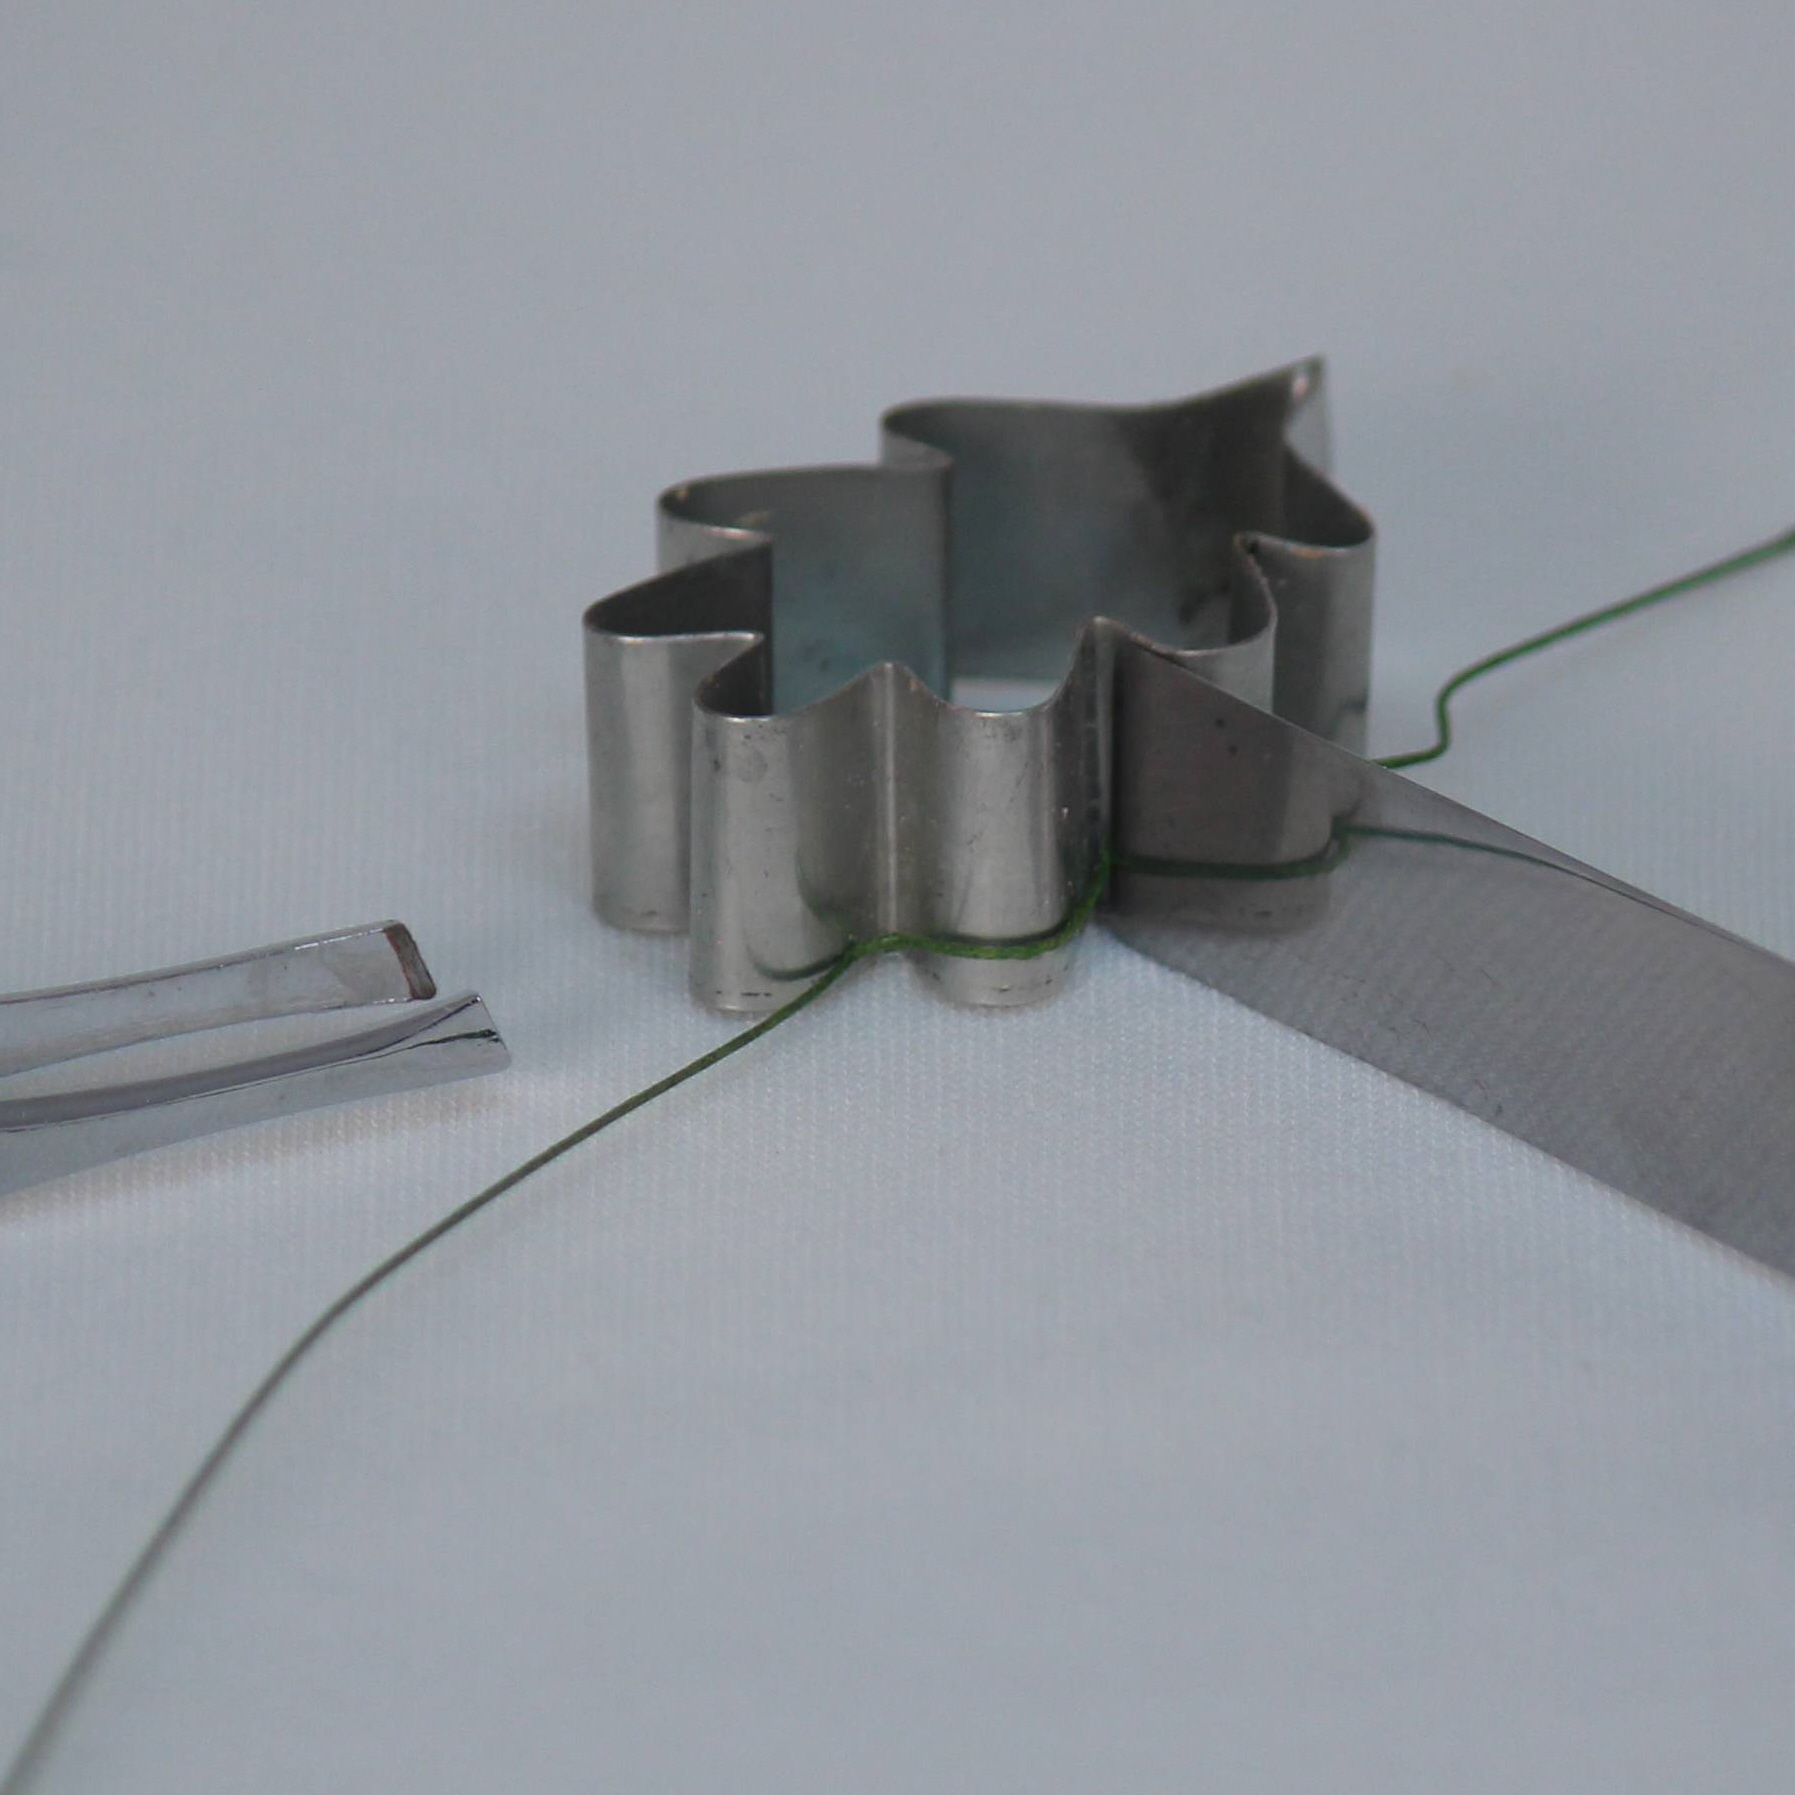
Option B, Step 1:
-Use a gumpaste cutter as a guide to form your shape
-For indent areas, use a flat ended palette knife to hold wire in place, and then work into next indent with a pair of tweezers

Option B, Step 2:
-Continue to work your way around the petal, holding the latest indented area in place as you work wire into the next area
-Twist ends together when complete
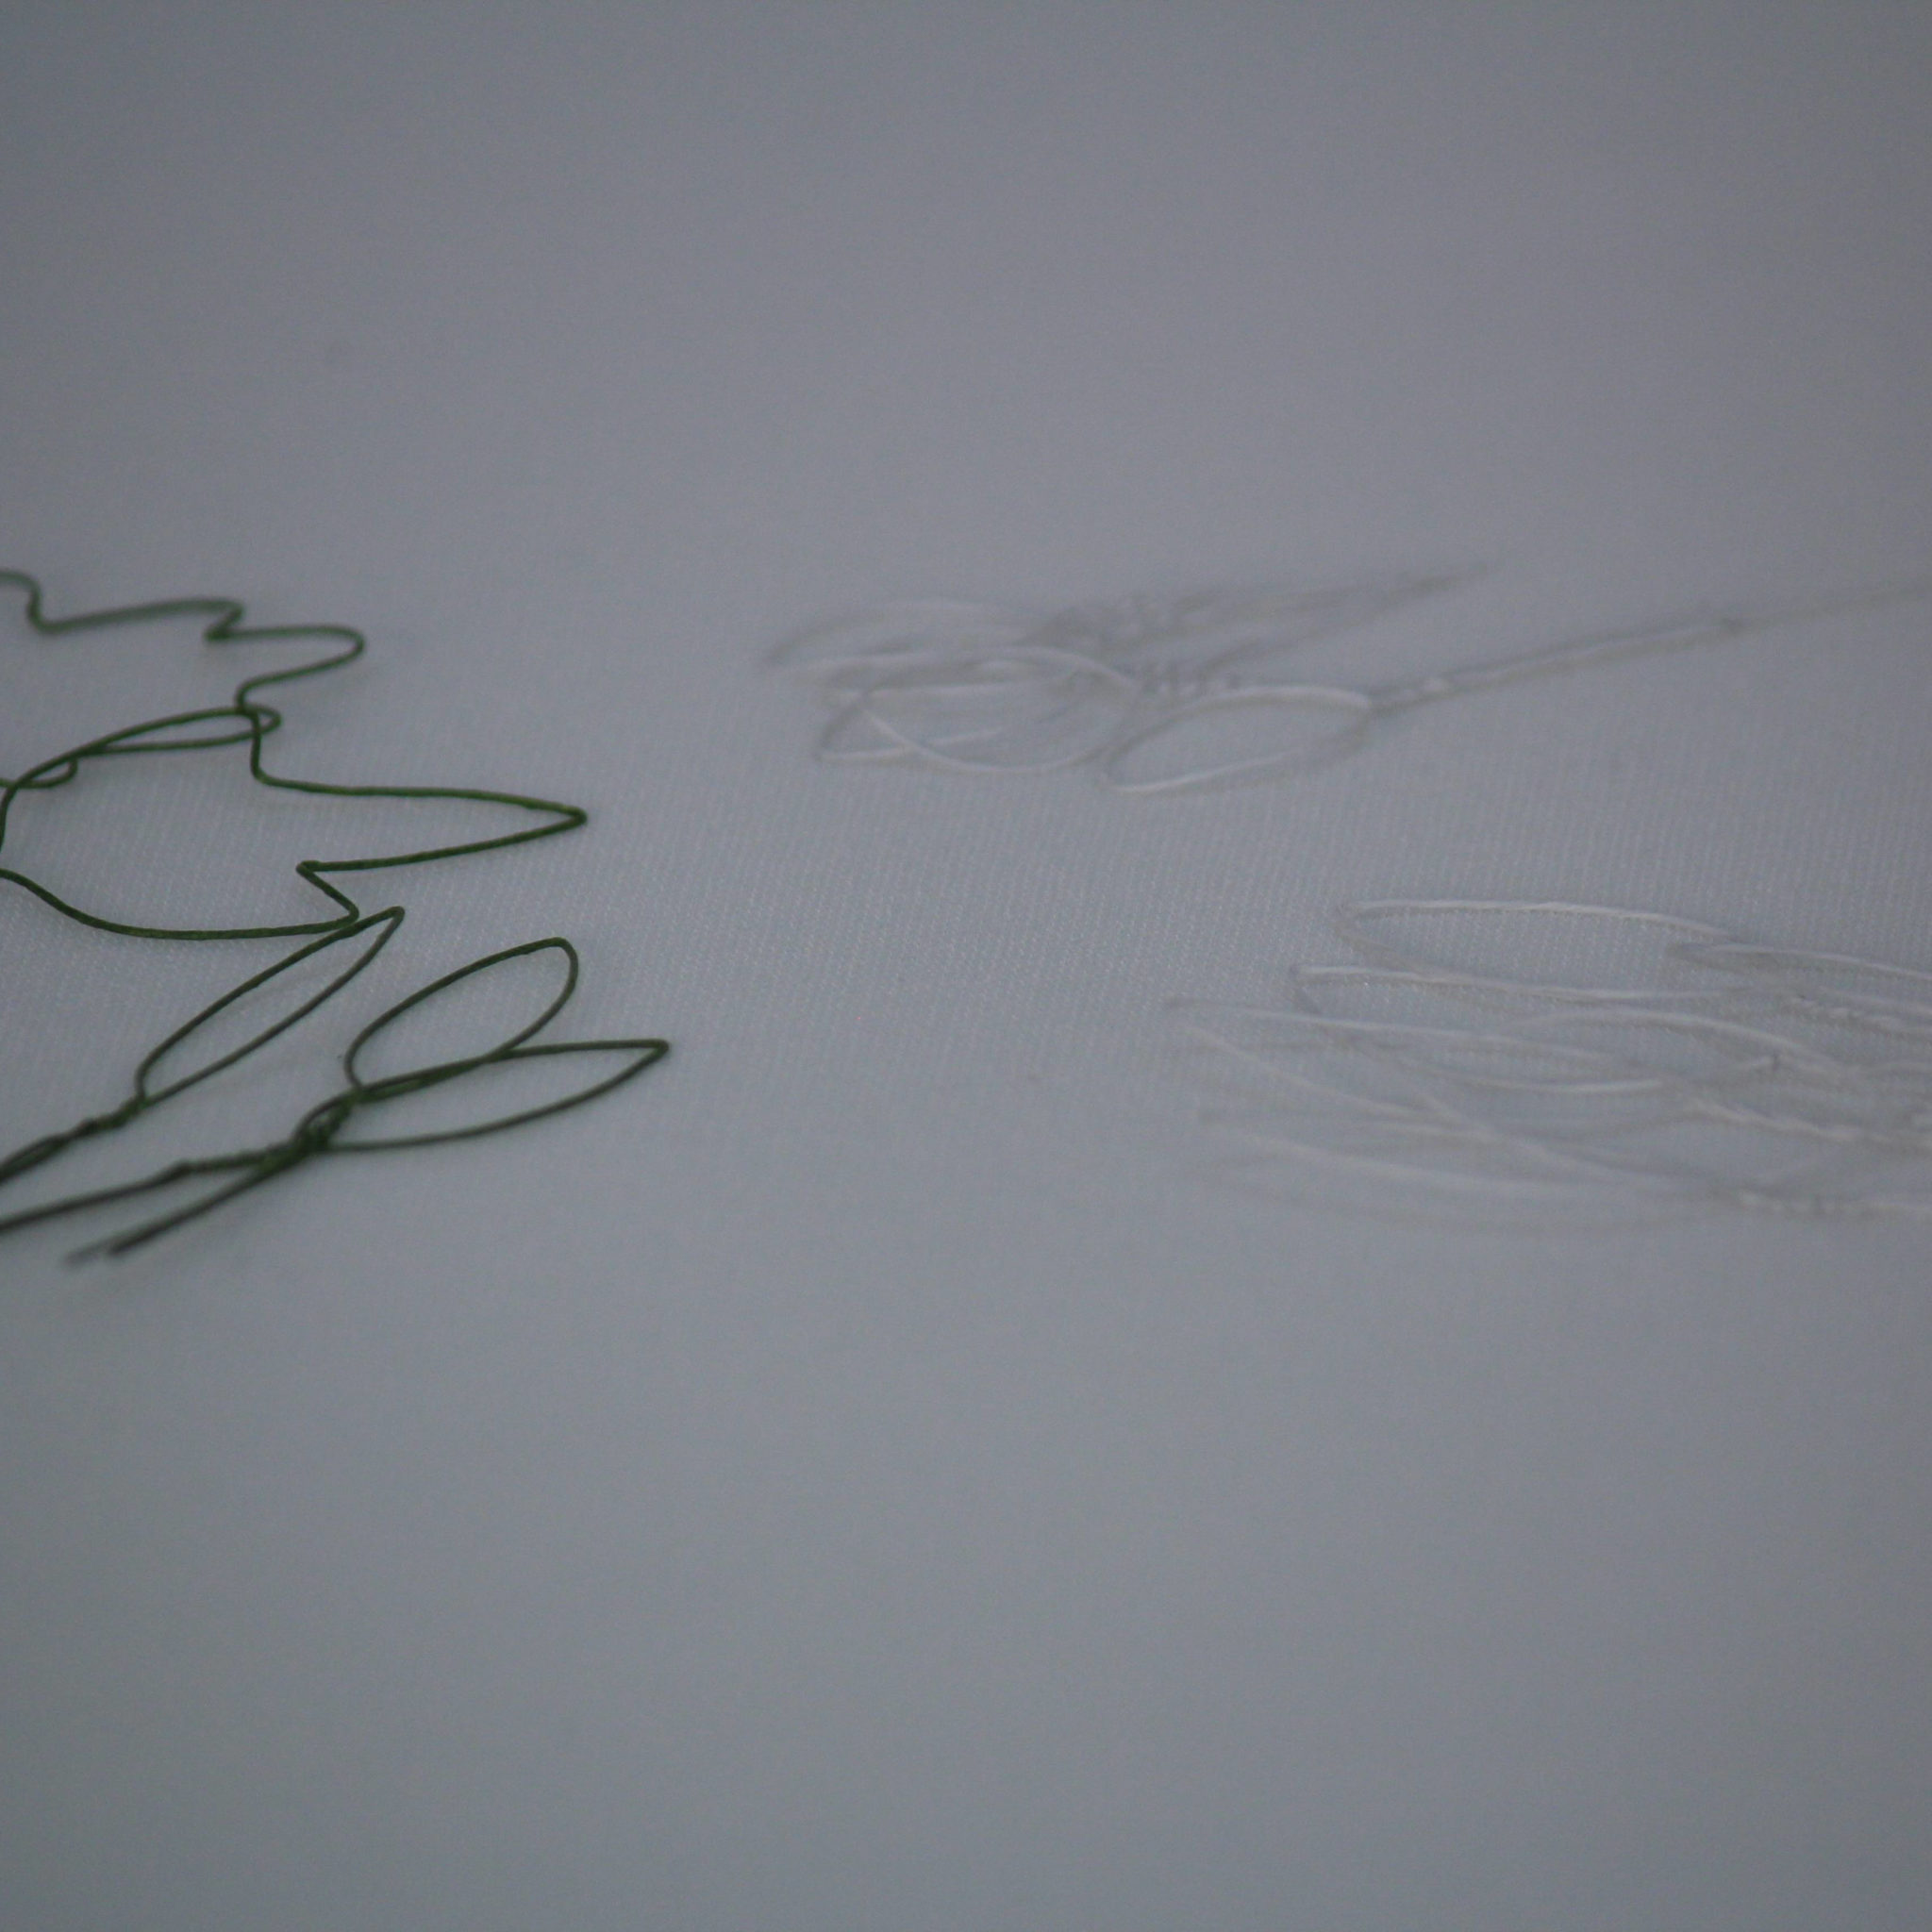
Frames:
-Prepare all wires frames, using white wire for flowers and green wire for leaves

Dipping:
-Insert the frame into the gelatin, making sure you get to the twisted area of the wire
-For best results, lift the frame out horizontally, flat rather than vertically, upright to avoid large droplets forming
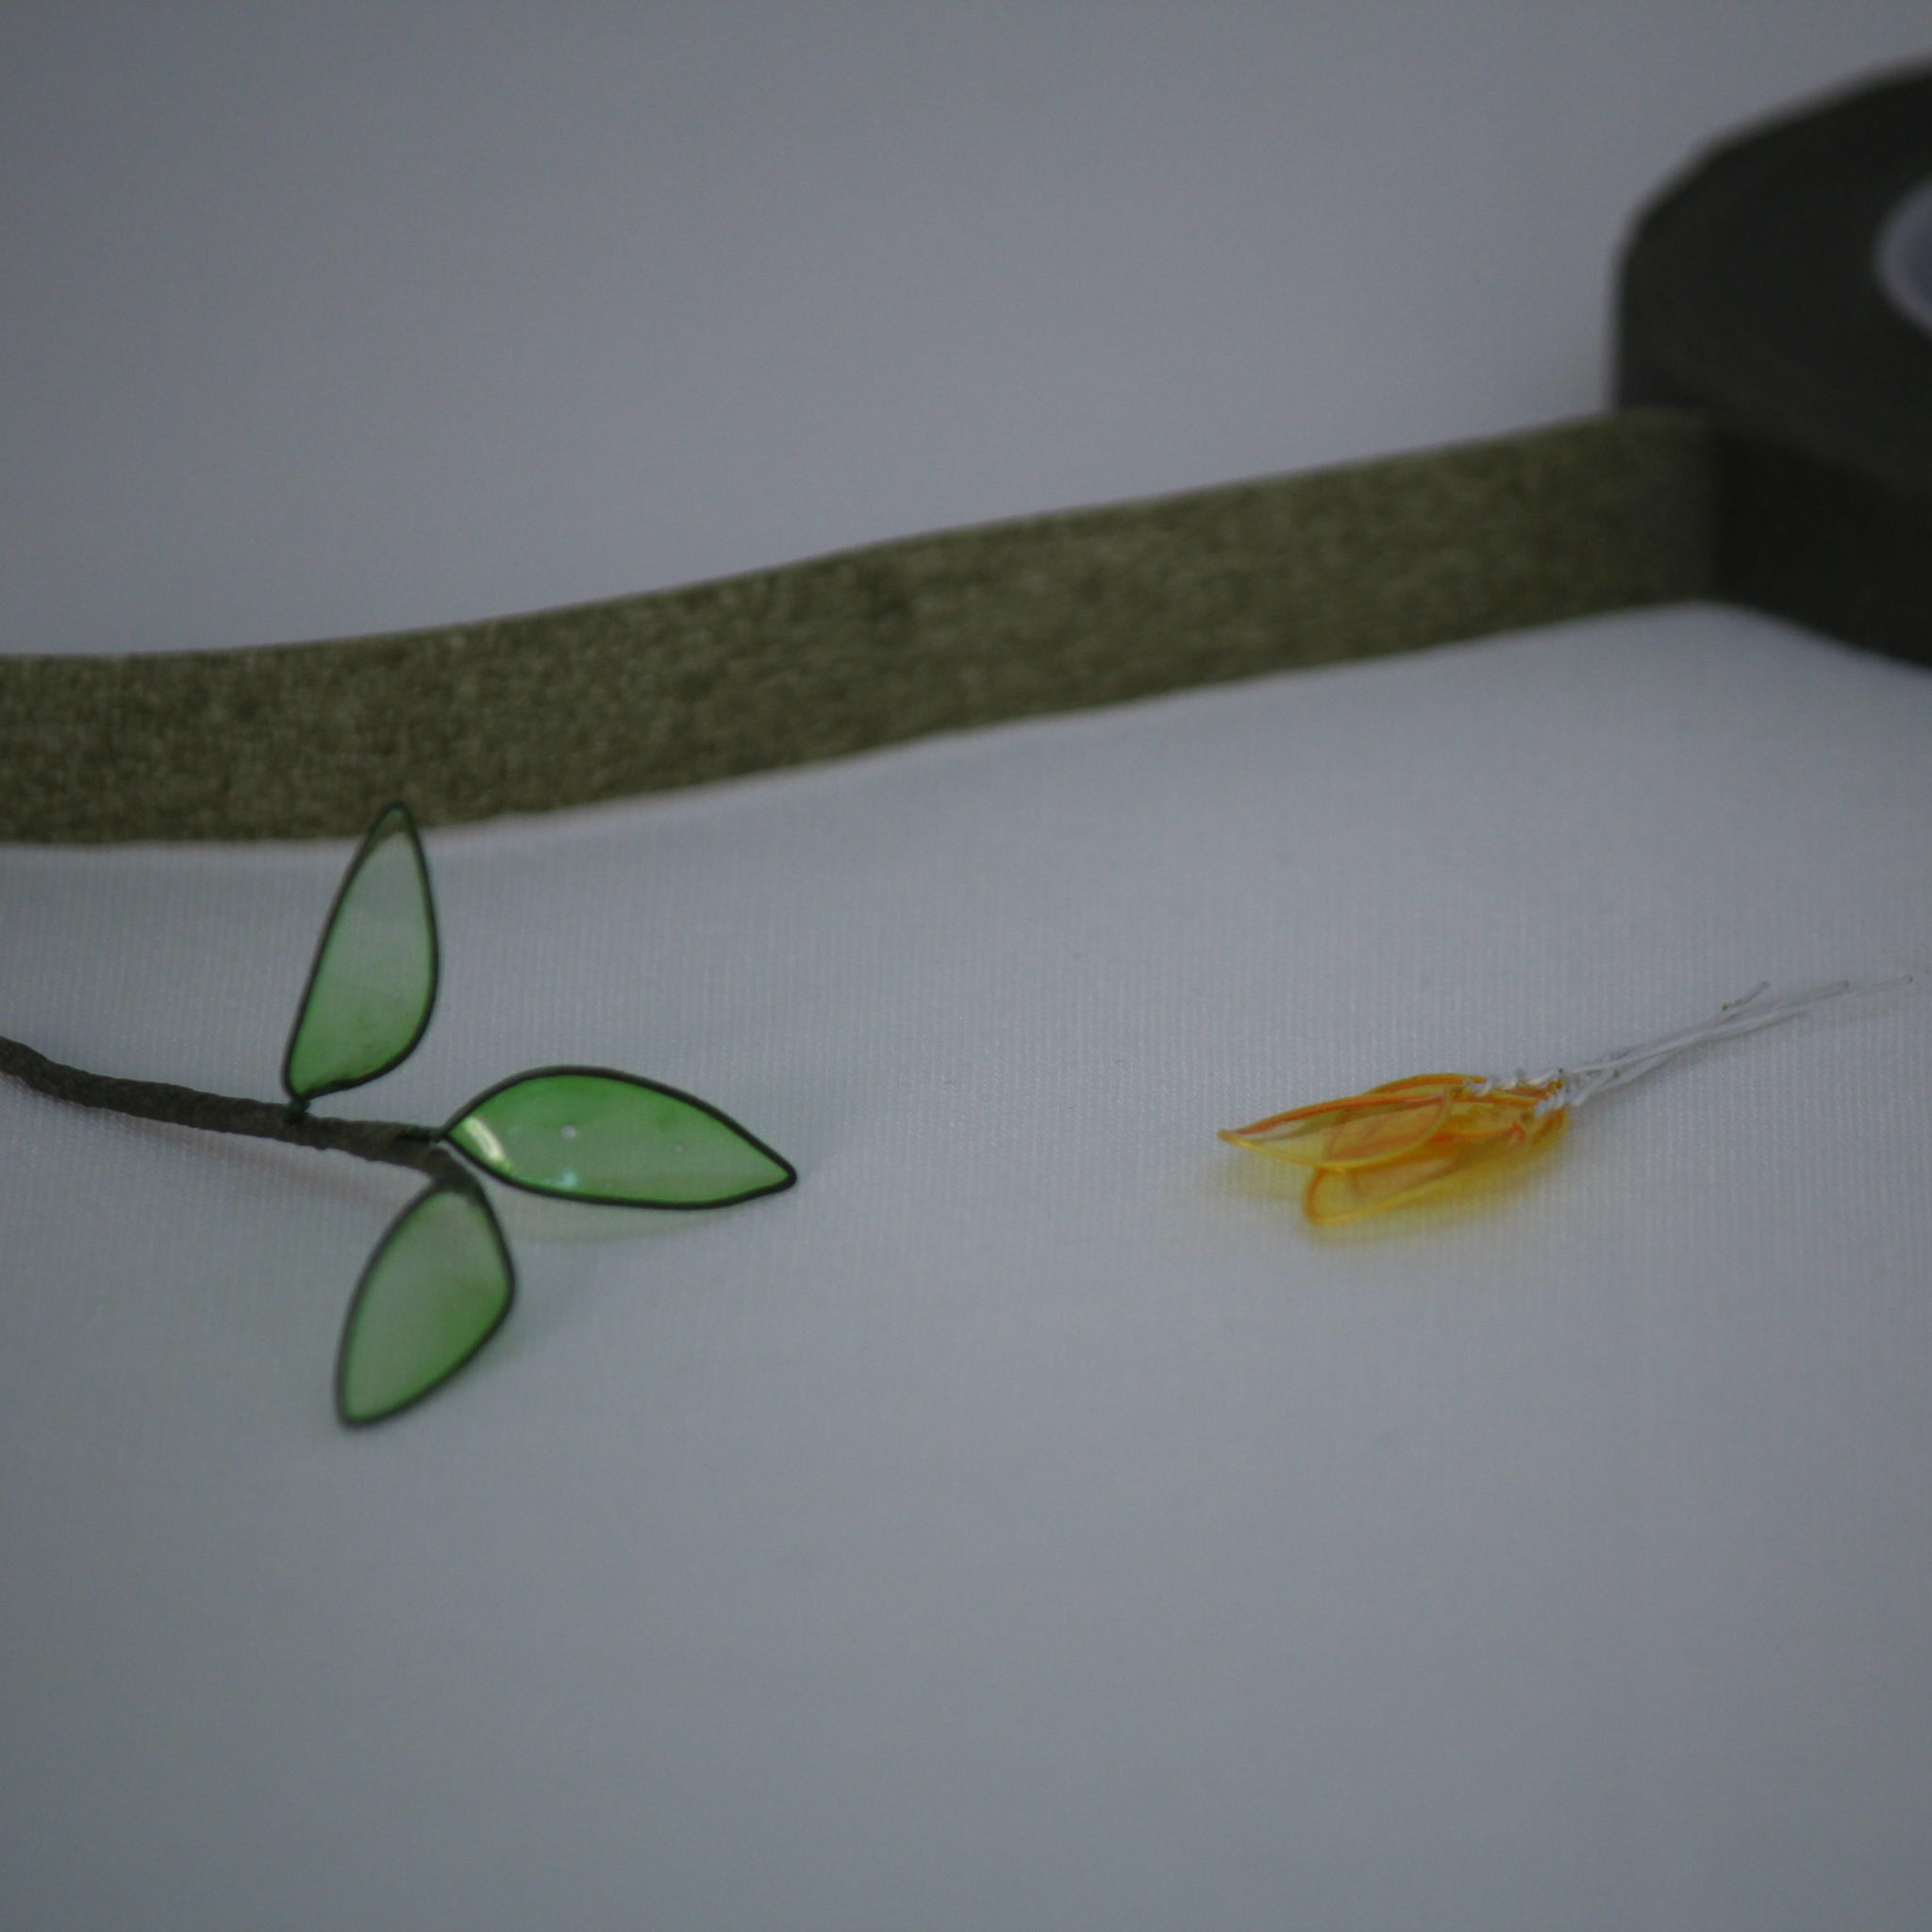
Assembly:
-Allow to dry (usually an hour is sufficient)
-Tape together with floral tape (remember to stretch the tape before you start wrapping)
Let There Be Sheets
Veining sheets that is! Diane recalls “I had been teaching the old school method and got lazy after class one night and didn’t clean up. The next morning, I found the dried gelatin had all the detail of the plastic cups it had been in and the light bulbs started going off in my head (you’d have thought it was the Fourth of July up there!).”
The following months brought many hours of research and development with the manufacturer, soon after Gelatin Veining Sheets were introduced to the public.
 Step 1:
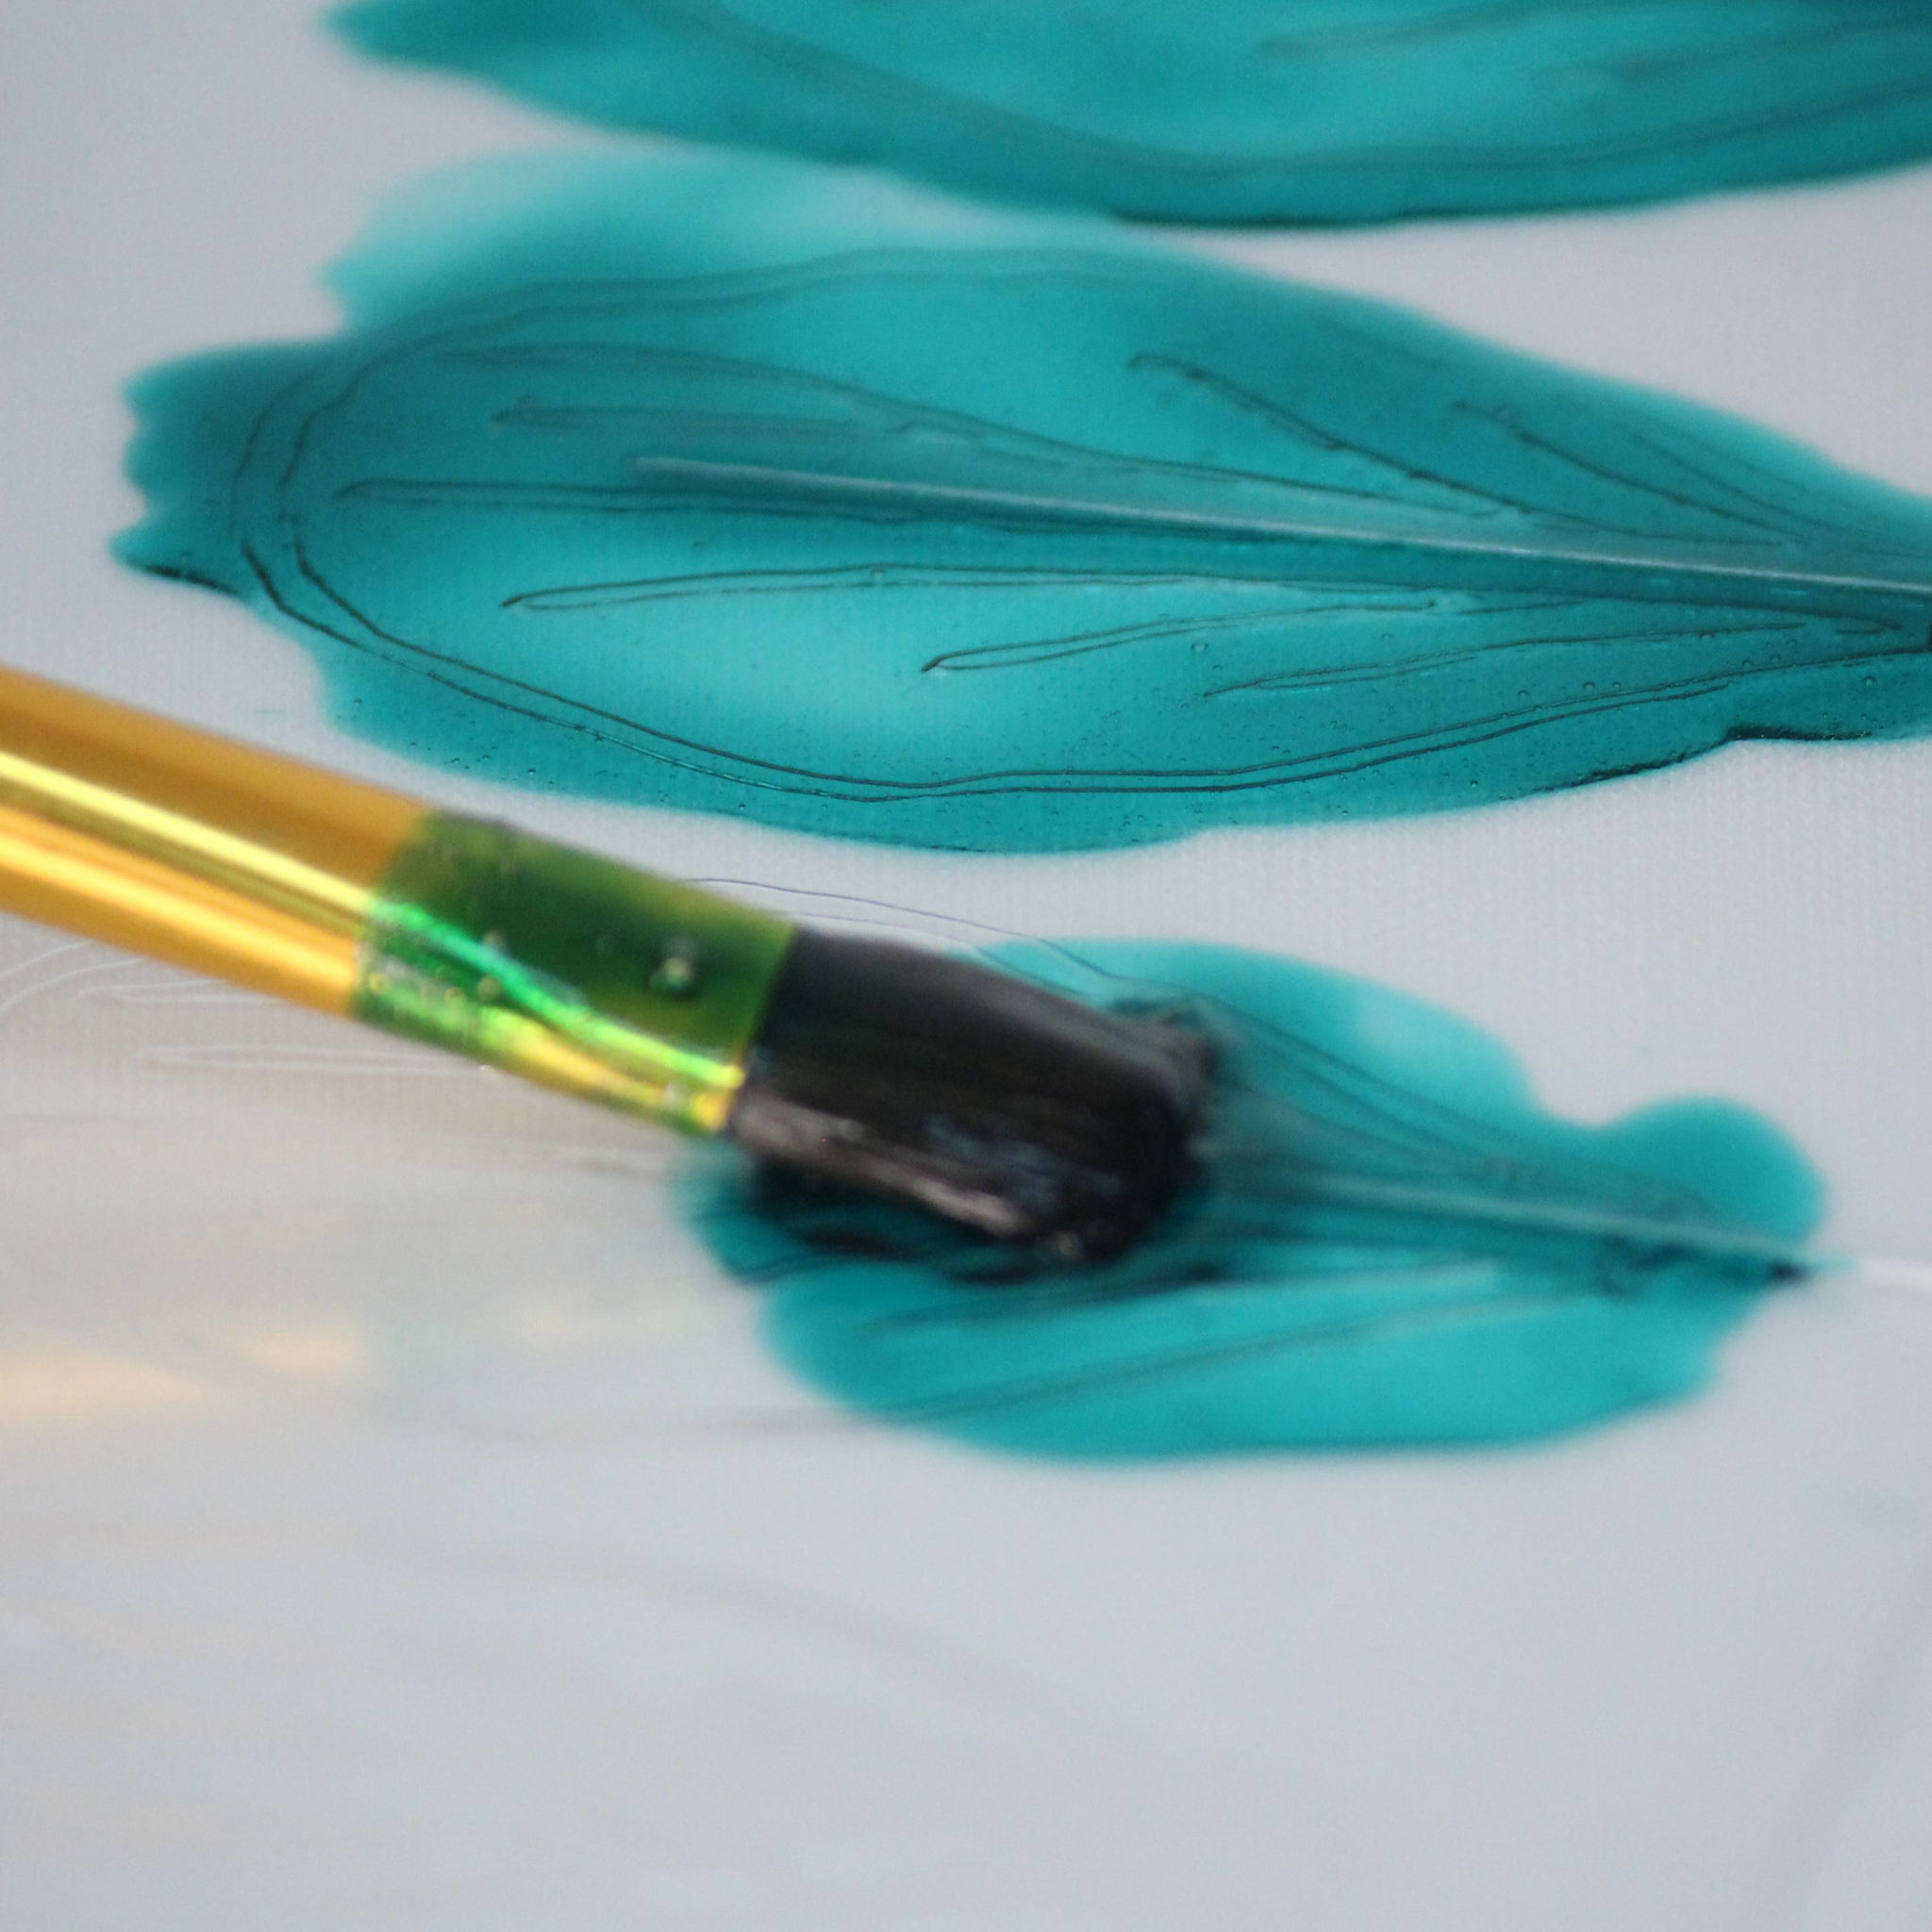
-Lay a 28 gauge paper covered wire over rough side of veining, then brush warm gelatin onto entire outline of petal
-Use a soft, floppy brush and leave a fairly thick coat
Step 2:
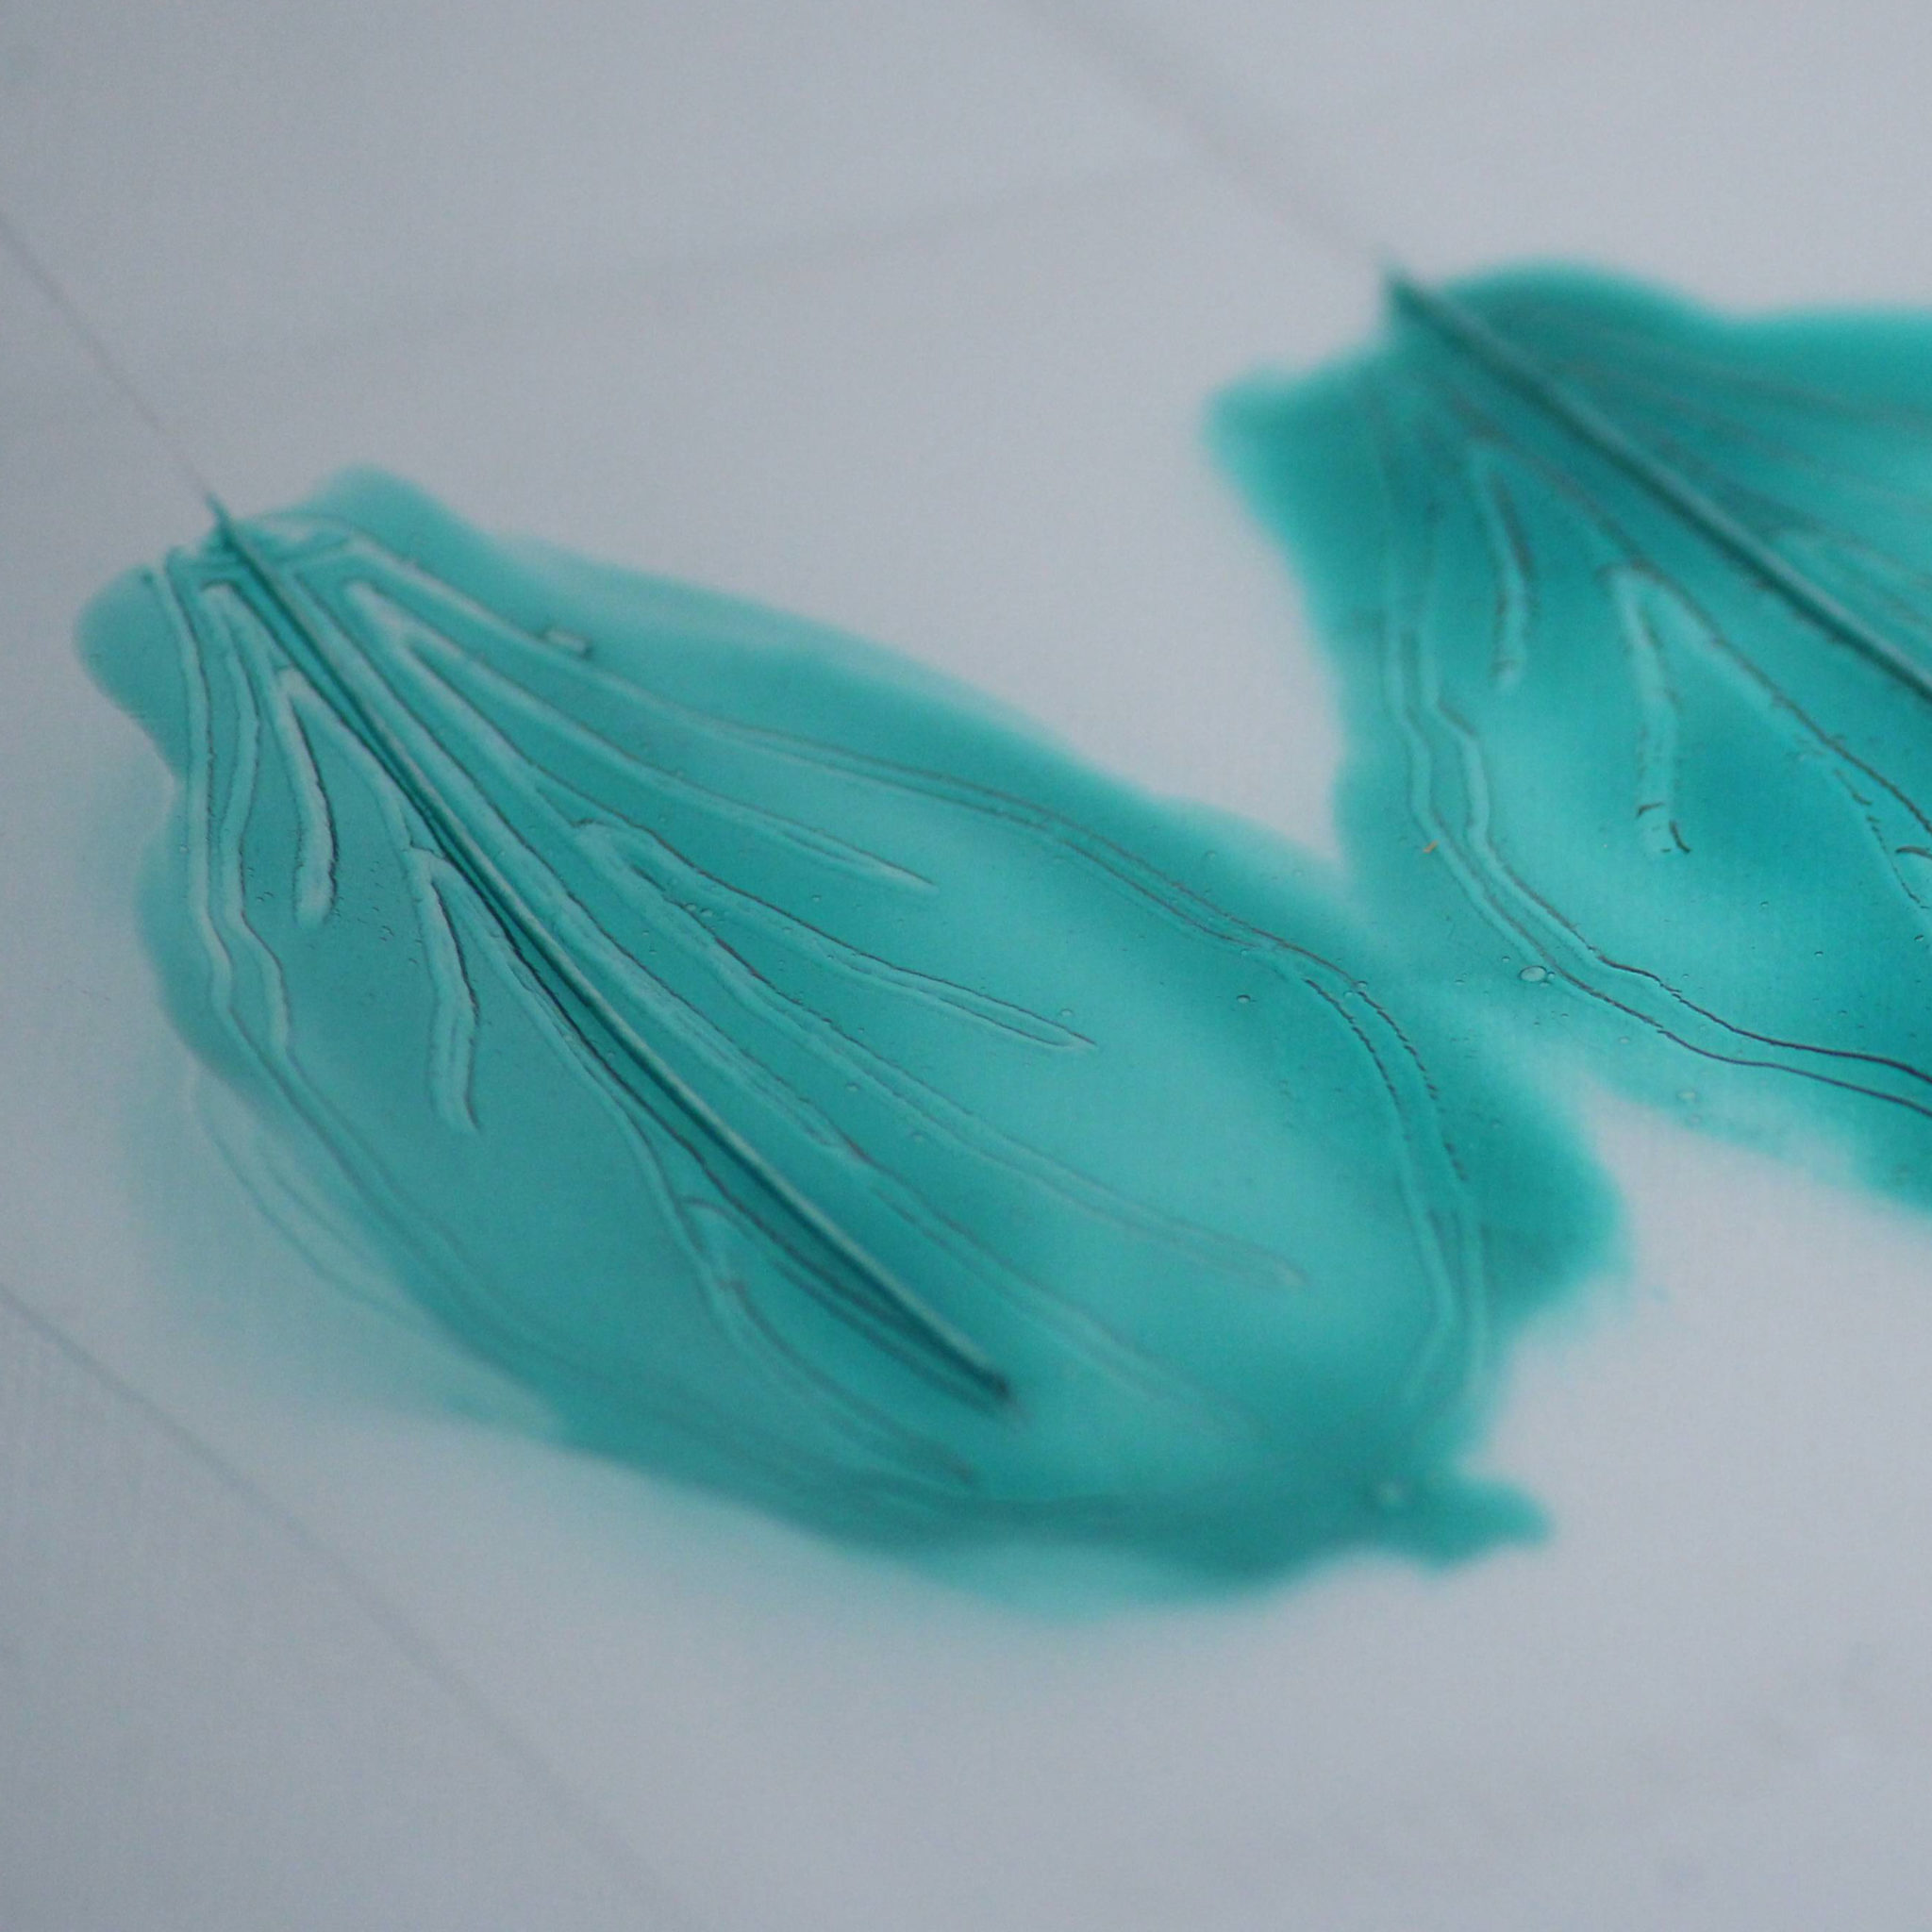
-Allow to dry for 3-5 hours
-Gelatin will release from sheet on it’s own
-Dry time will vary depending on air movement, temperature and humidity of your area
Step 3:
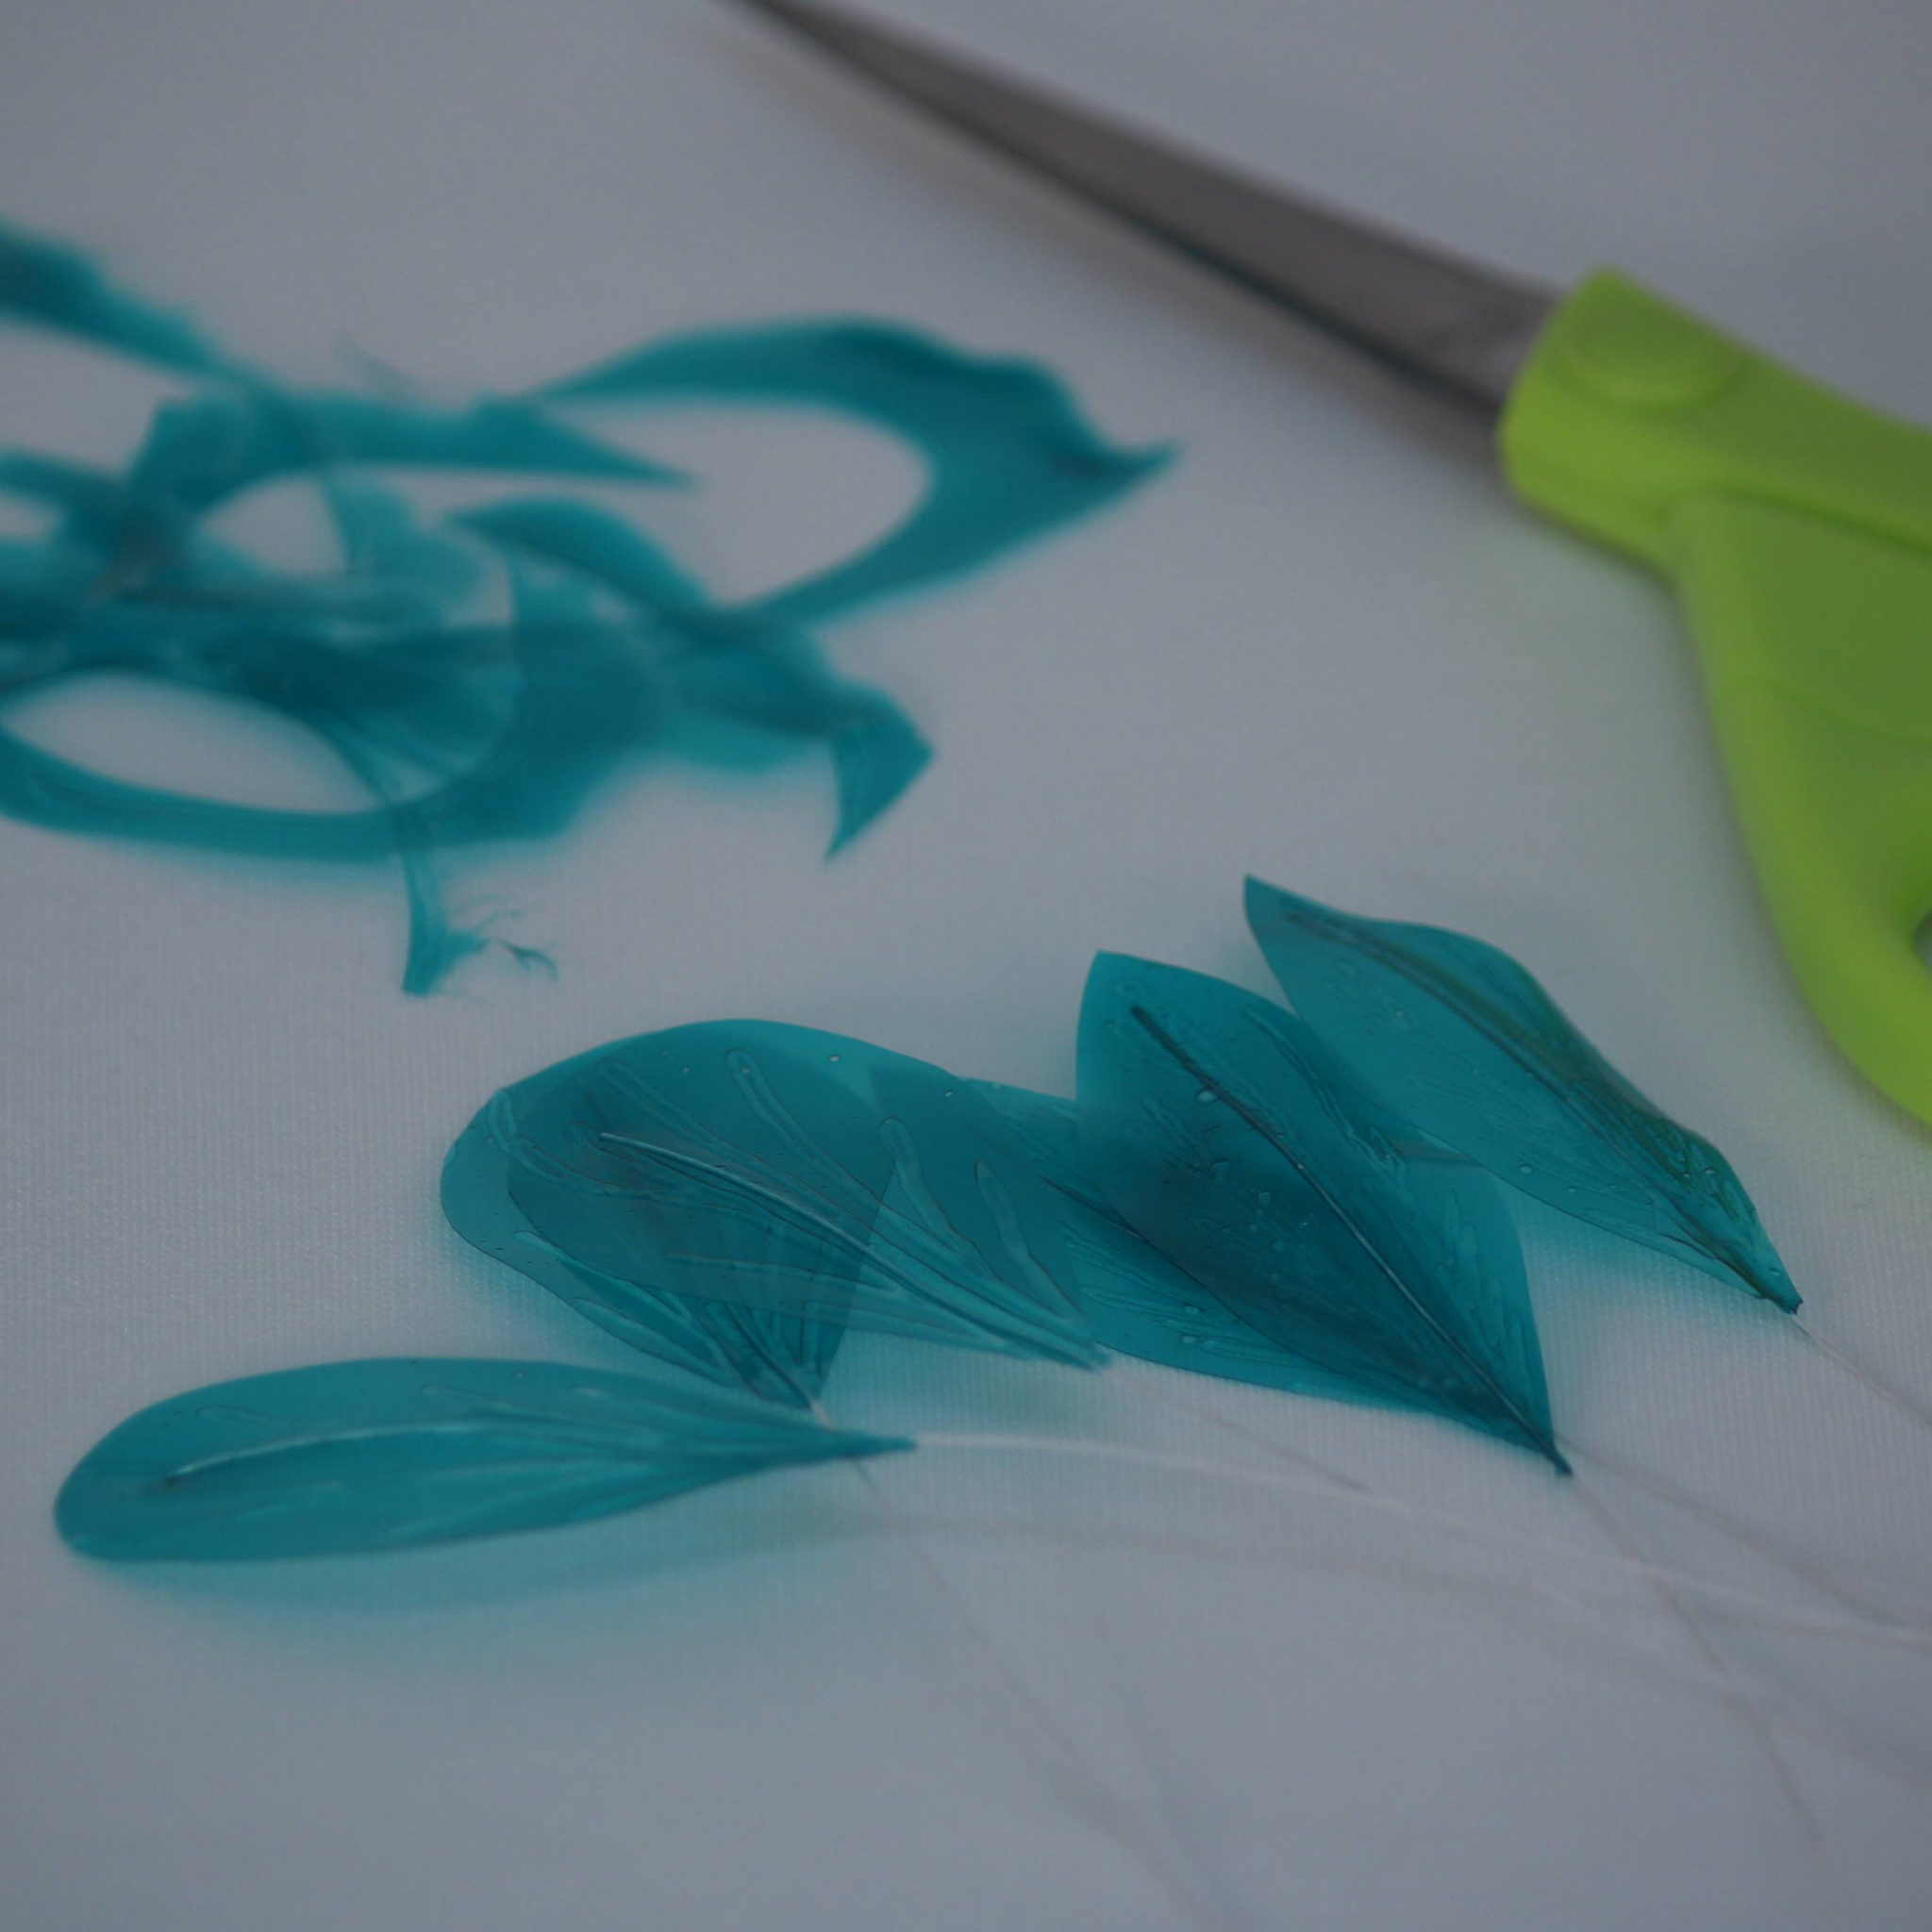
-Trim just inside the lines (or to desired shape)
-Scrapbook scissors can also be used for a little variety
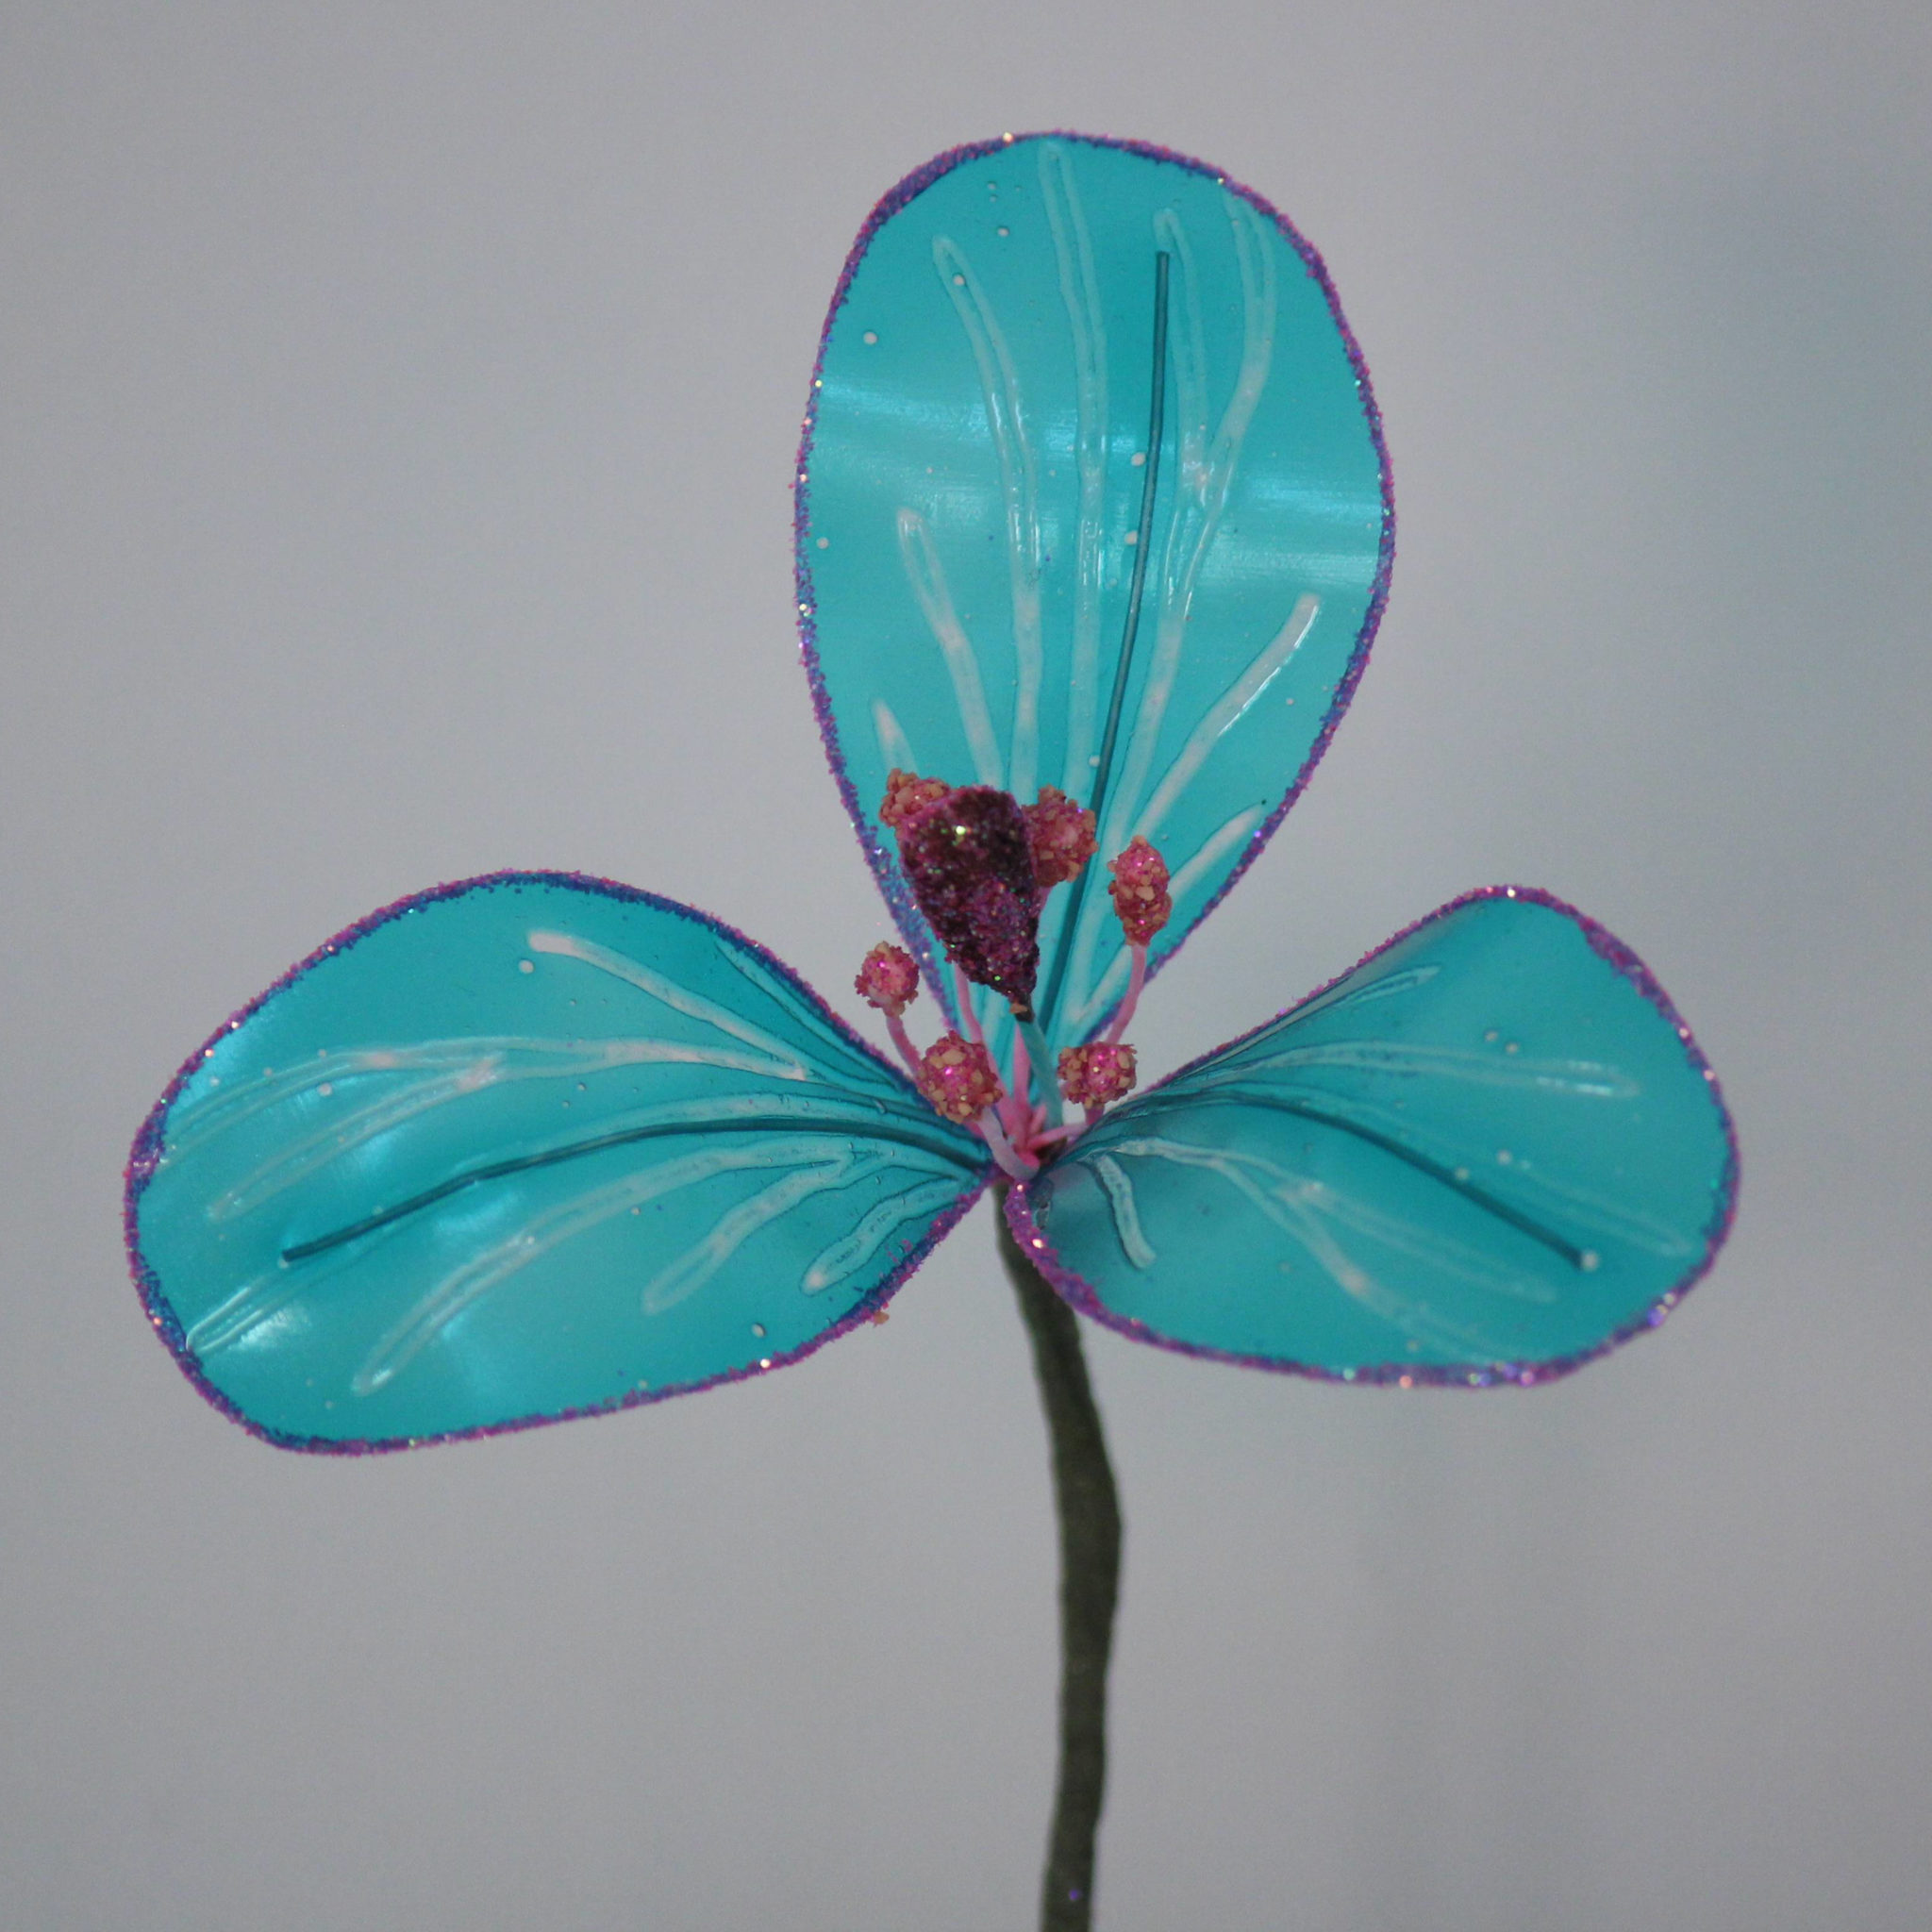
Step 4:
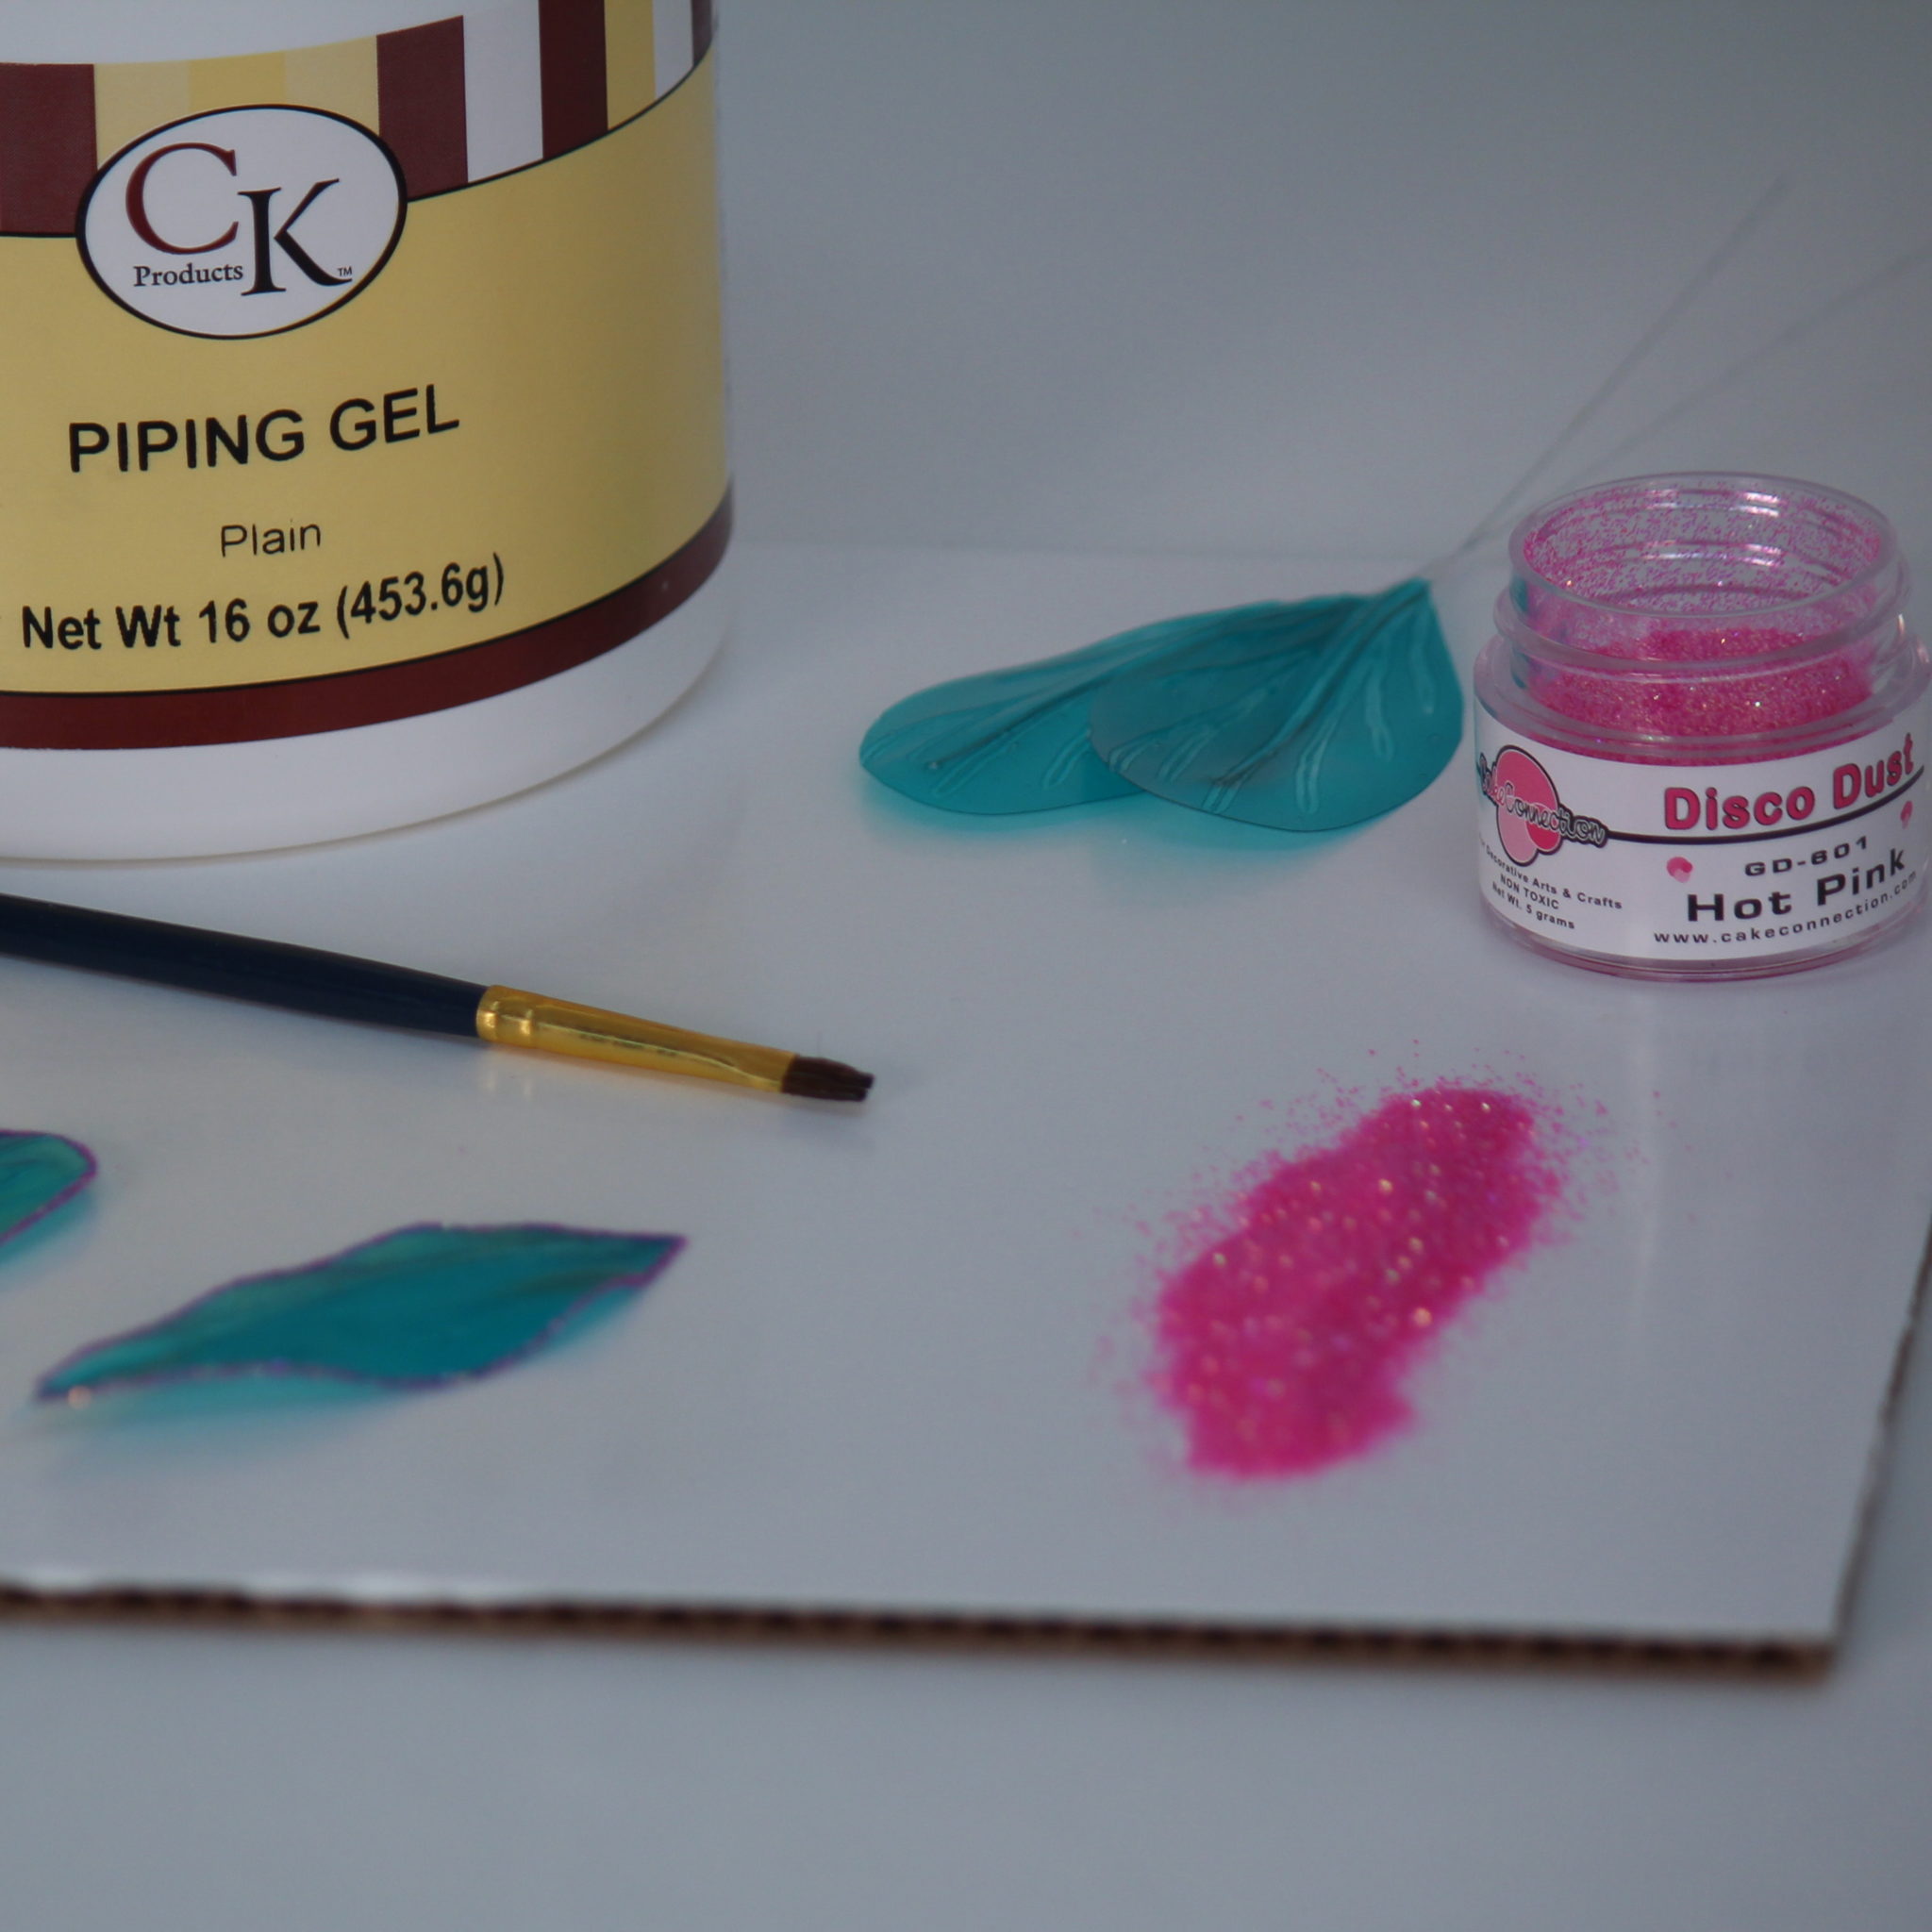
-Once all petals are trimmed, accent as desired
-Create variety using food color markers, food color and vodka mixture as paint, disco dust (using piping gel as glue for the dust), etc.
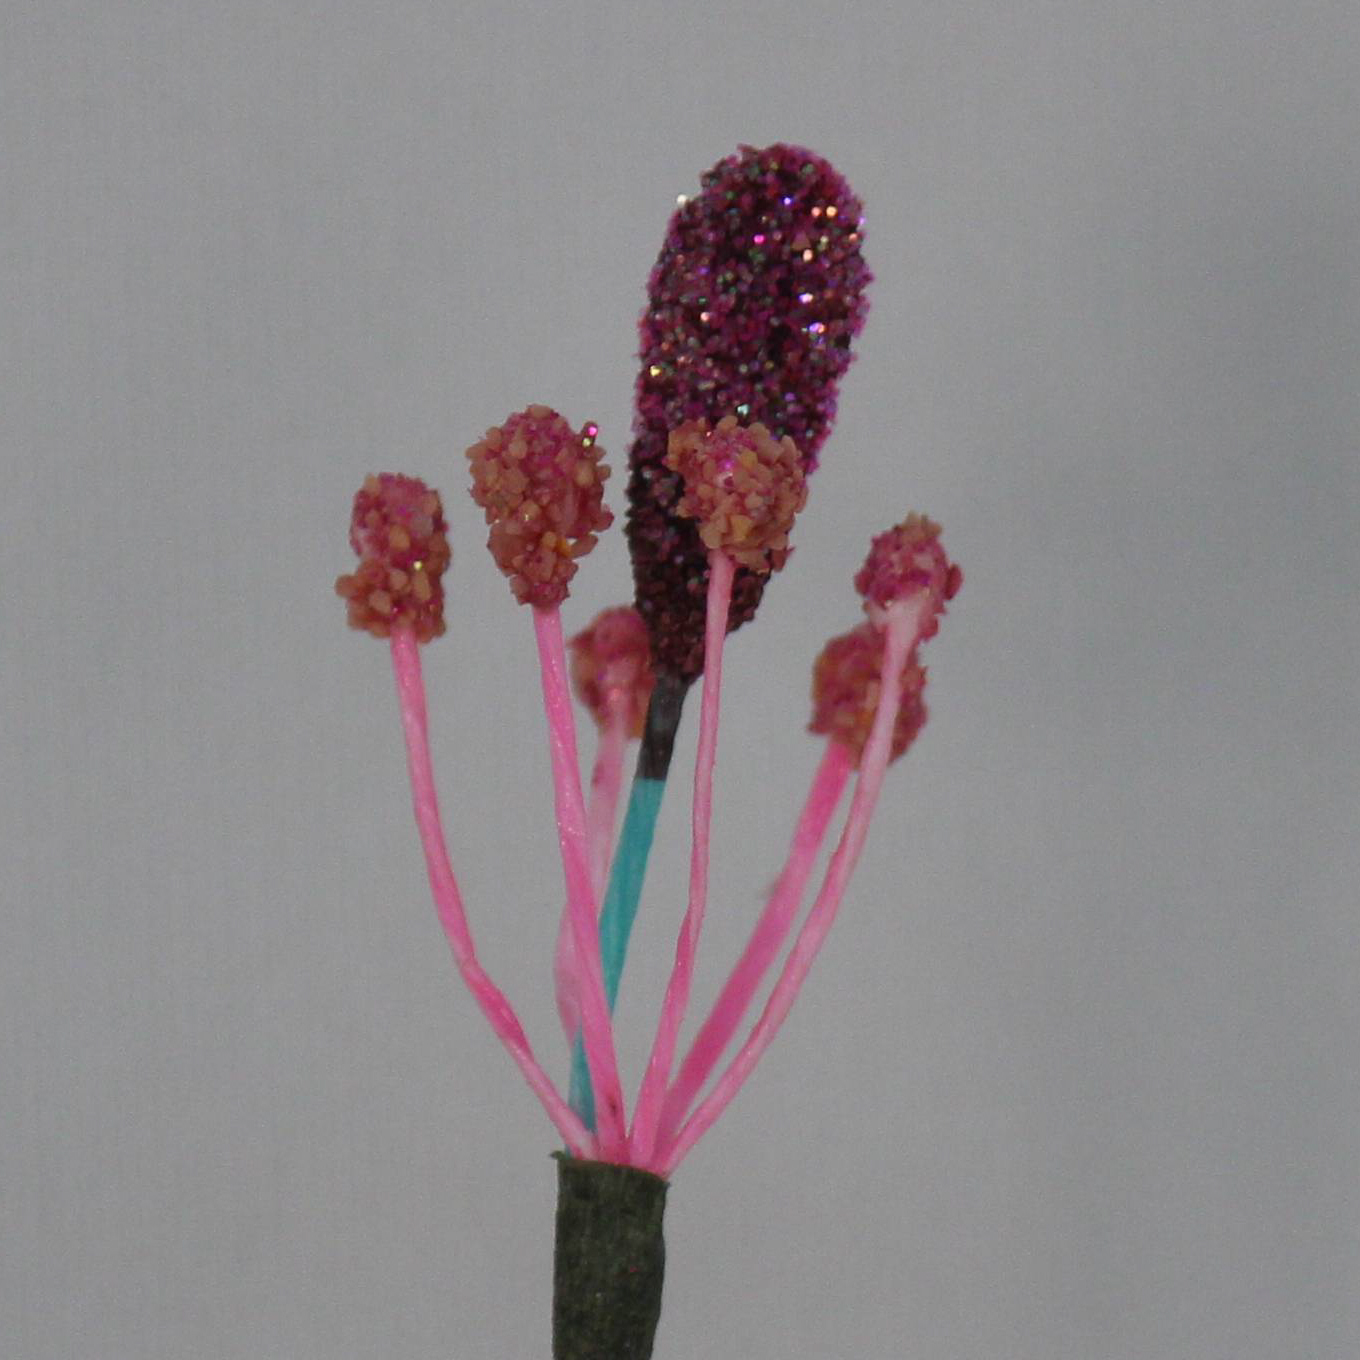
Step 5:
-If stamens are desirable, assemble these before adding petals (accenting with disco dust if desired)
-Assemble using floral tape (remember to stretch the tape before wrapping)
Assembly:
-Add petals using floral tape to attach
Note:
-General humidity does not affect the gelatin once it is dry
Beyond The Flowers
There is still fun in the gelatin world if you aren’t that fond of flowers! There are also veining sheets to create butterflies and dragonflies as well as feather and fairy wings.
Still not your cup of tea? Well wait, there’s more, Texture Sheets! There is a slight variation to the gelatin recipe for the texture sheets. Use 4 parts water to 1 part gelatin for texture sheets.

Step 1:
-Using the 4:1 ratio recipe, brush a thin coat of gelatin on the sheet
-Wait about 2 minutes, then add a second layer
-Best advice, work fast and sloppy!
-Let dry for 8-12 hours
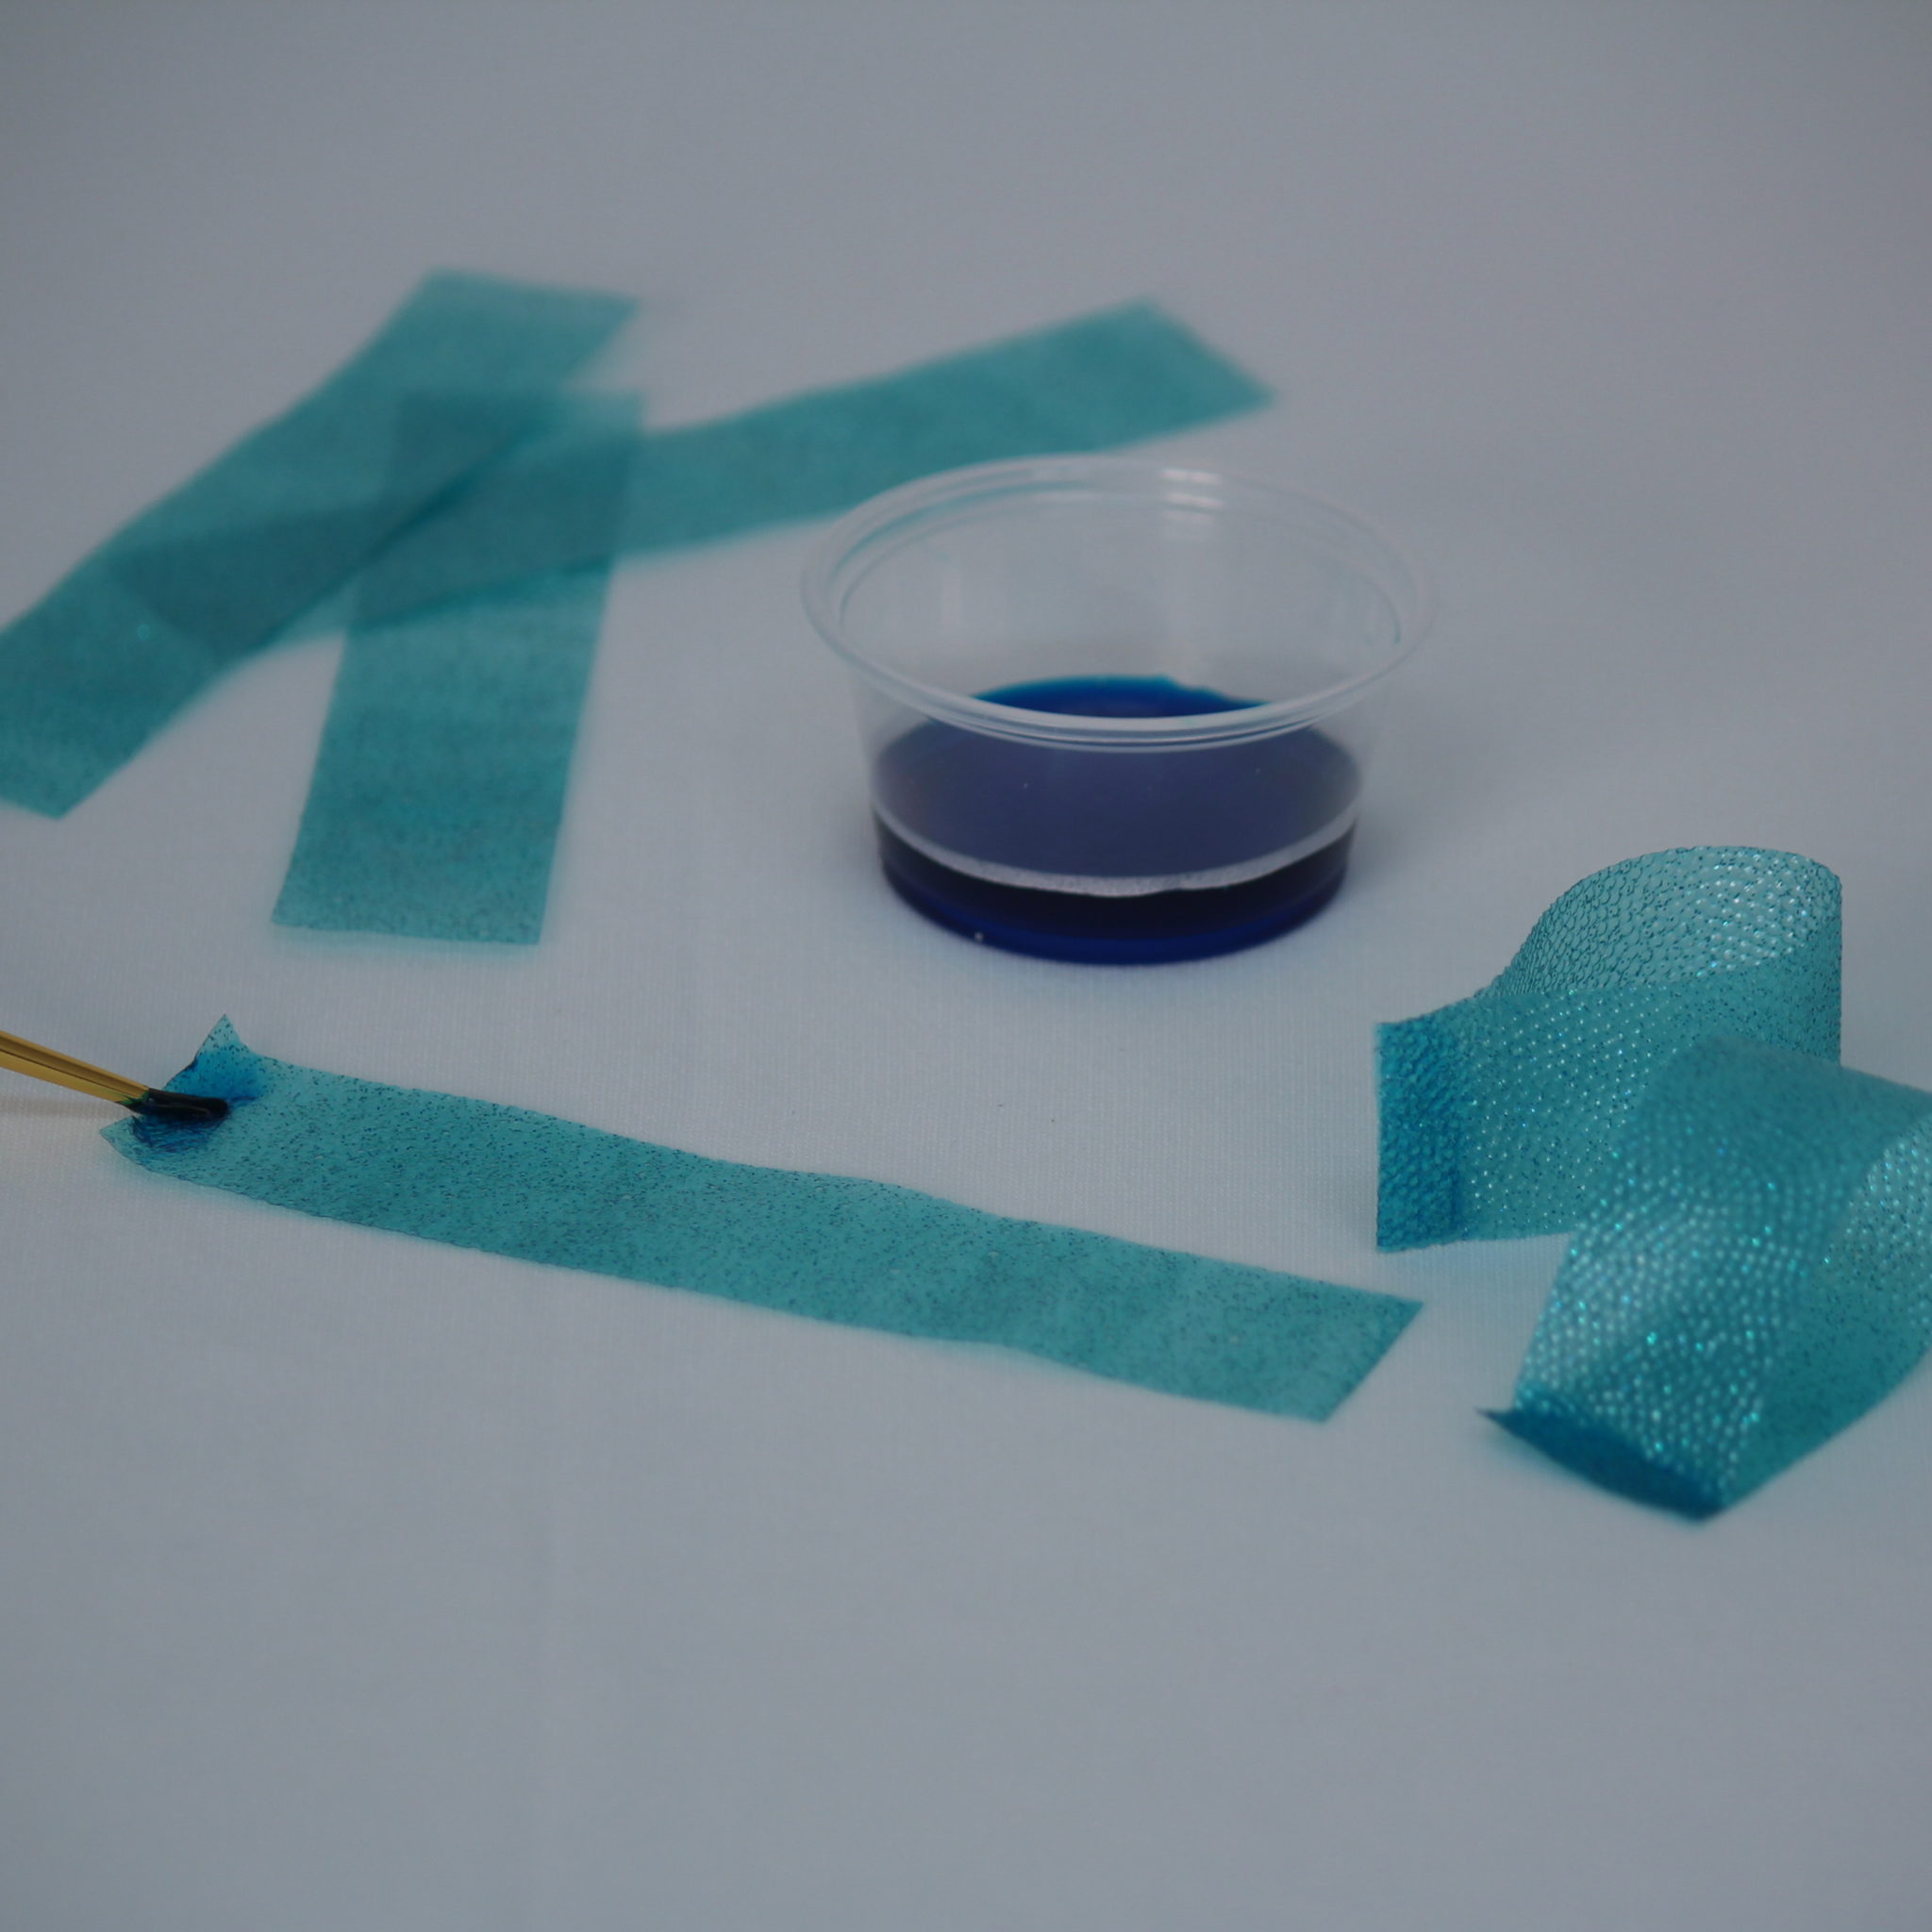
 Step 2:
-Cut into even strips (a paper trimmer works great for this)
-Cut the strips in half lengthwise to have approx. 5 long strips
-You can trim the edges with scrapbook border punches for decorative looks
 Step 3:
-Brush a small amount of warm gelatin on the end of a strip, then hold together for 5-10 seconds until set
-Repeat until all strips are formed to loops
*A little is glue, a lot makes goo!
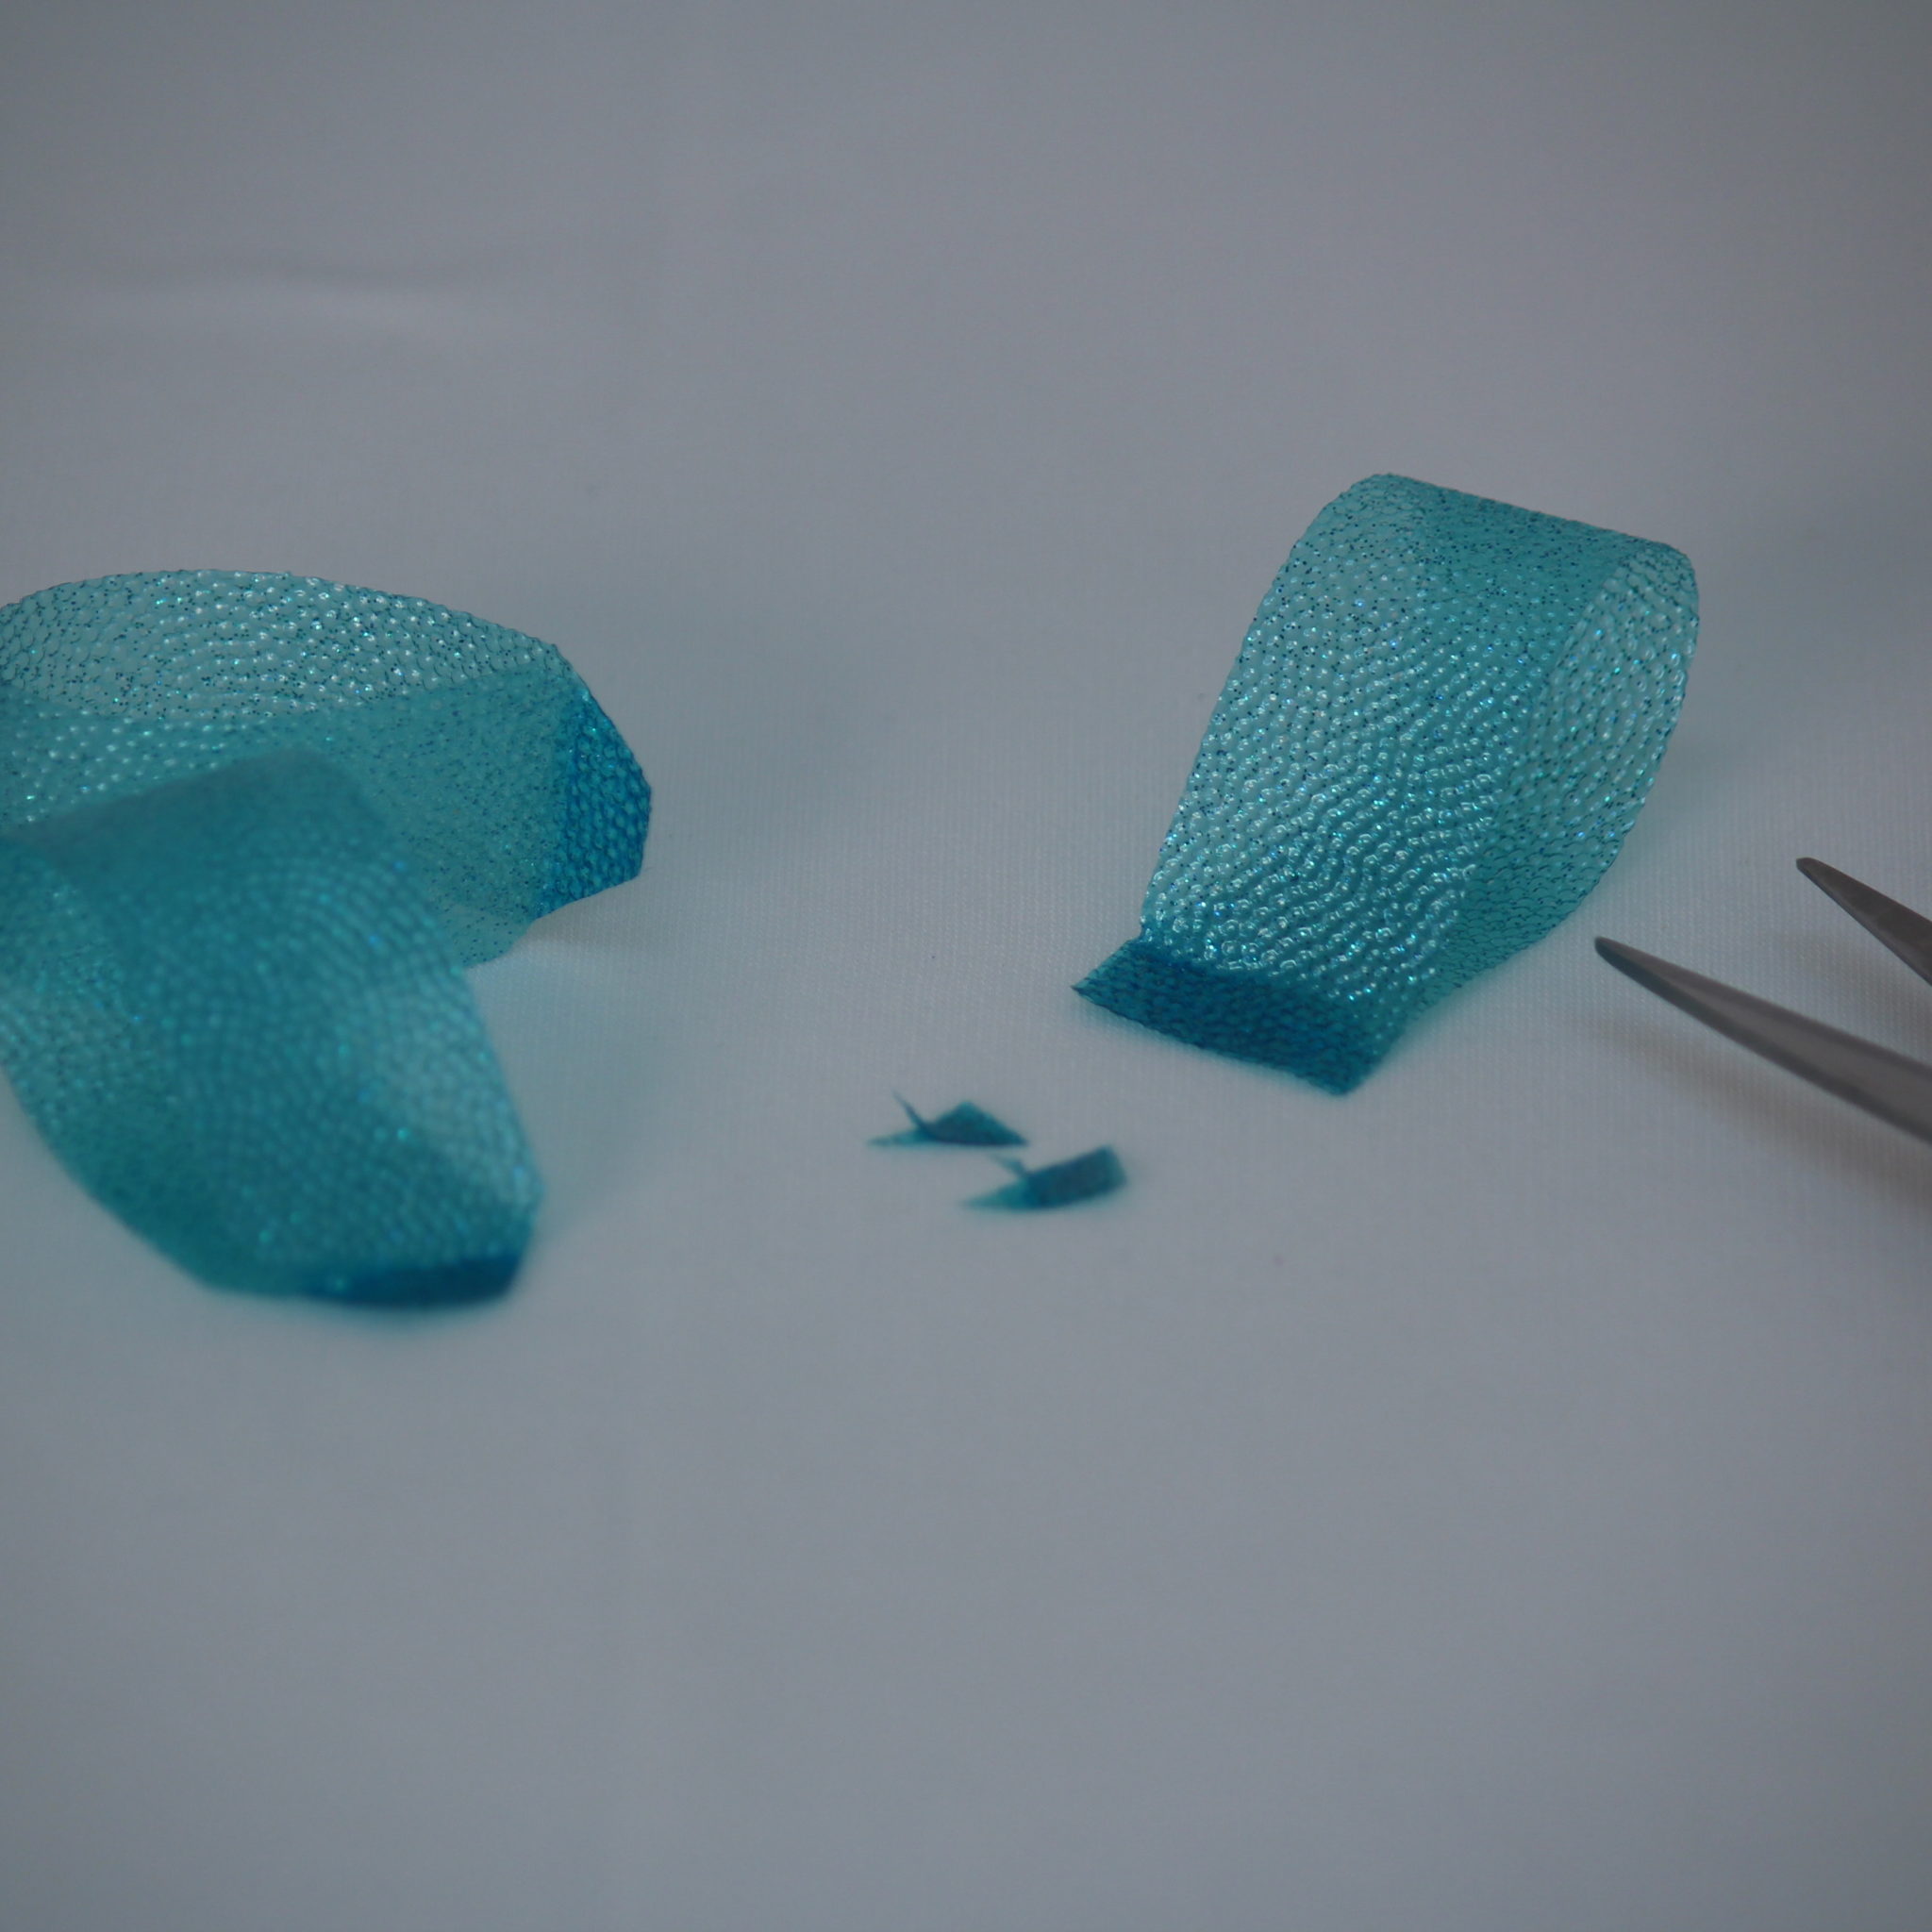 Step 4:
-Trim the corners off each side of the glued end to create a slight point (this will make assembly easier)
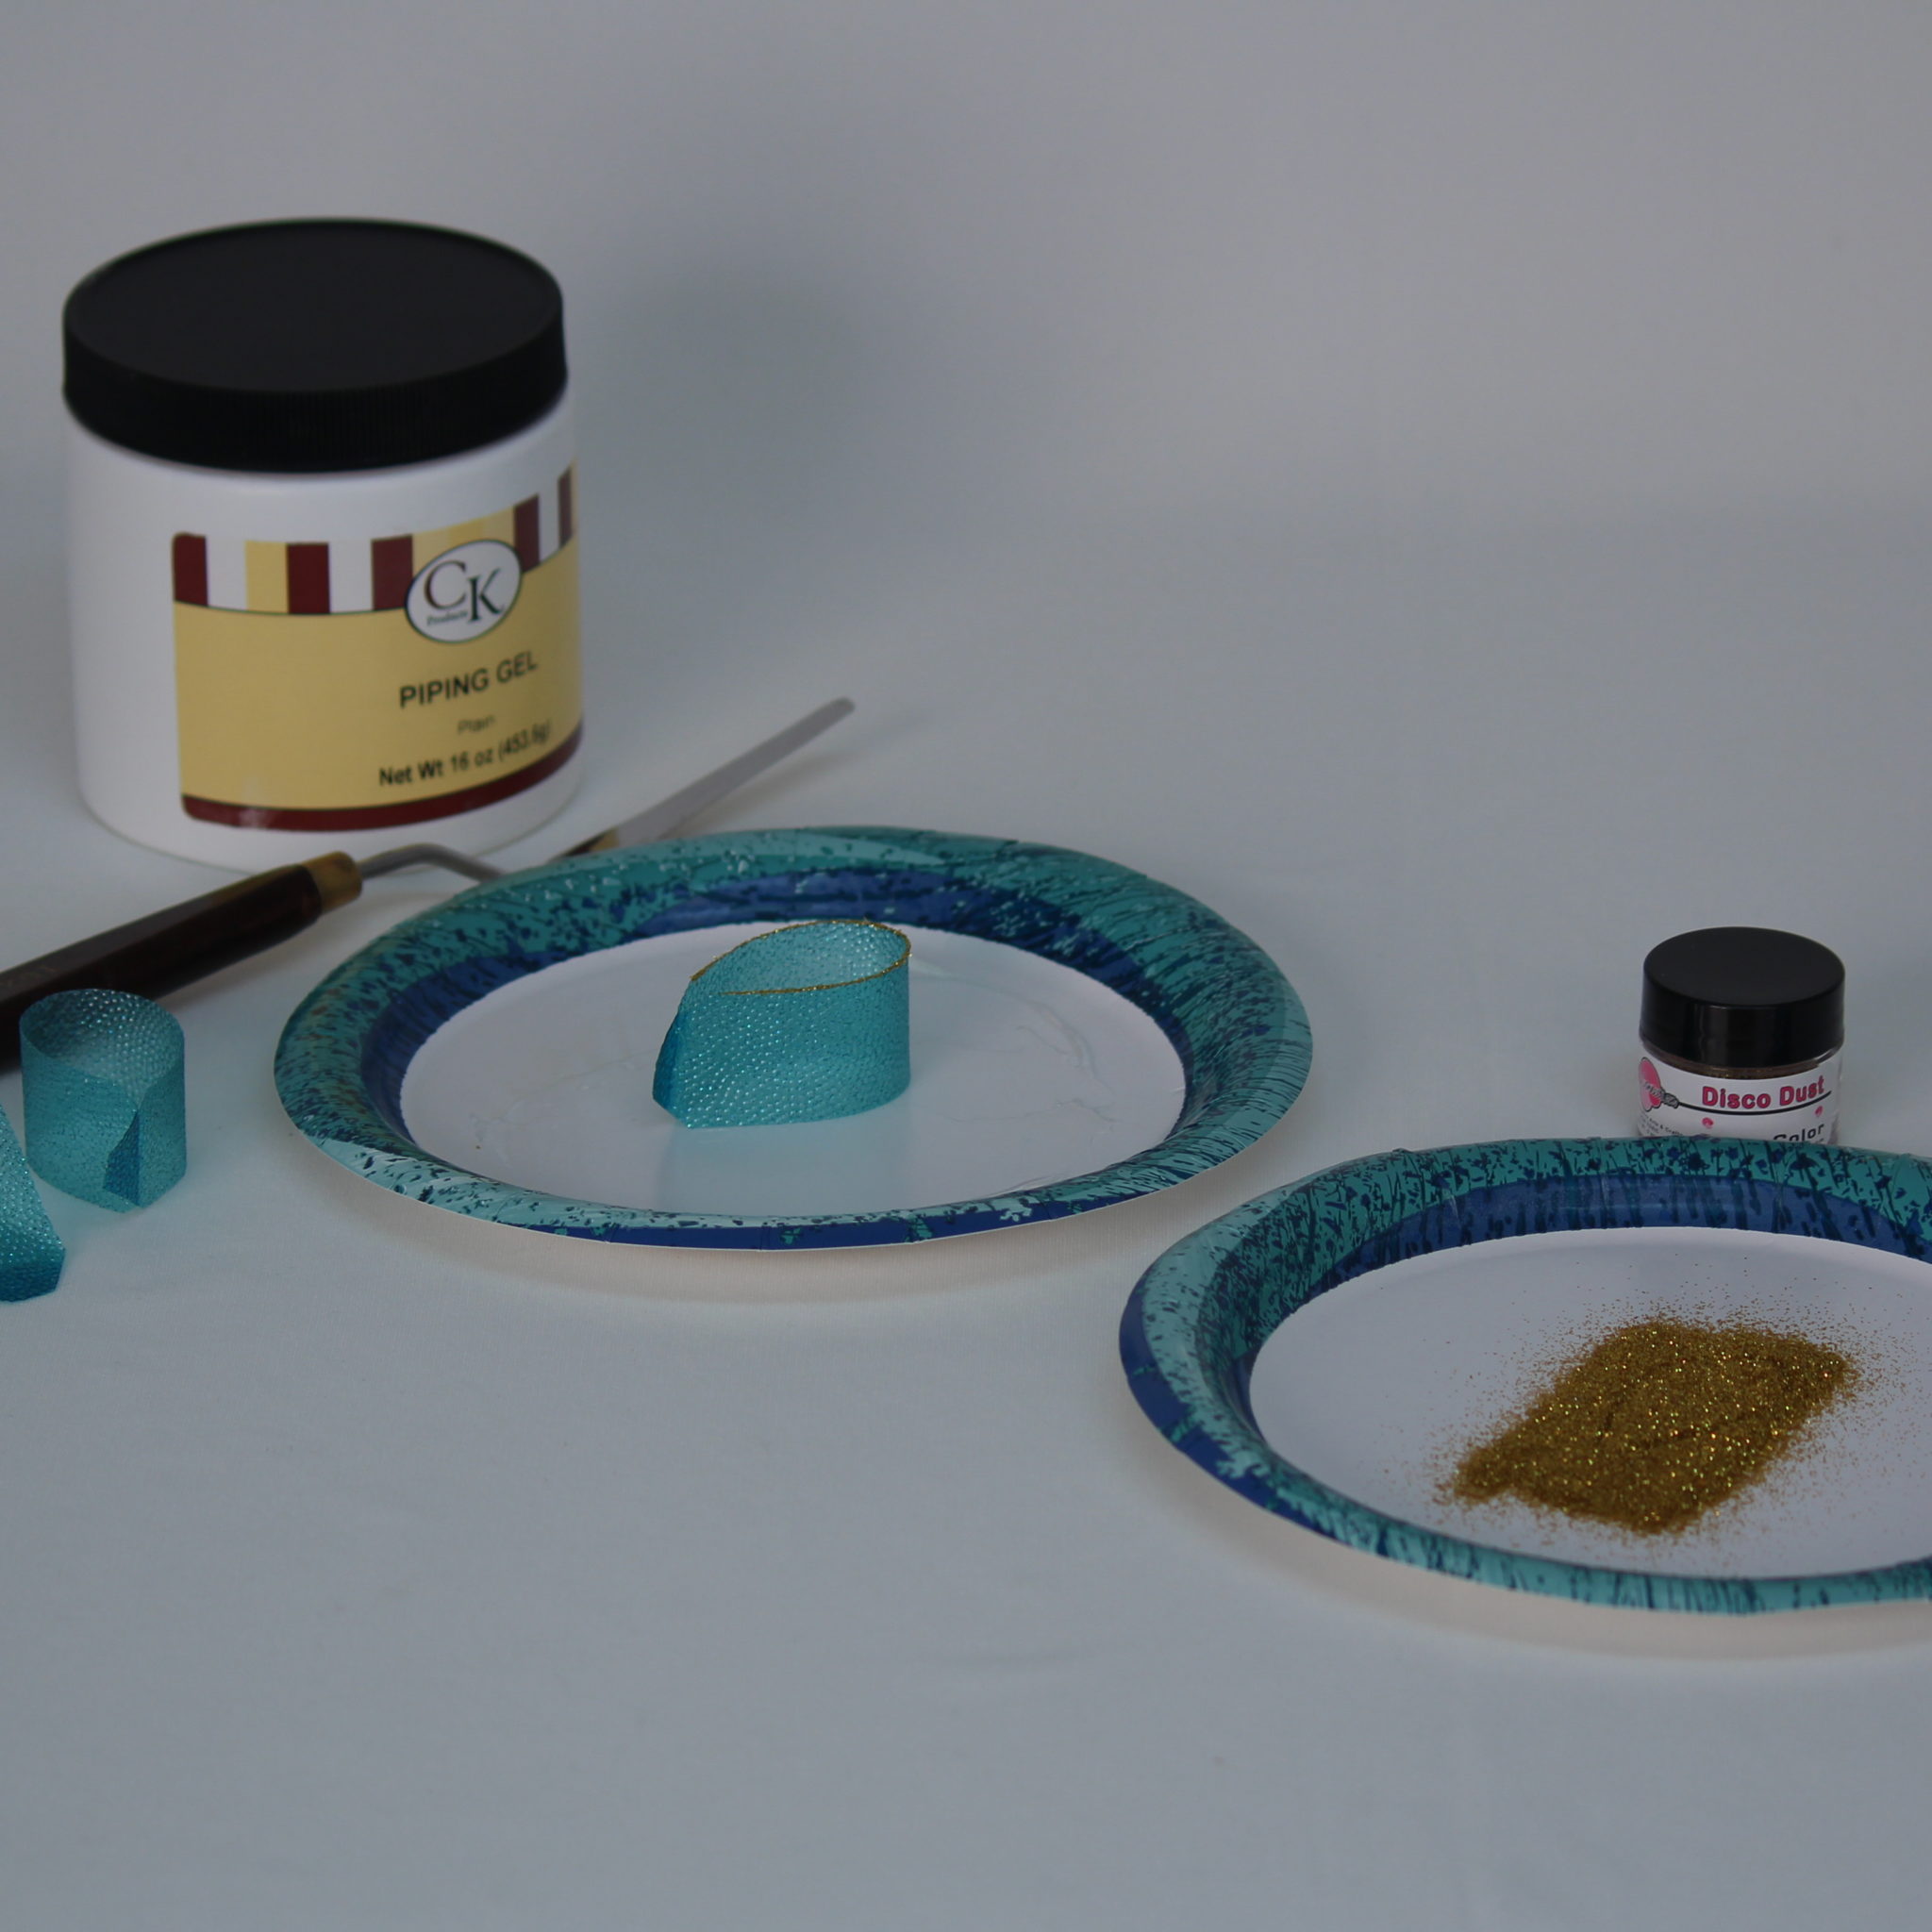 Step 5:
-Accent the edges with disco dust using a thin smear of piping gel on a paper plate
-Dip edge into the gel and then into the disco dust
-Tap gently to remove excess dust
 Assembly:
-Start with a small amount of gelatin and add drops to form a circular base
-Add additional loops using warm gelatin and paint brush until desired fullness is reached

Beyond The Bow
Yes, there are even more adventures beyond the bow with this wonderful medium. Now that you know how to make a sheet of gelatin, take a look at your scrapbooking toys with new eyes.
There are all sorts of scrapbooking punches available, one single punch 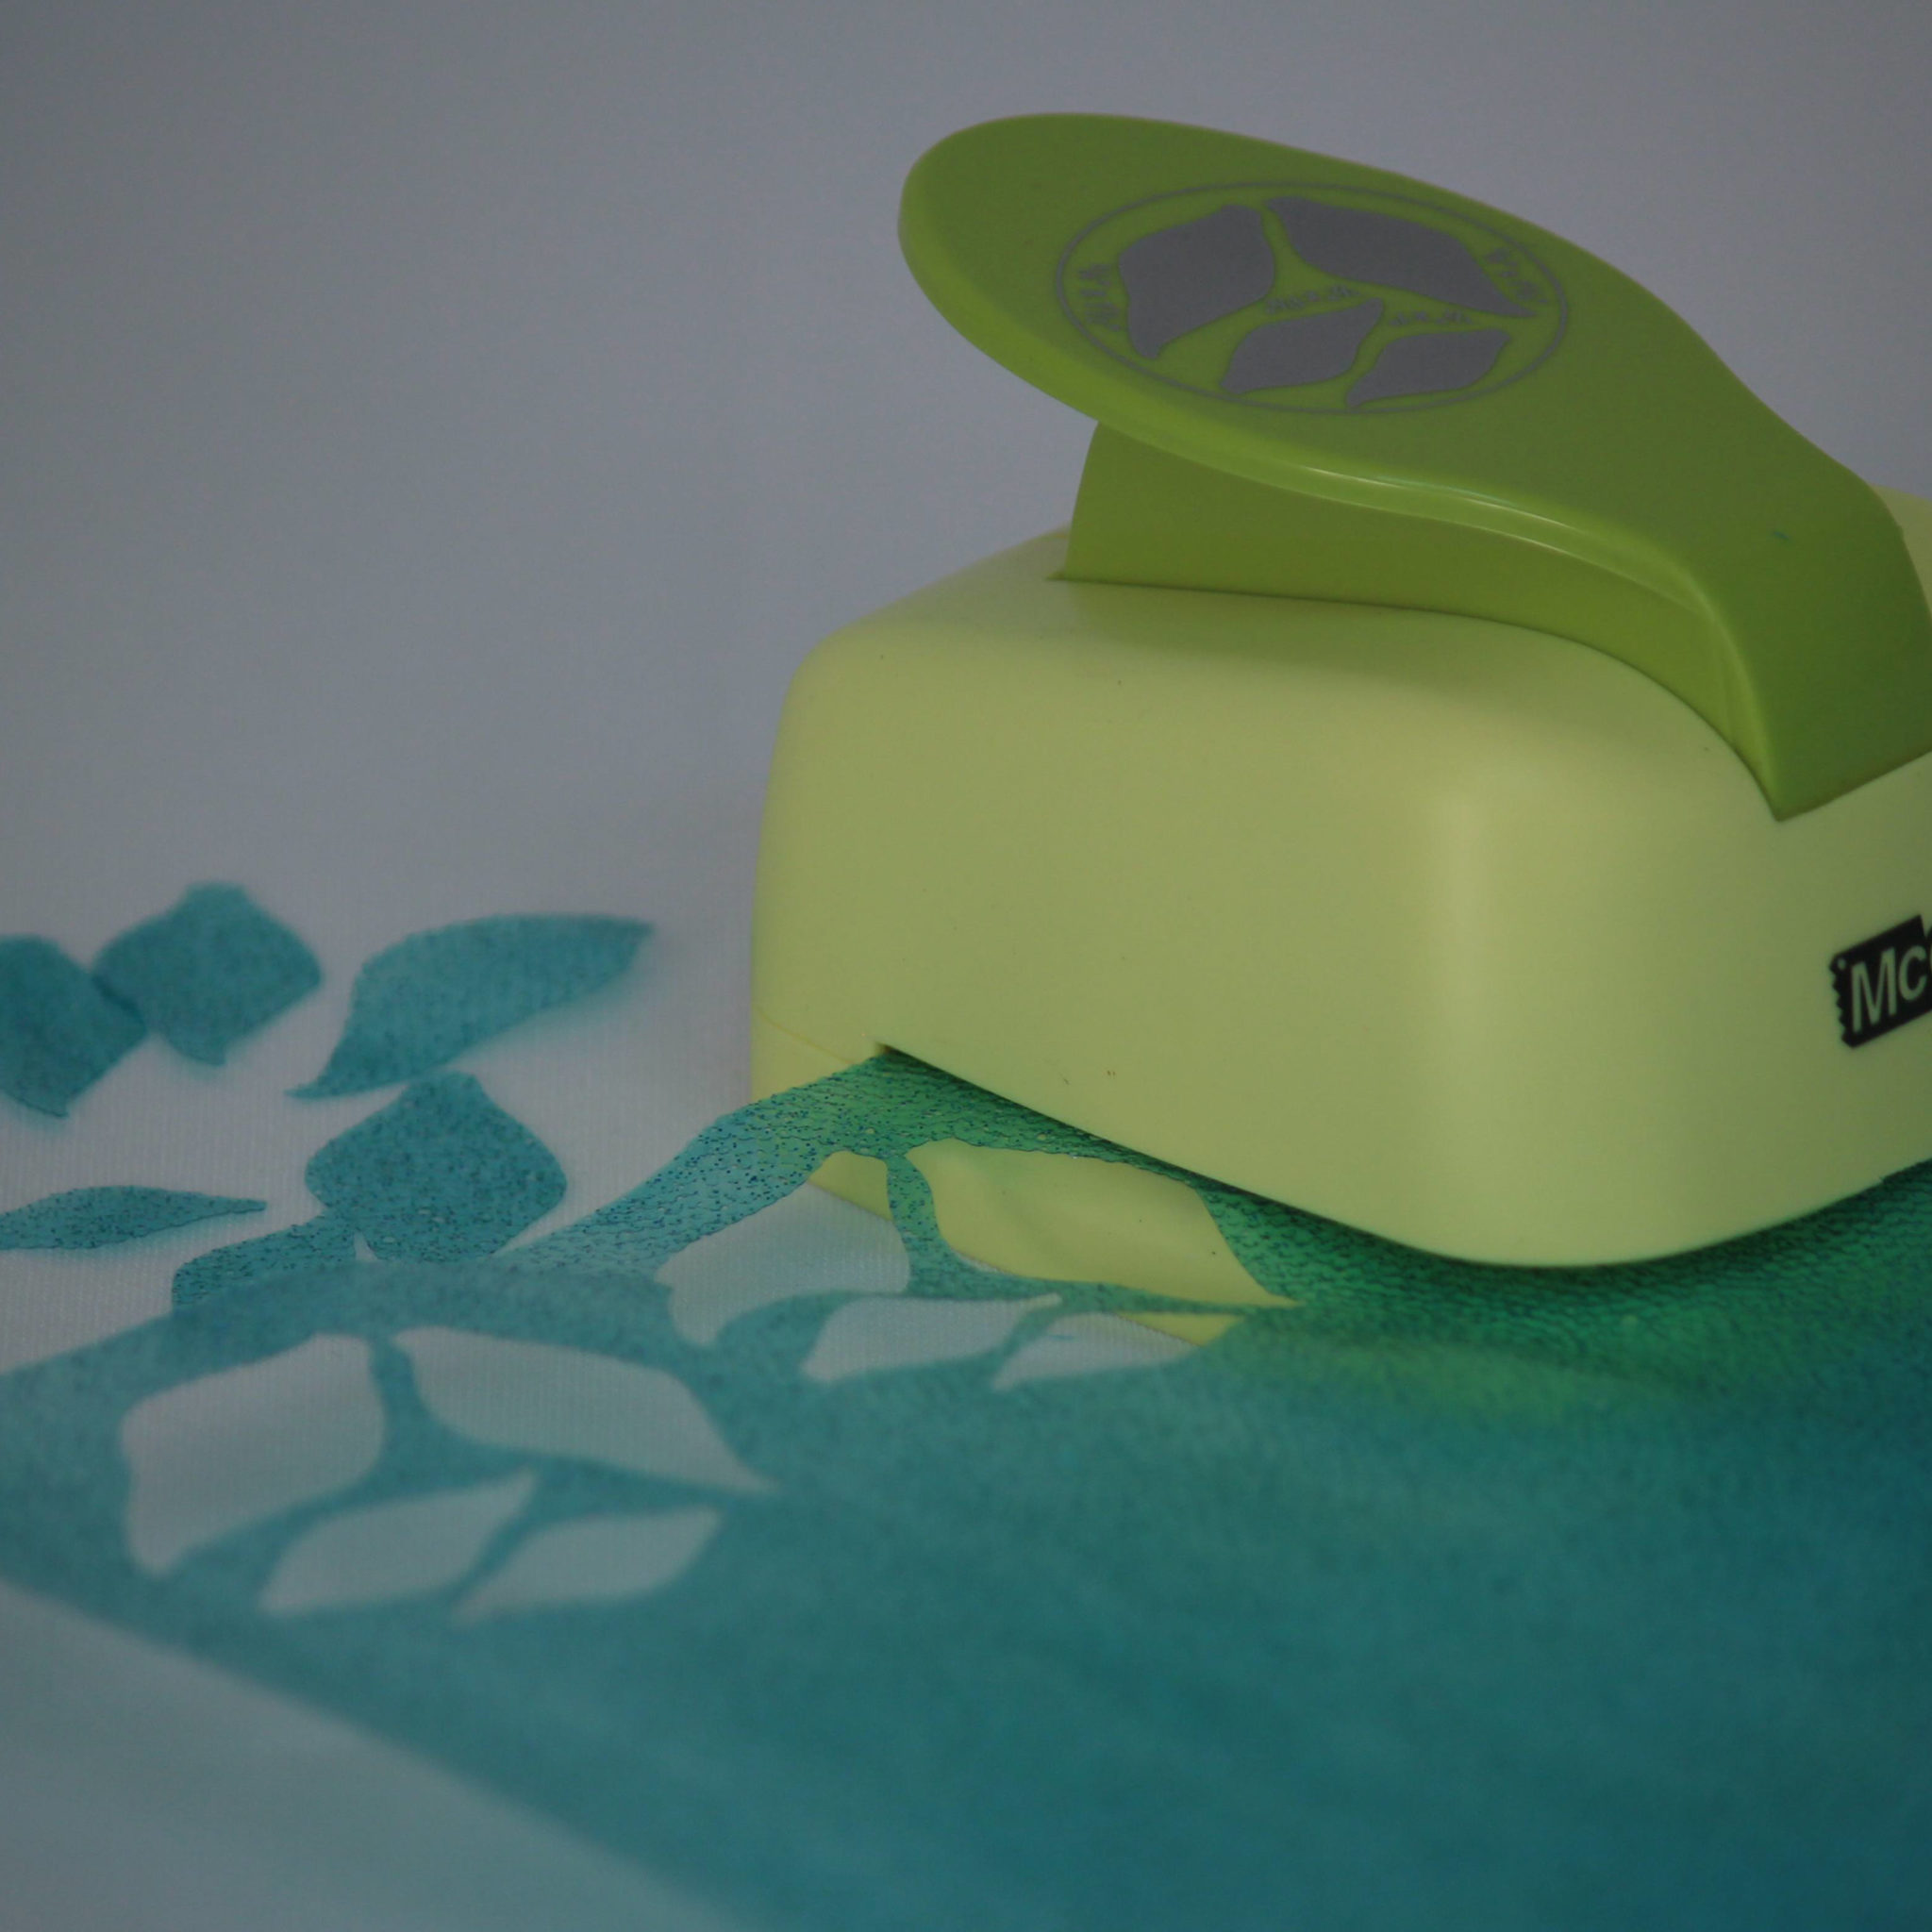 and done, mini pieces to create your own look, and this is just a small sampling. There are border punches to add pizzazz to your bows and ribbons. You can cut circles and lay them on your texture sheets right after brushing the gelatin on to have polka dot sheets.
Let your imagination run wild and happy gelin’!
 About the Author
Diane Simmons is from Michigan and owns Cake Connection, a retail supply shop. She has been traveling the world sharing her method for gelatin flowers since creating the veining sheets over five years ago. Please visit her at www.cakeconnection.com.