Sugar Portraits
By Rosemary Galpin
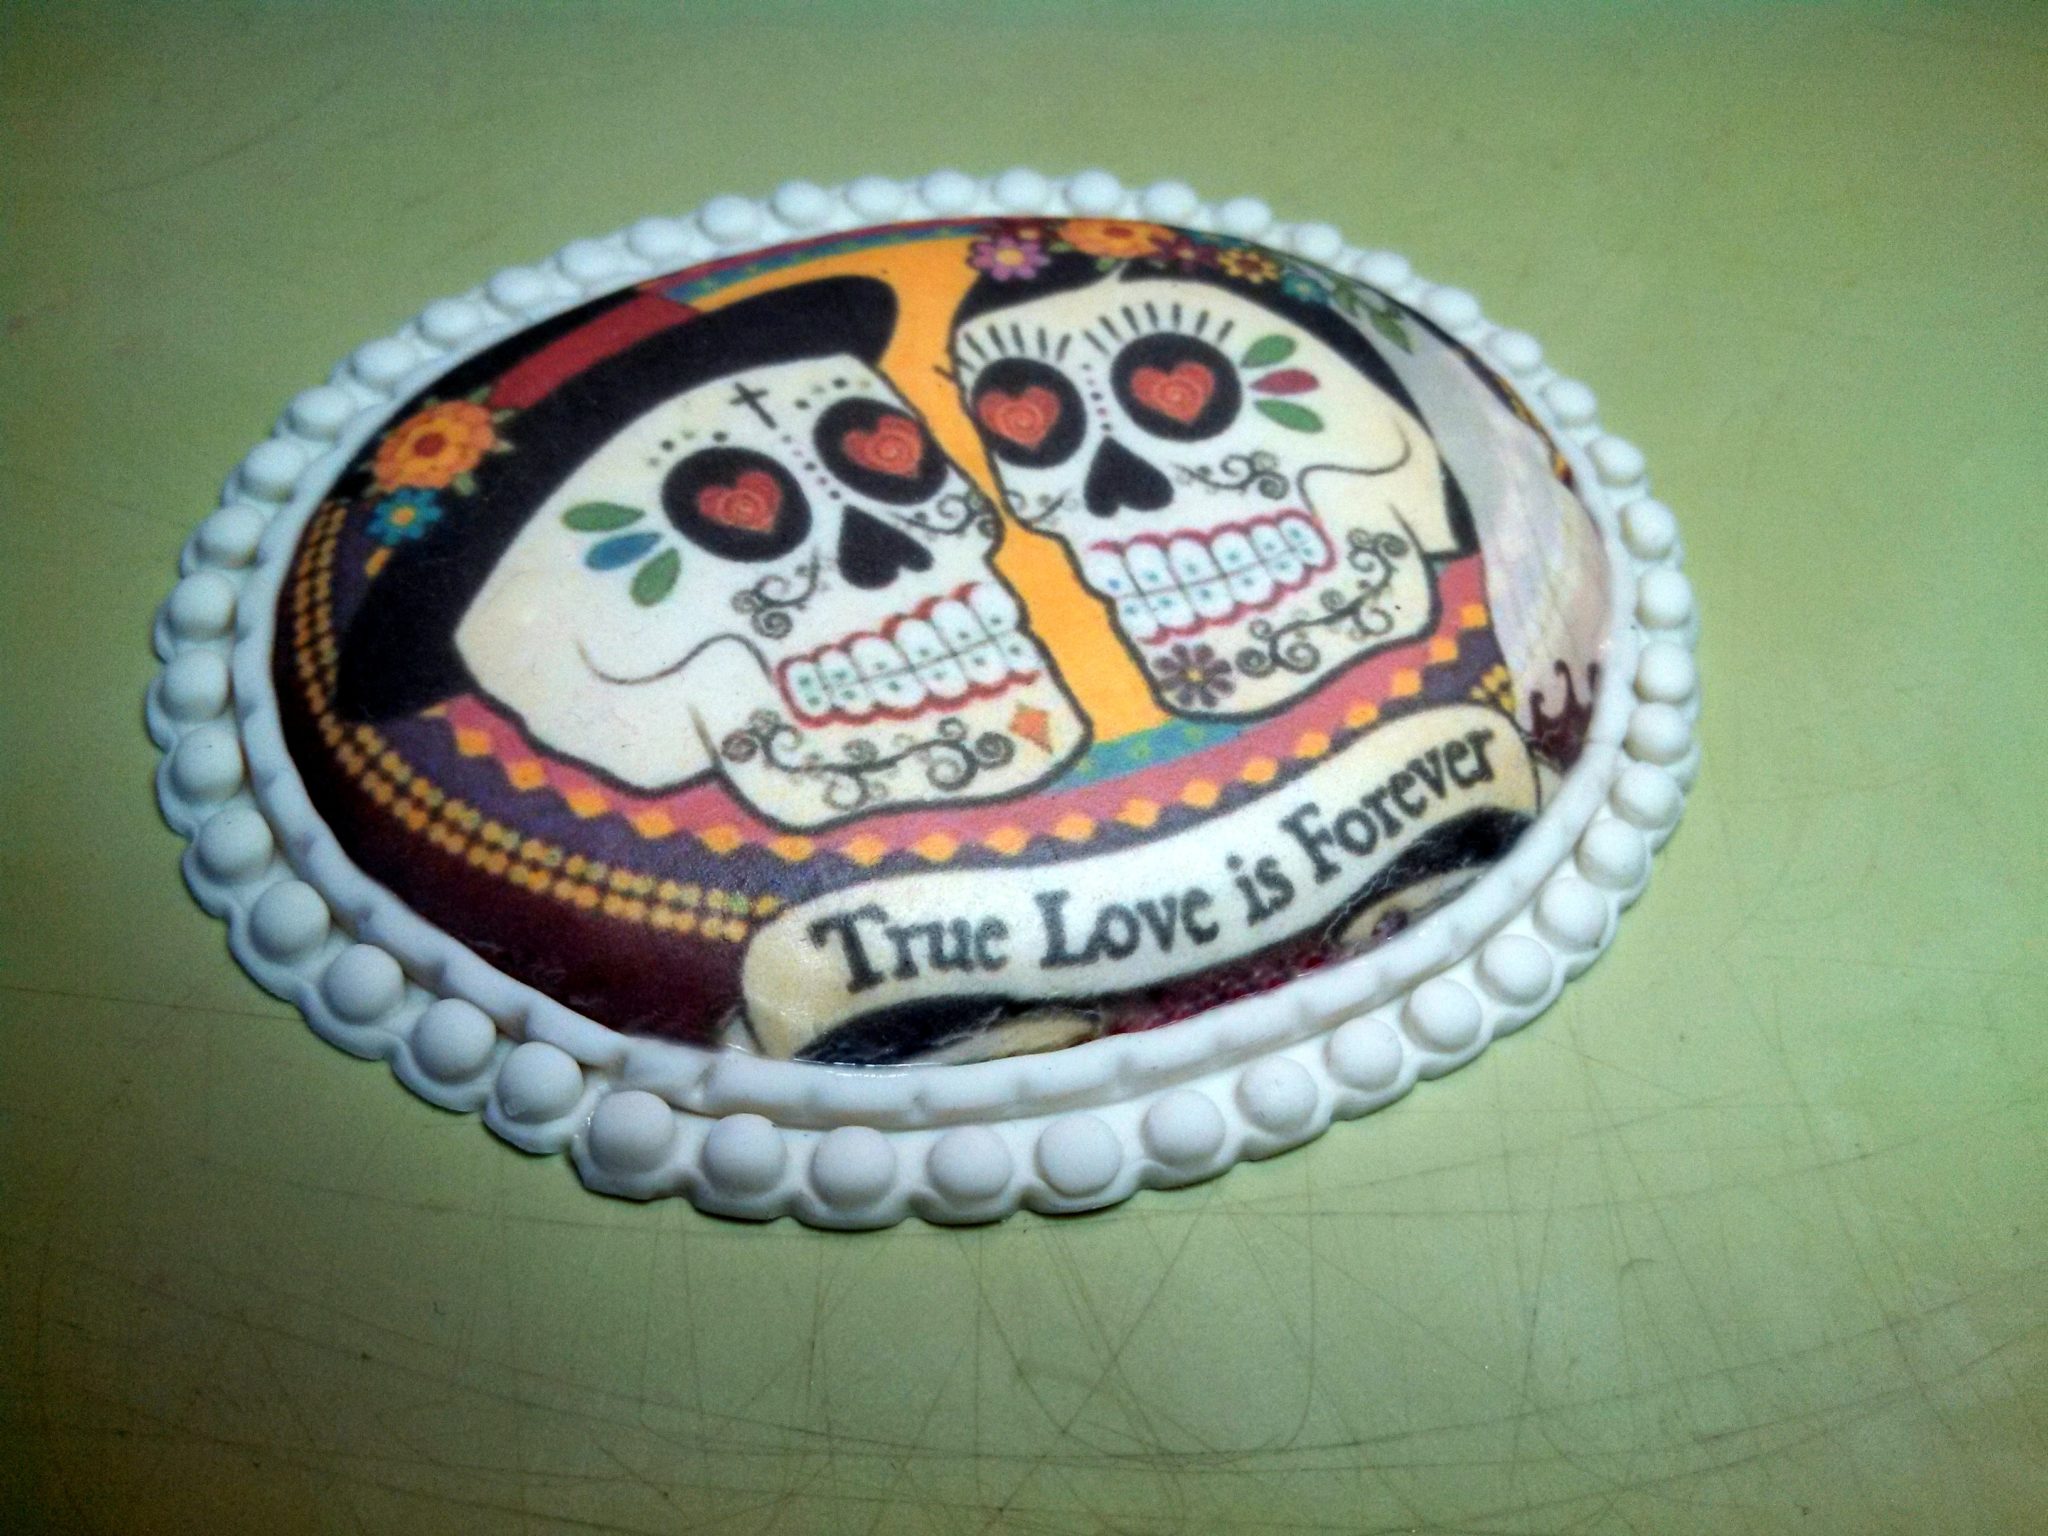
I have had many requests for instructions for making the “Vintage Porcelain Miniatures” on my hat inspired cake created for the Oklahoma State Sugar Art Show in 2012.
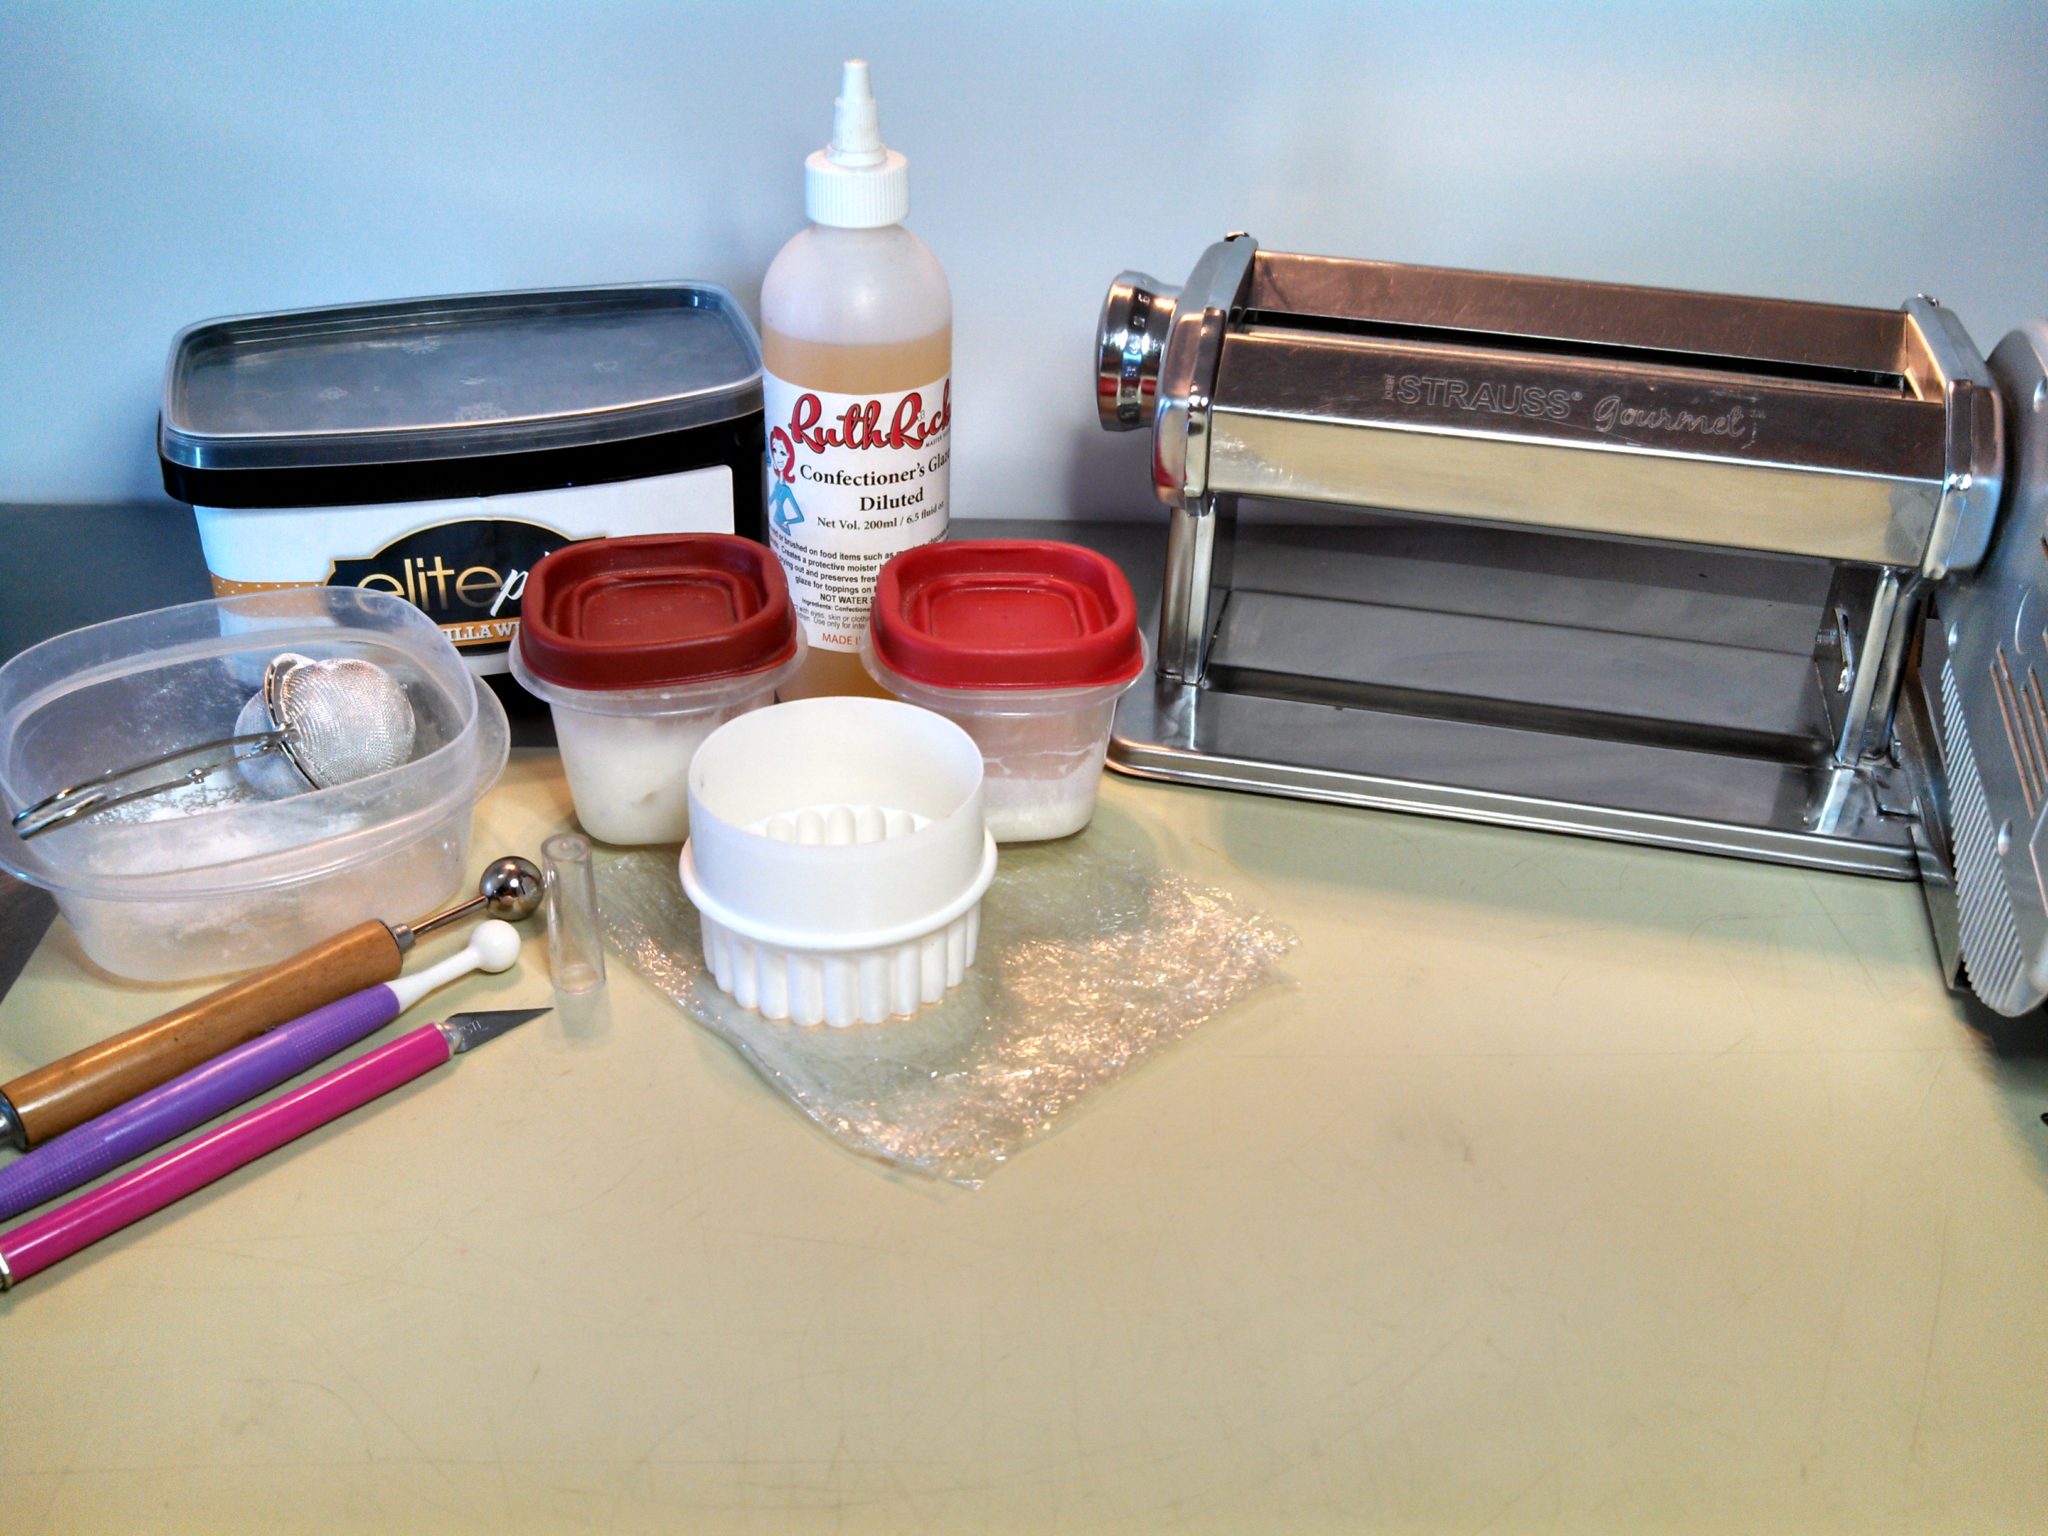
Supplies & Tools You Will Need:
- Fondant (with a bit of Ty lose) or Gum Paste
- Edible Image of Your Choice
- Edible Glue
- Shortening (I prefer high ratio)
- Powdered Sugar
- Confectioner’s Glaze
- Rolling Pin (pasta machine optional)
- Cutting Surface
- Cutter (shape appropriate to edible image)
- Ball Tools (Small-Medium-Large)
- Exacto Knife
- Plastic Wrap
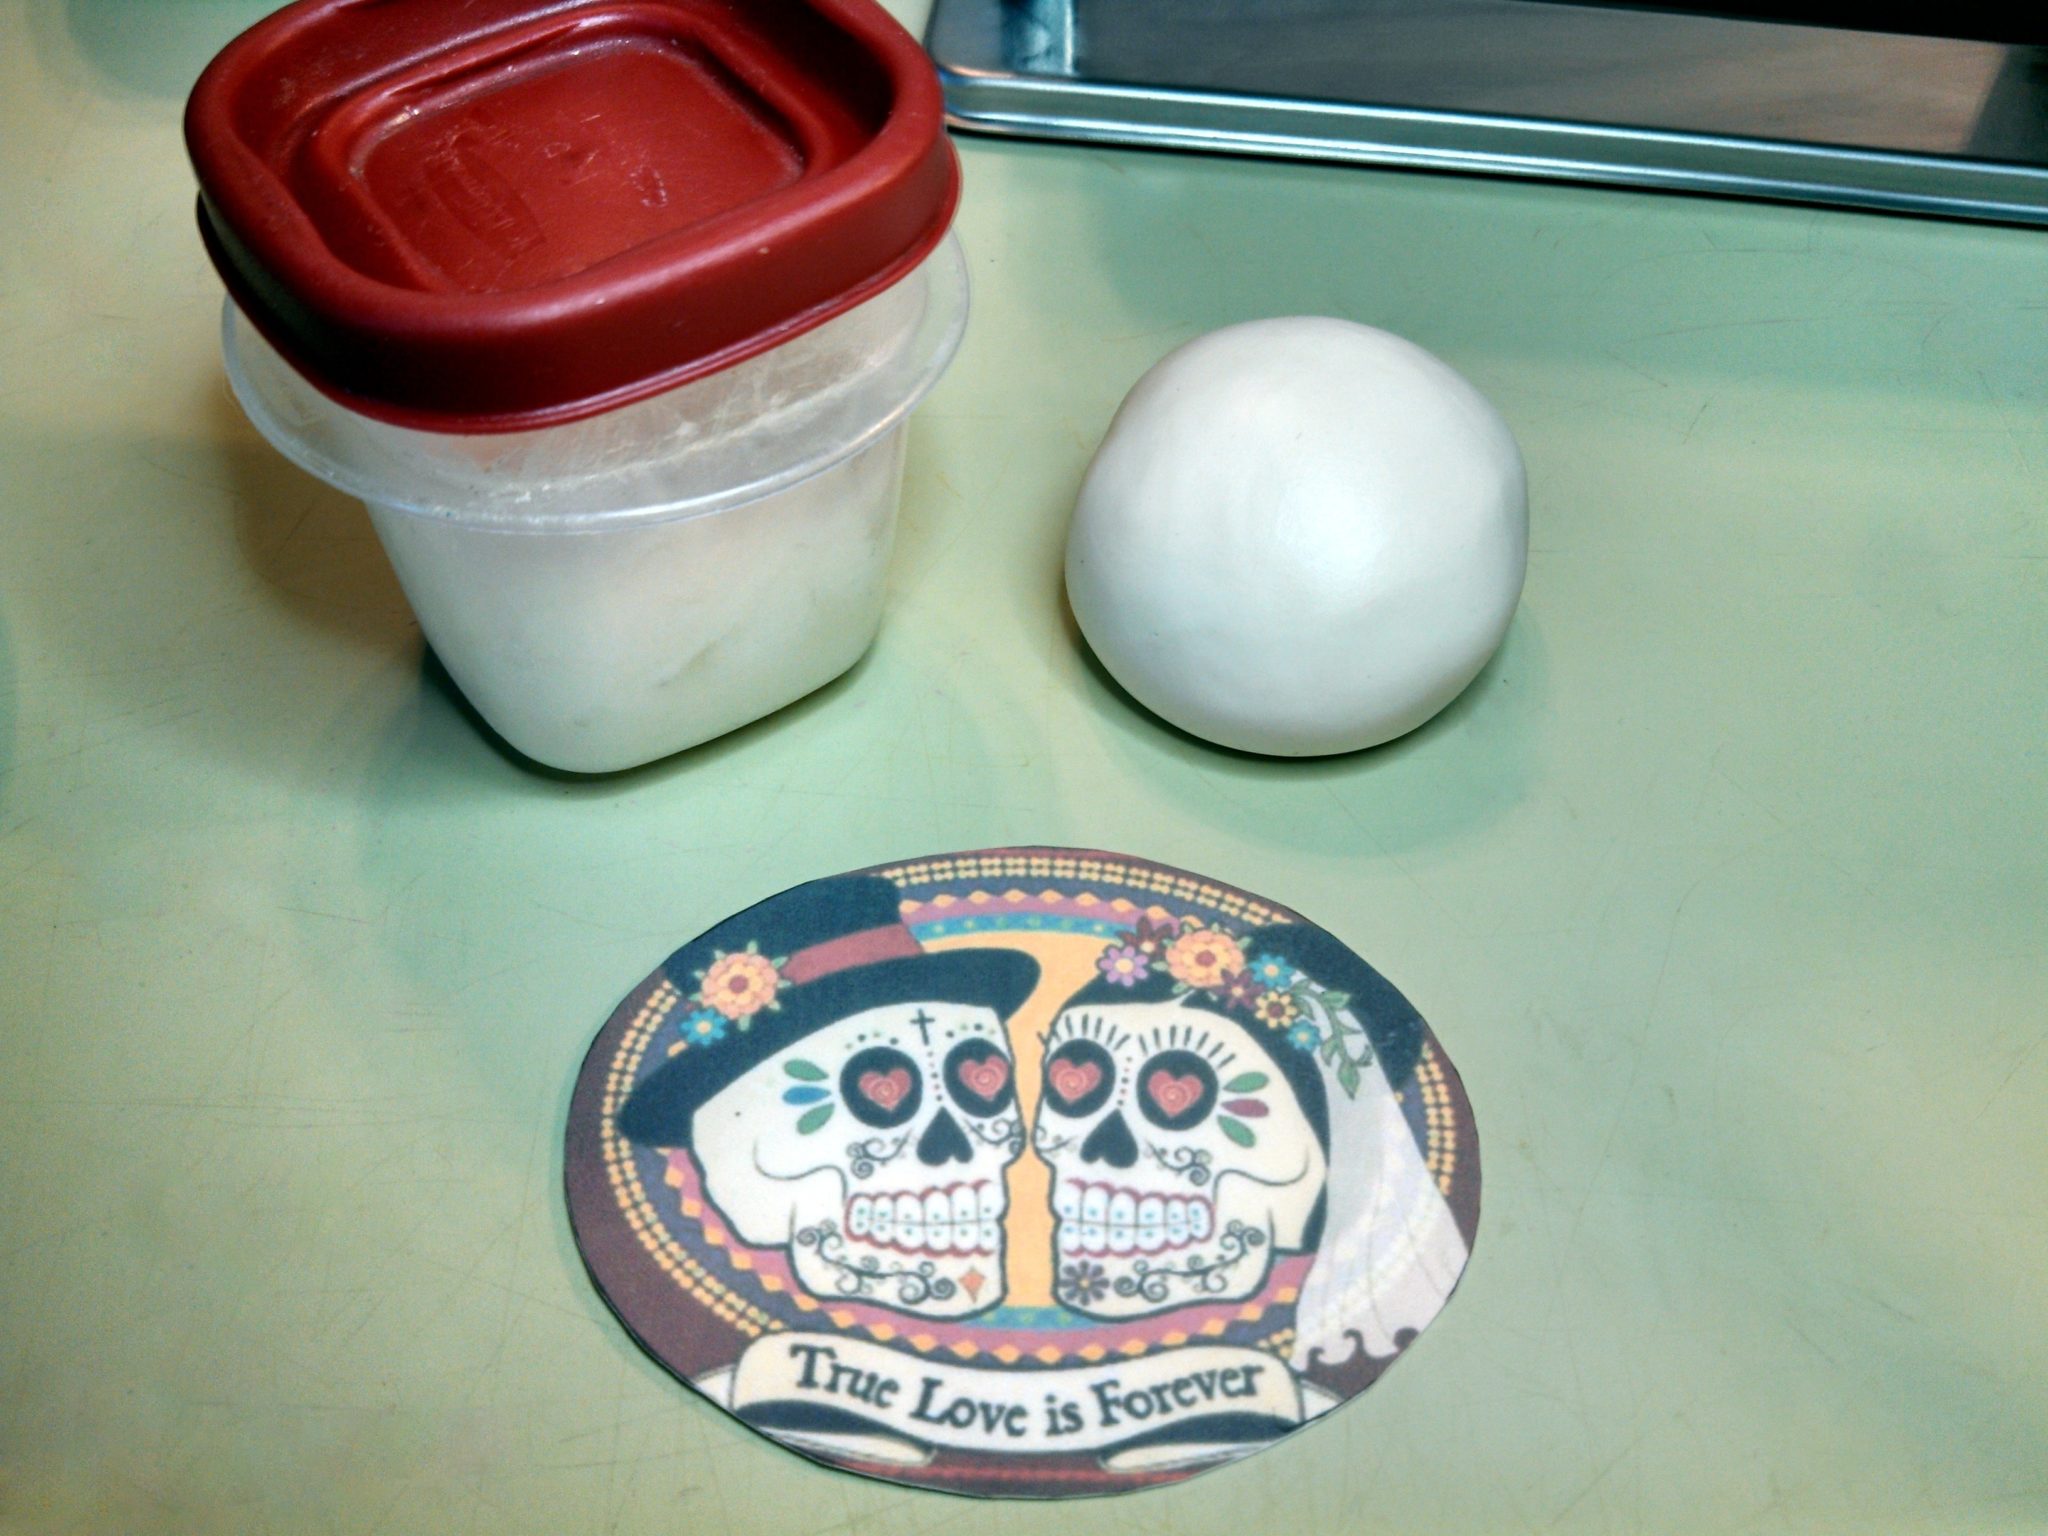
After printing your image using edible paper, decide what size/shape would best suit your project and cut out while still on the paper backing.
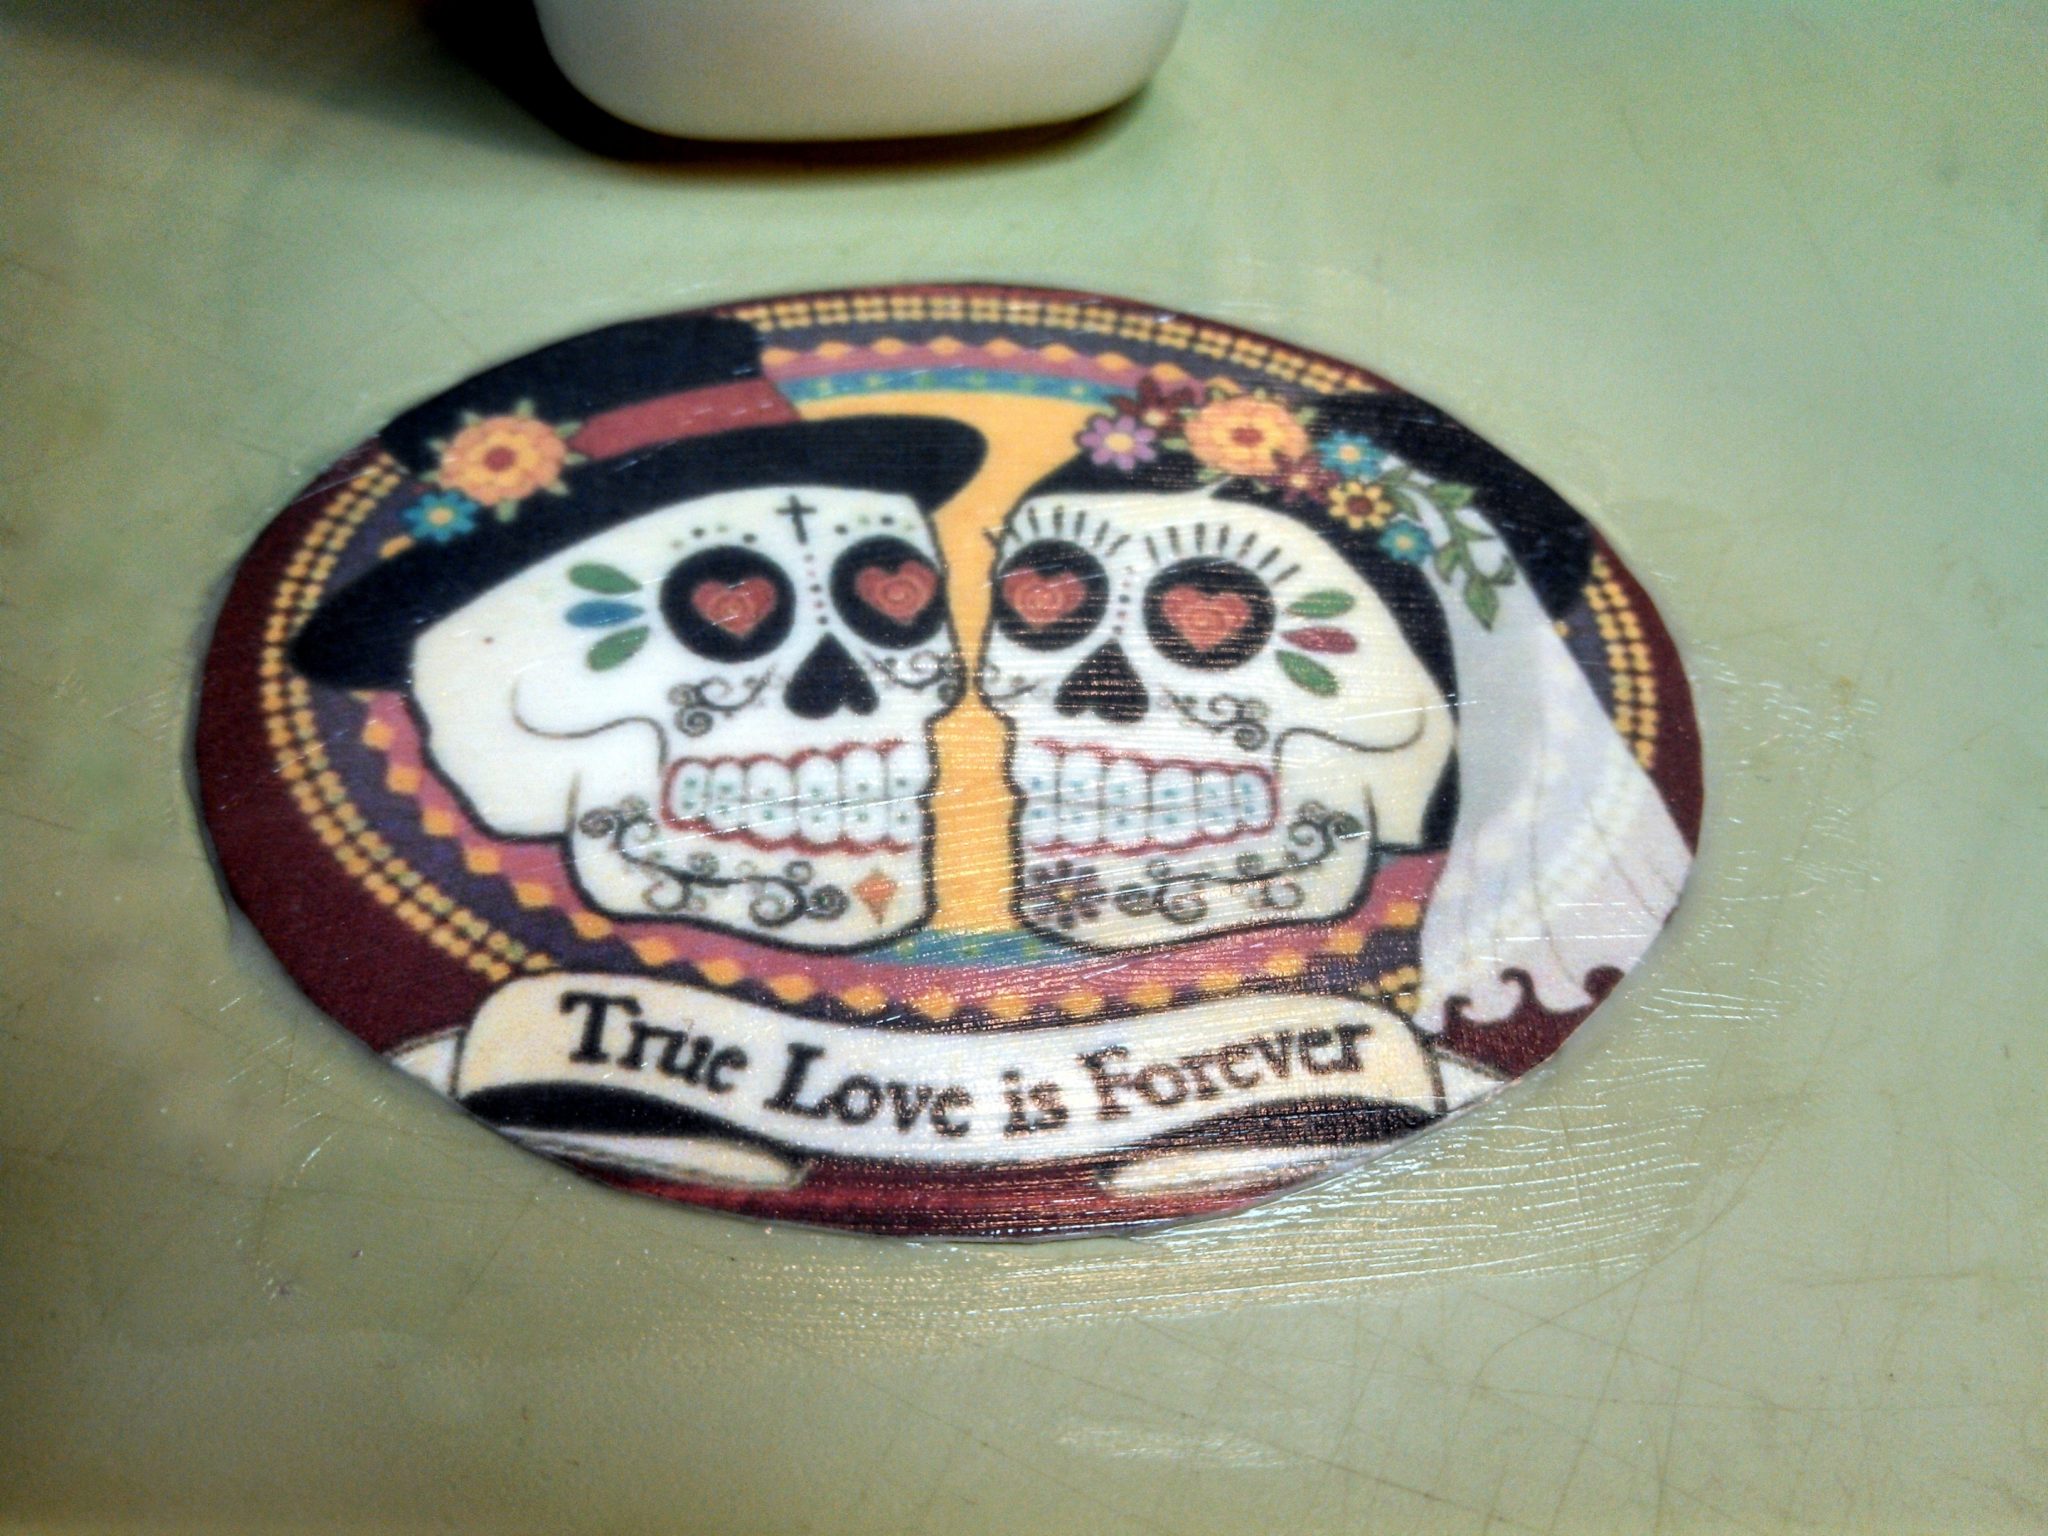
 Apply a generous coat of high ratio shortening to the front of the edible image and let rest for ½ hour to soften for more pliability when shaping.
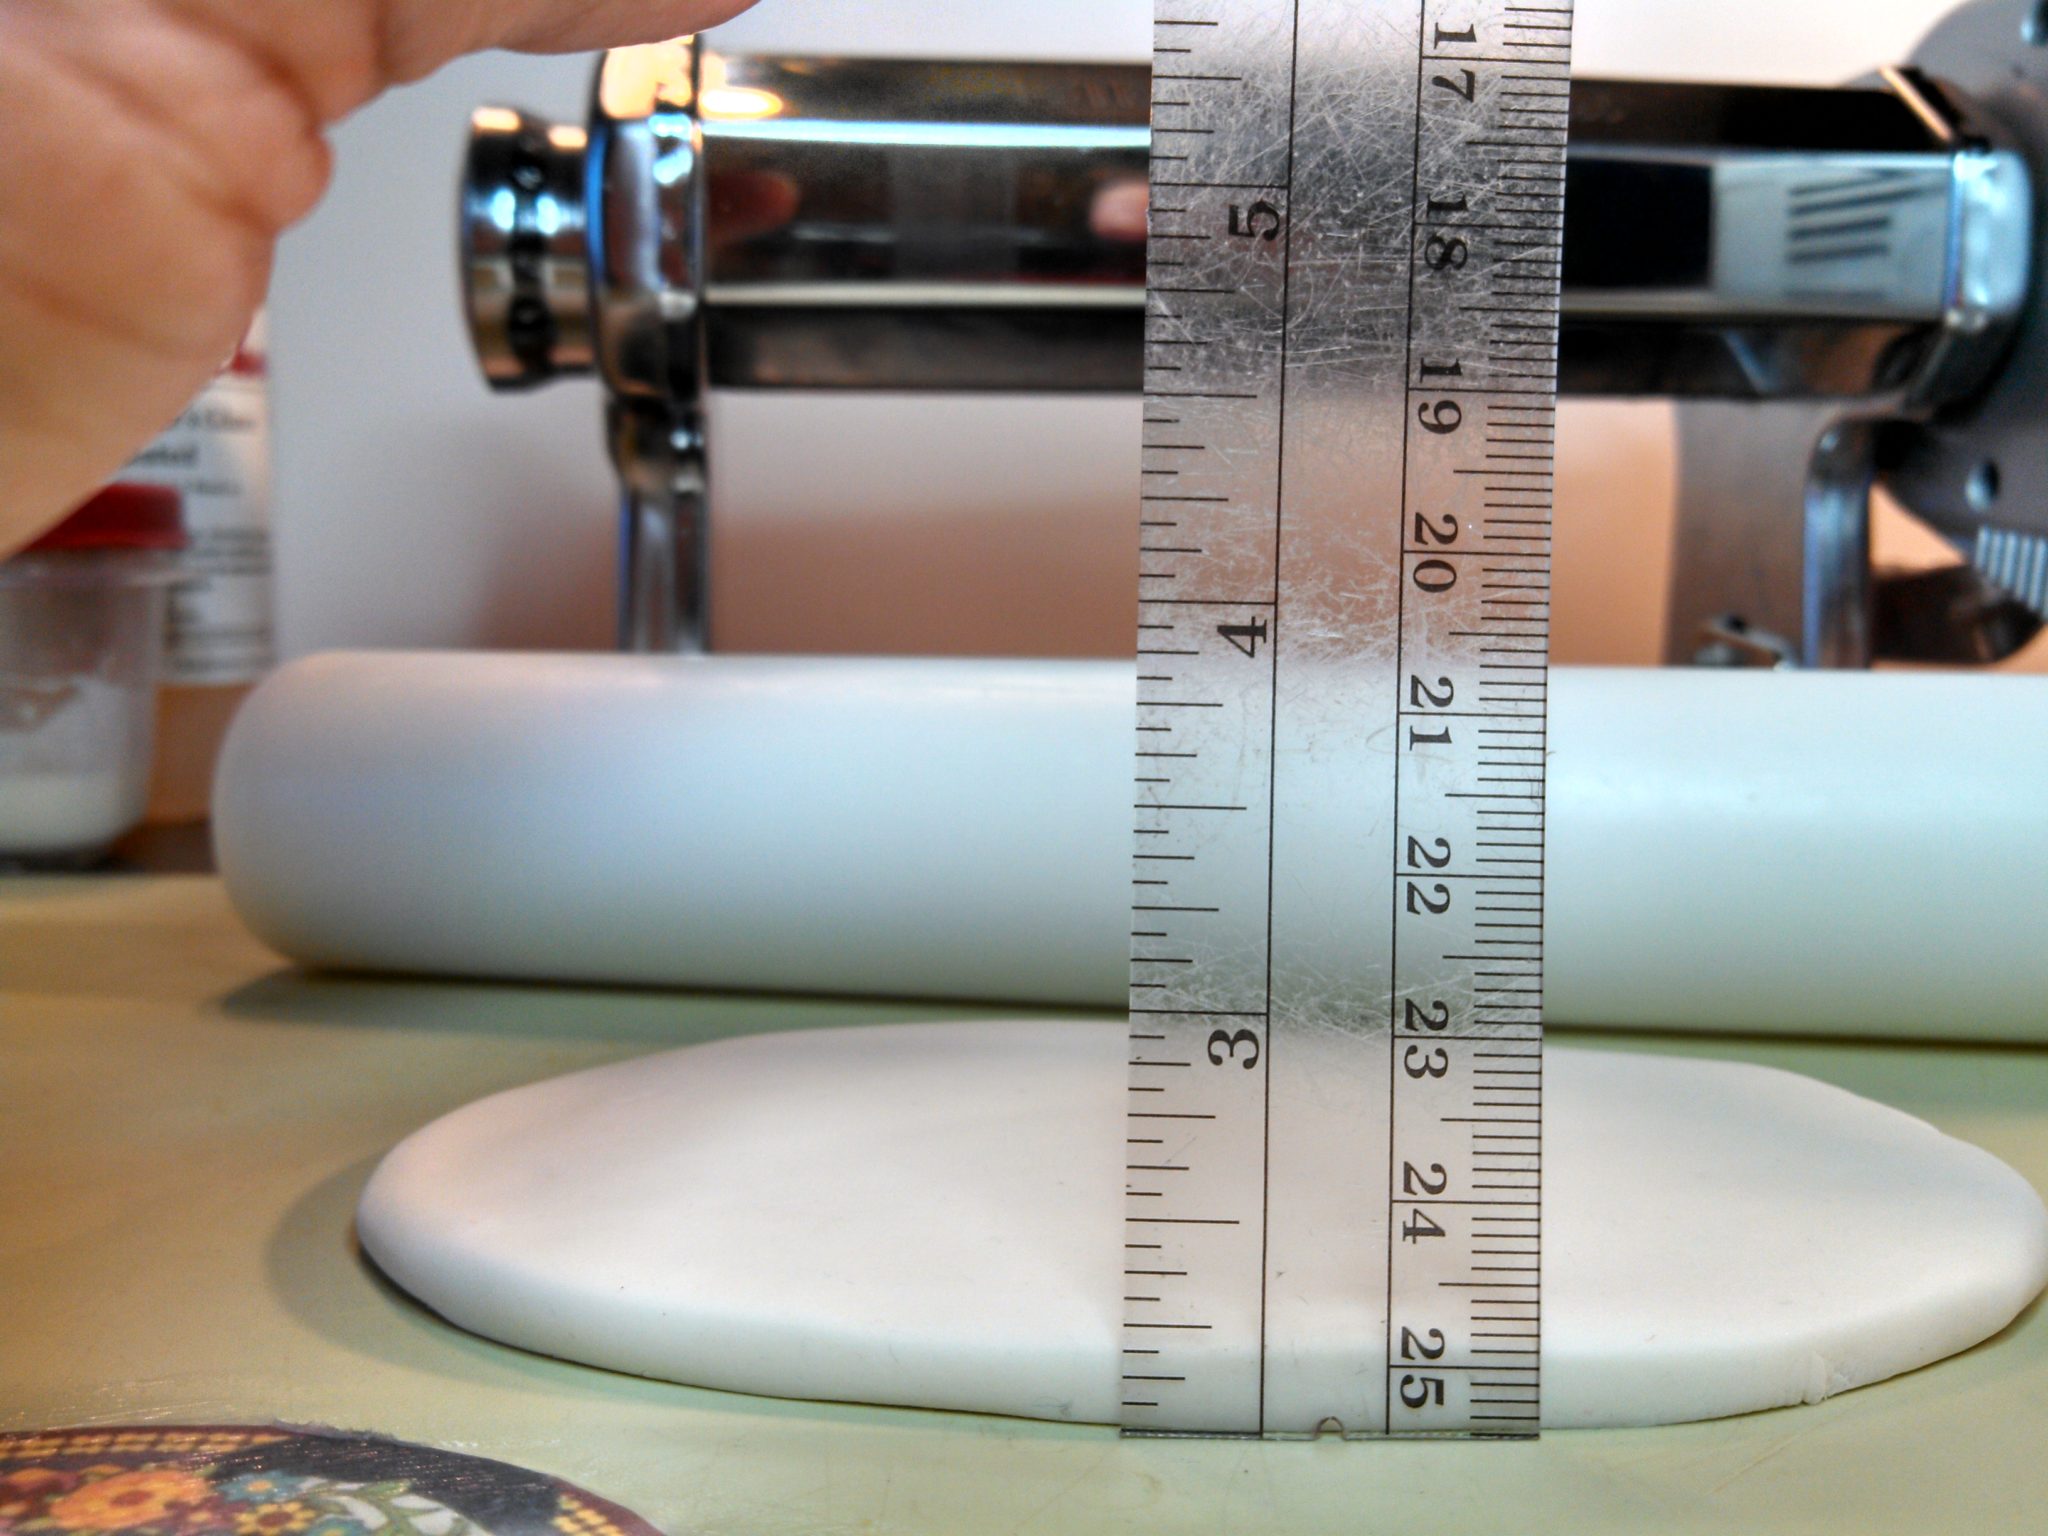
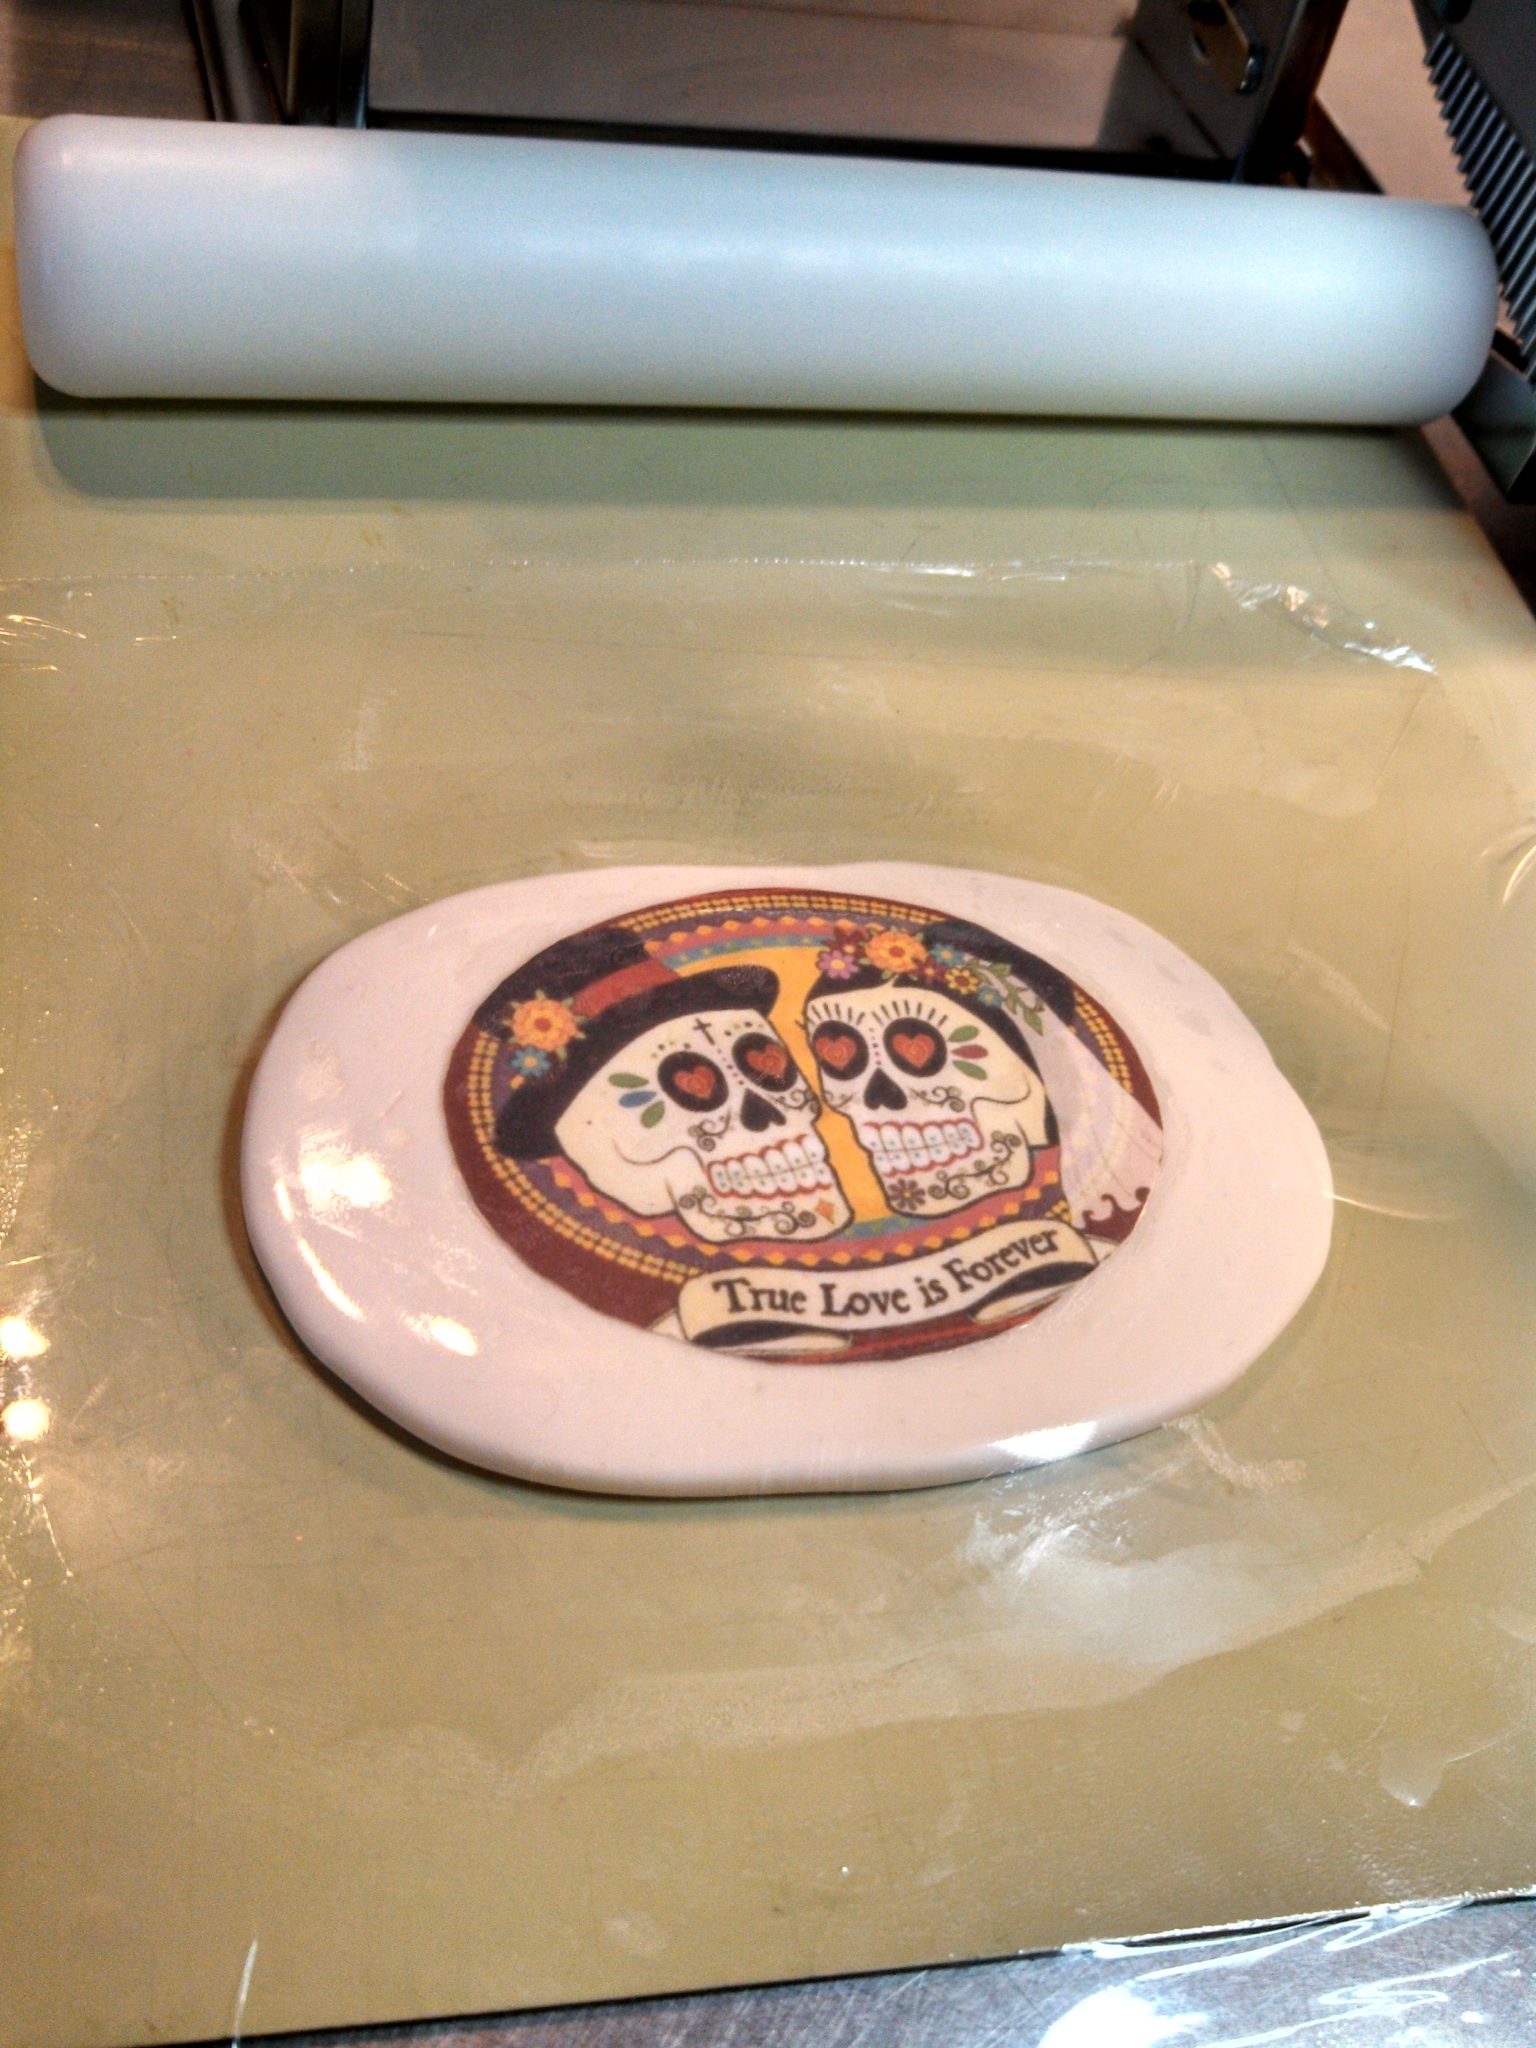
 Roll out fondant to approx. 3/16” deep and 1” wider around than your image.

 Turn image upside down, remove and discard paper backing. Apply a generous, even coat of edible glue to back and apply to fondant taking care to gently smooth out from center to edges.
 Stretch a piece of plastic wrap over the fondant taking care to keep tight and free of wrinkles and large air bubbles. I find that applying a ring of shortening on my work board around my project helps keep the plastic wrap smooth and tight.
Using a greased large ball tool, apply light pressure while going around your cut out just catching the outer edge of the image.
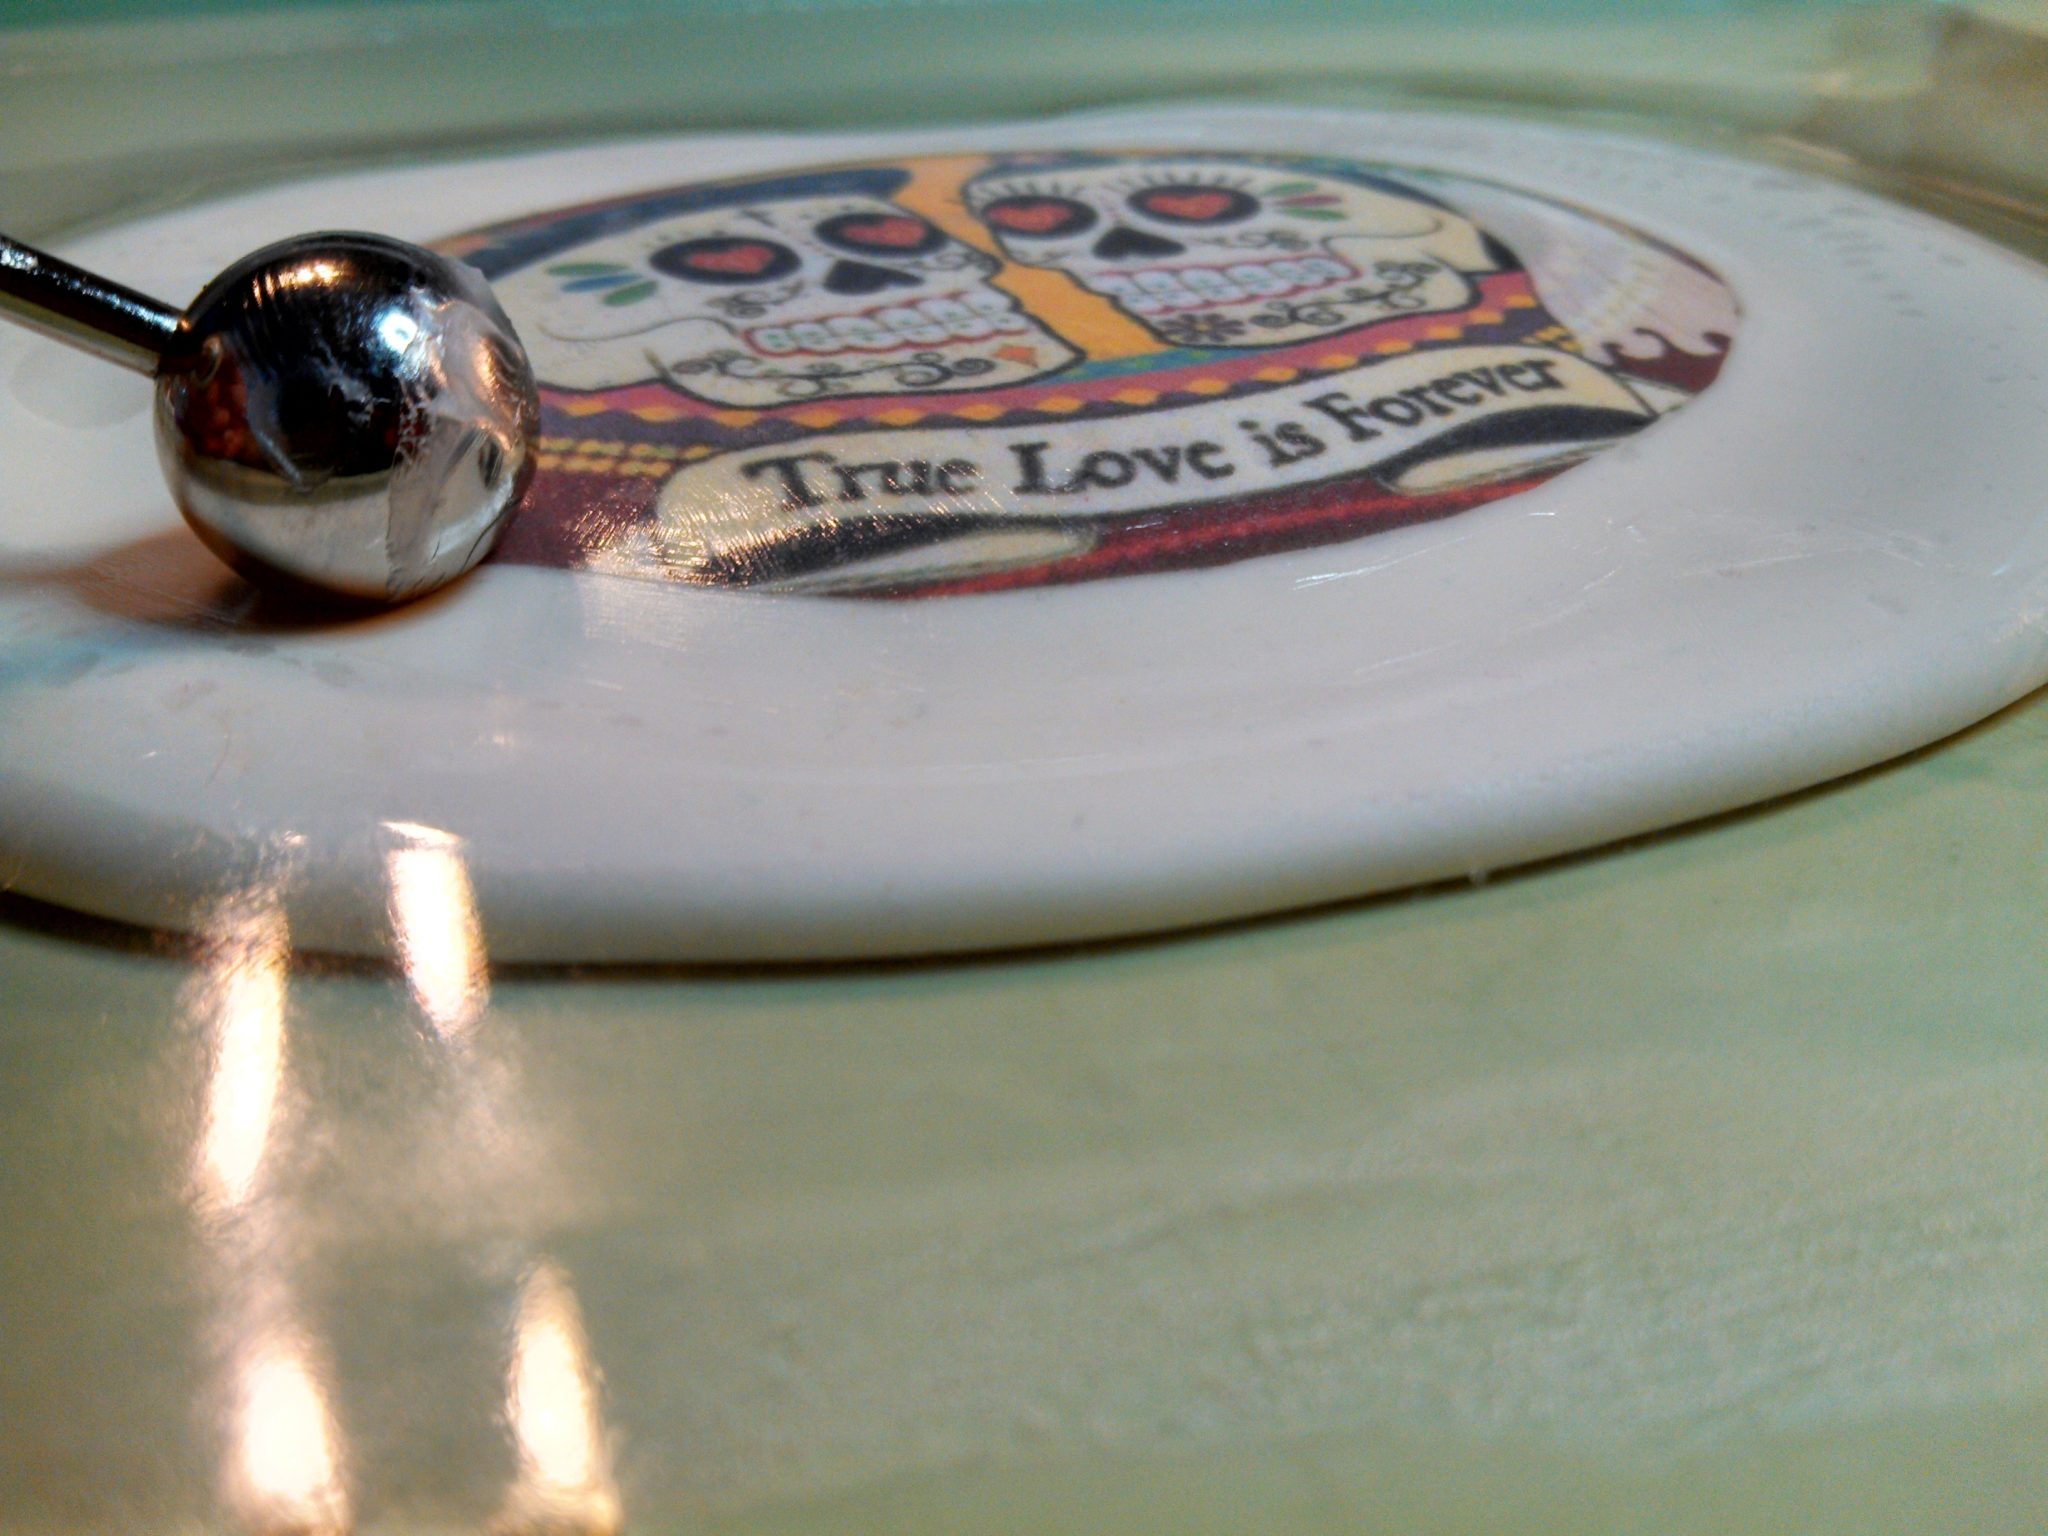 You may have to use your fingers to gently smooth out any air bubbles that rise to the top during this process. Reduce the size of the ball tool as the image rounds down.
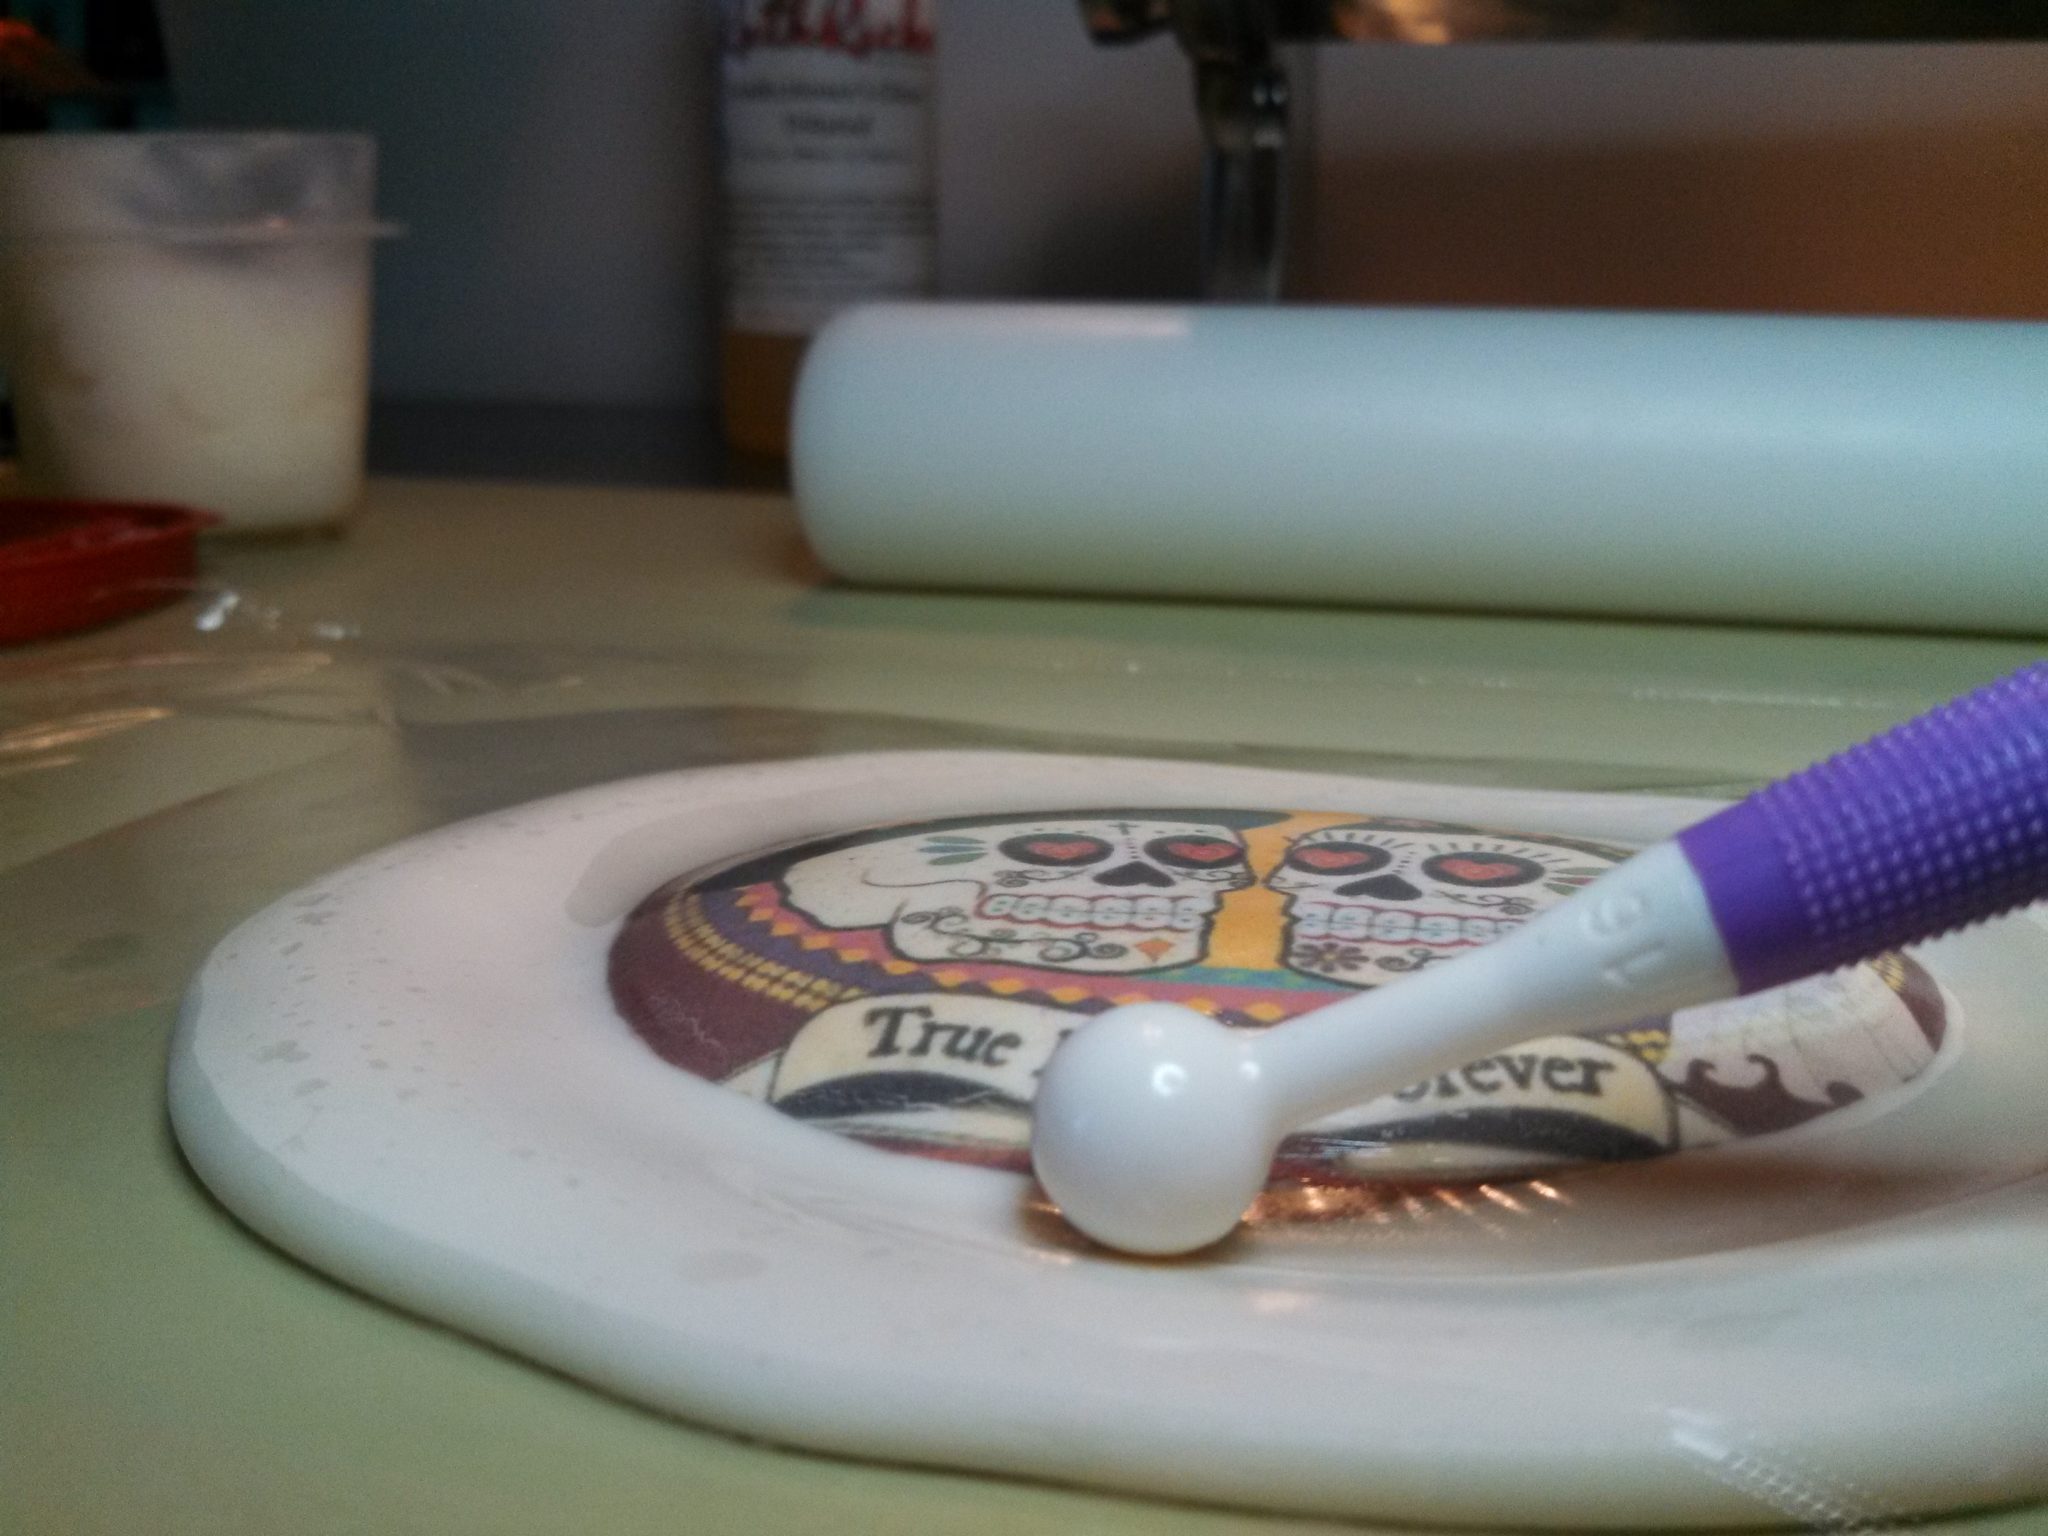 When the sides have rounded down almost to the work surface, remove the plastic wrap and carefully cut away the excess fondant using a greased Exacto knife angled to slightly undercut the fondant. Gently smooth the side with a greased finger to round out the bottom edge. Let the miniature dry overnight.
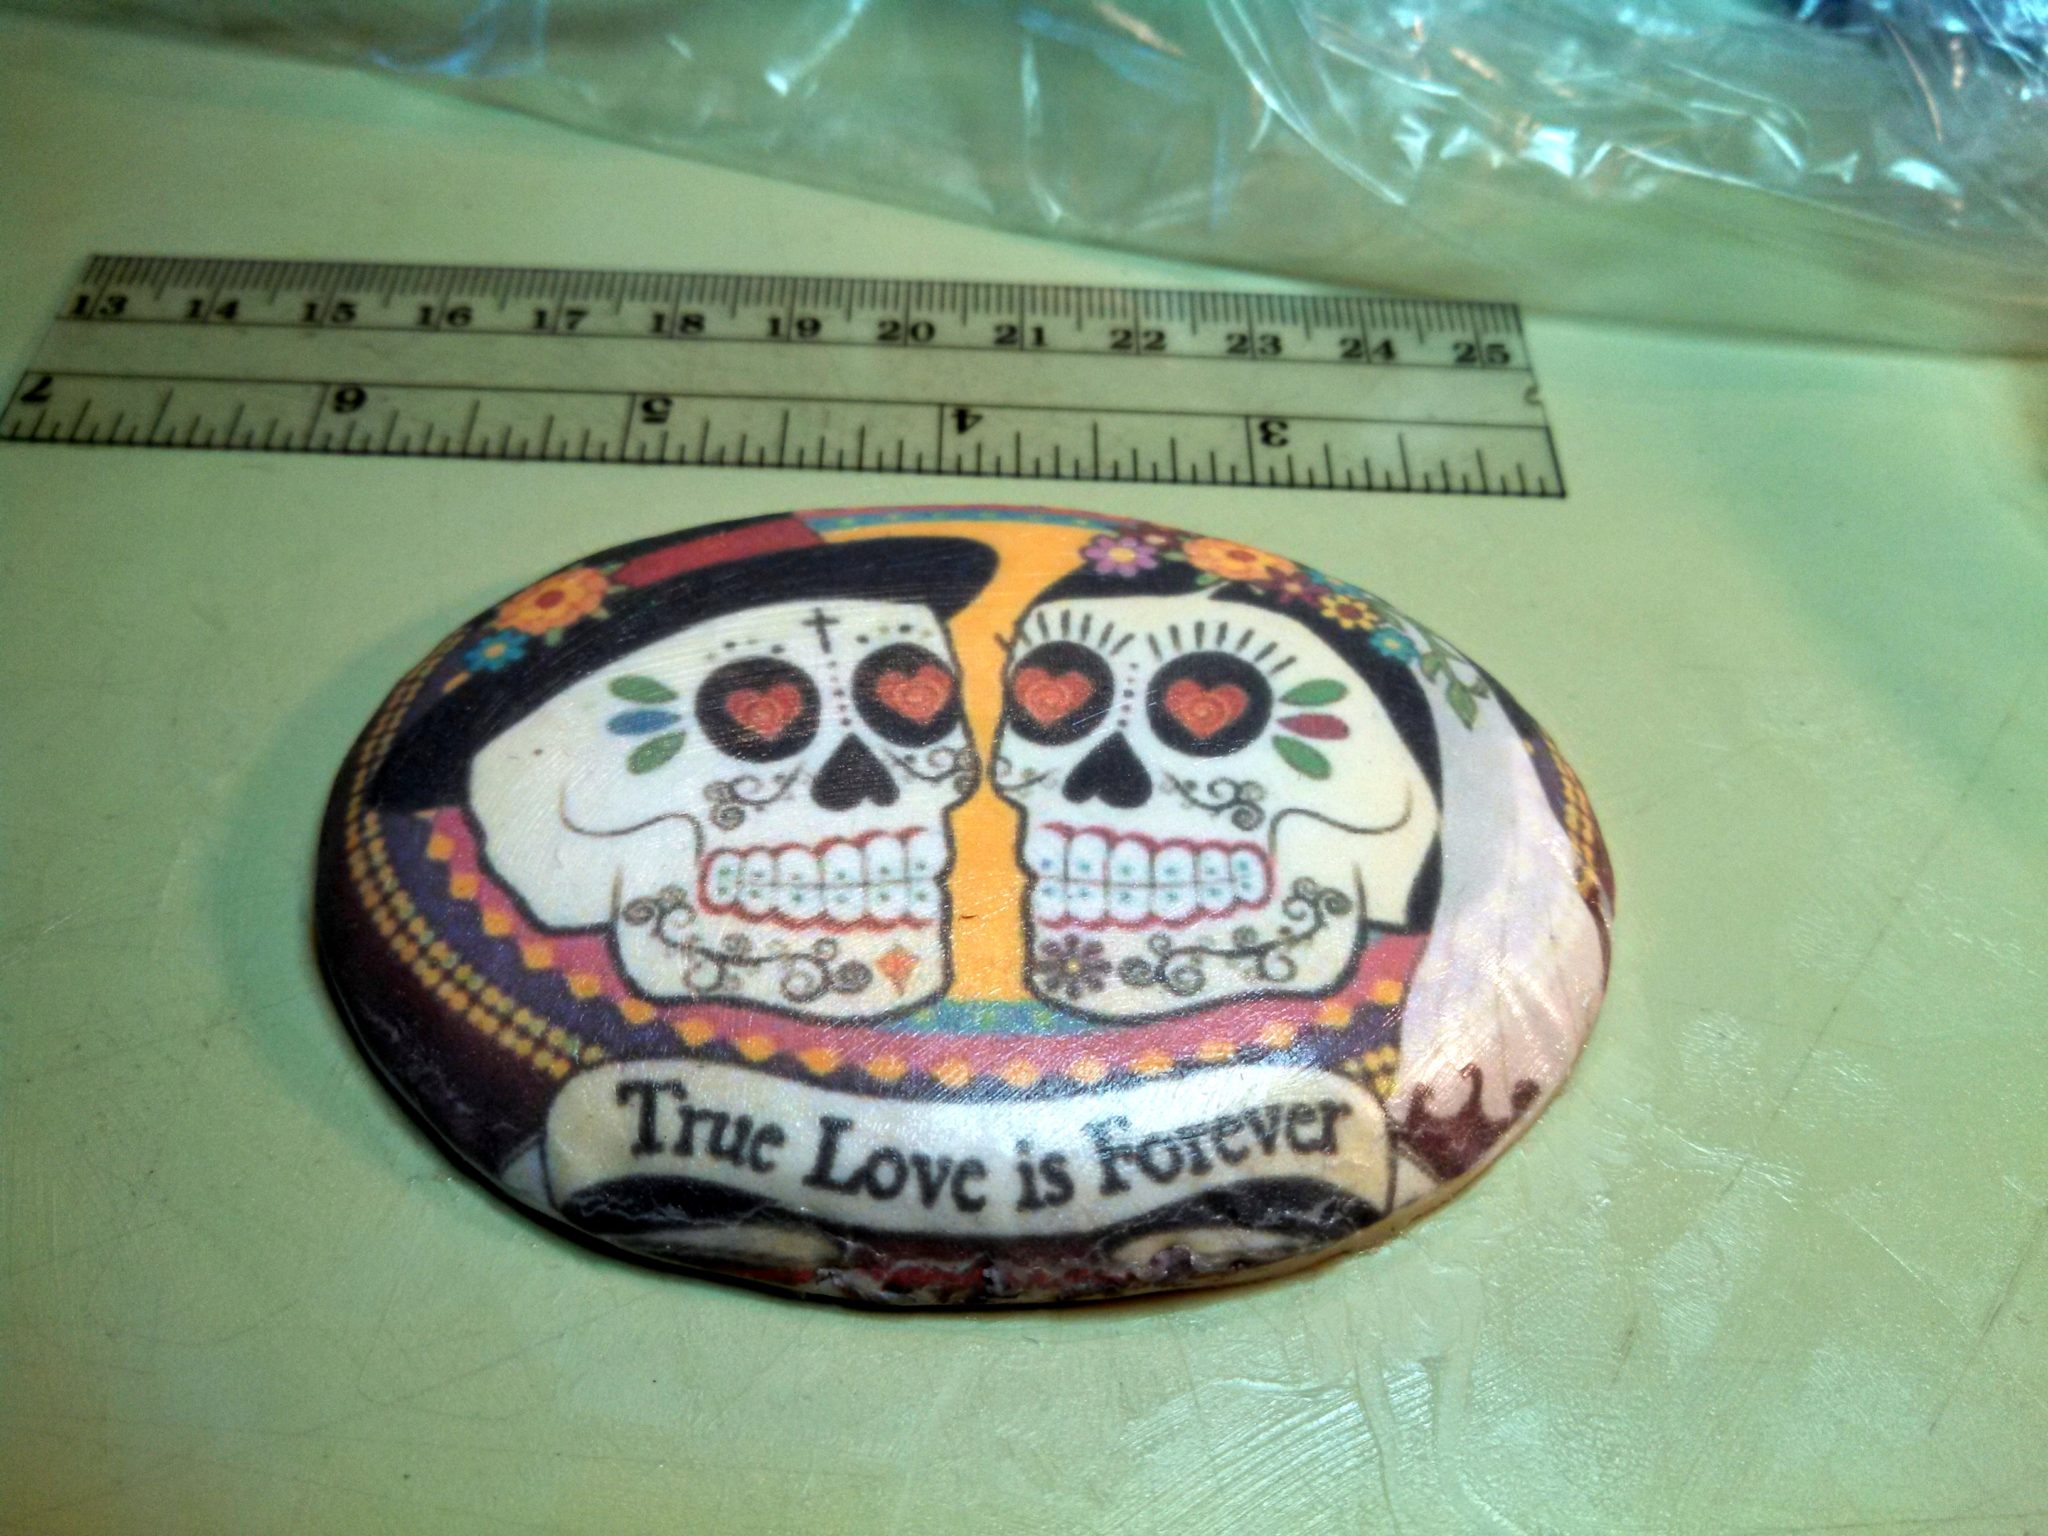 Attach your choice of sugar framing to edge of dried miniature with sugar glue and let dry.
 Paint frame with edible color mixed with a bit of vodka or lemon extract, dry for one hour.
 Apply a thin coat of confectioner’s glaze to entire project and let dry thoroughly.
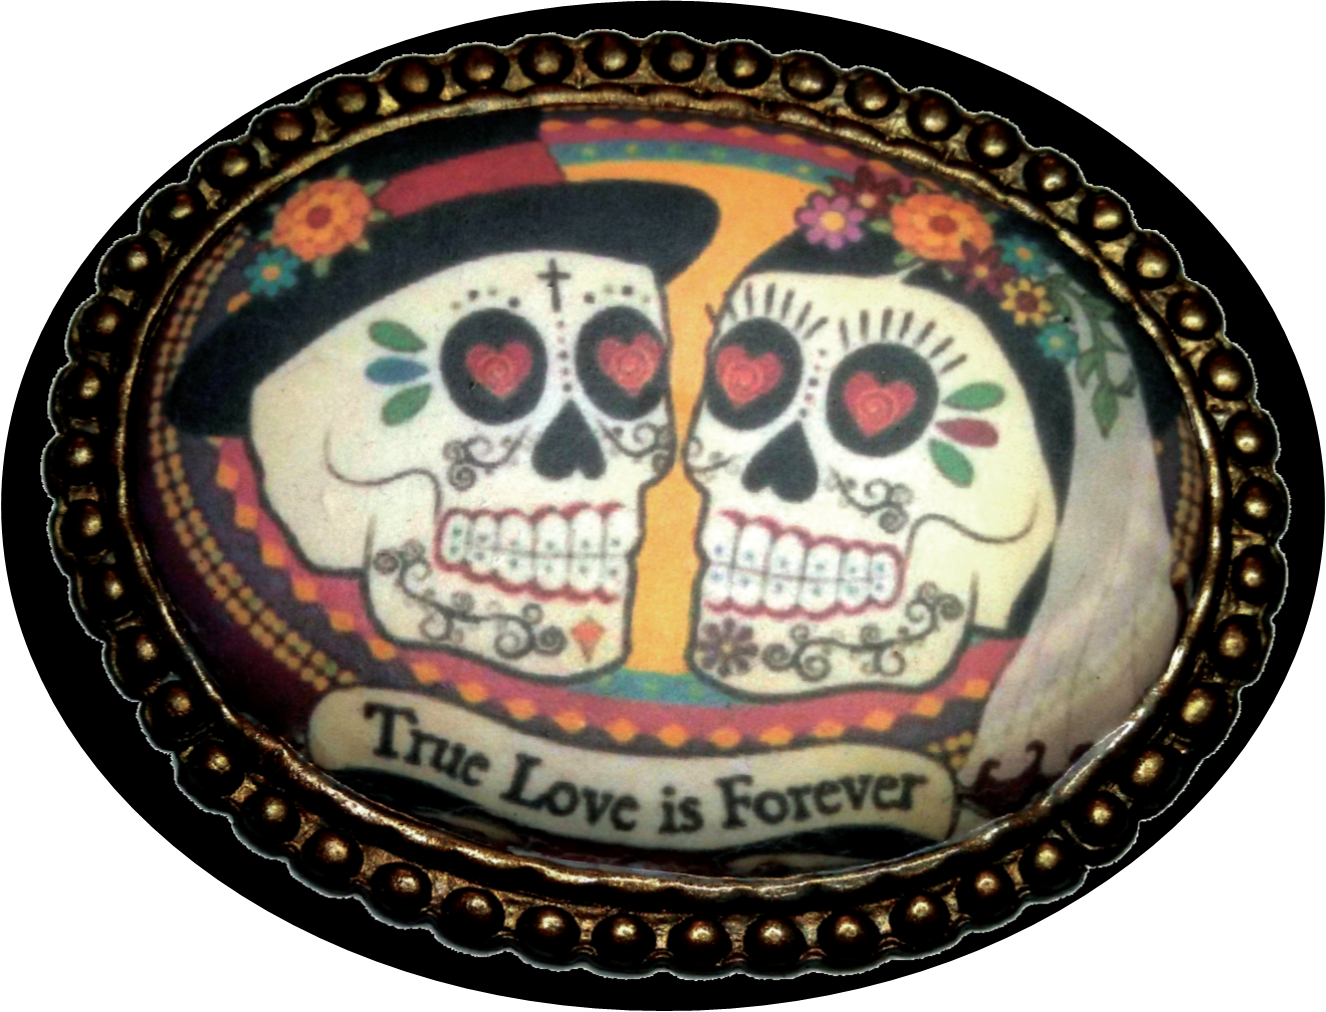 Hint – If you want a more aged and vintage feel, apply a light dusting of fawn or brown petal dust before applying the confectioner’s glaze.
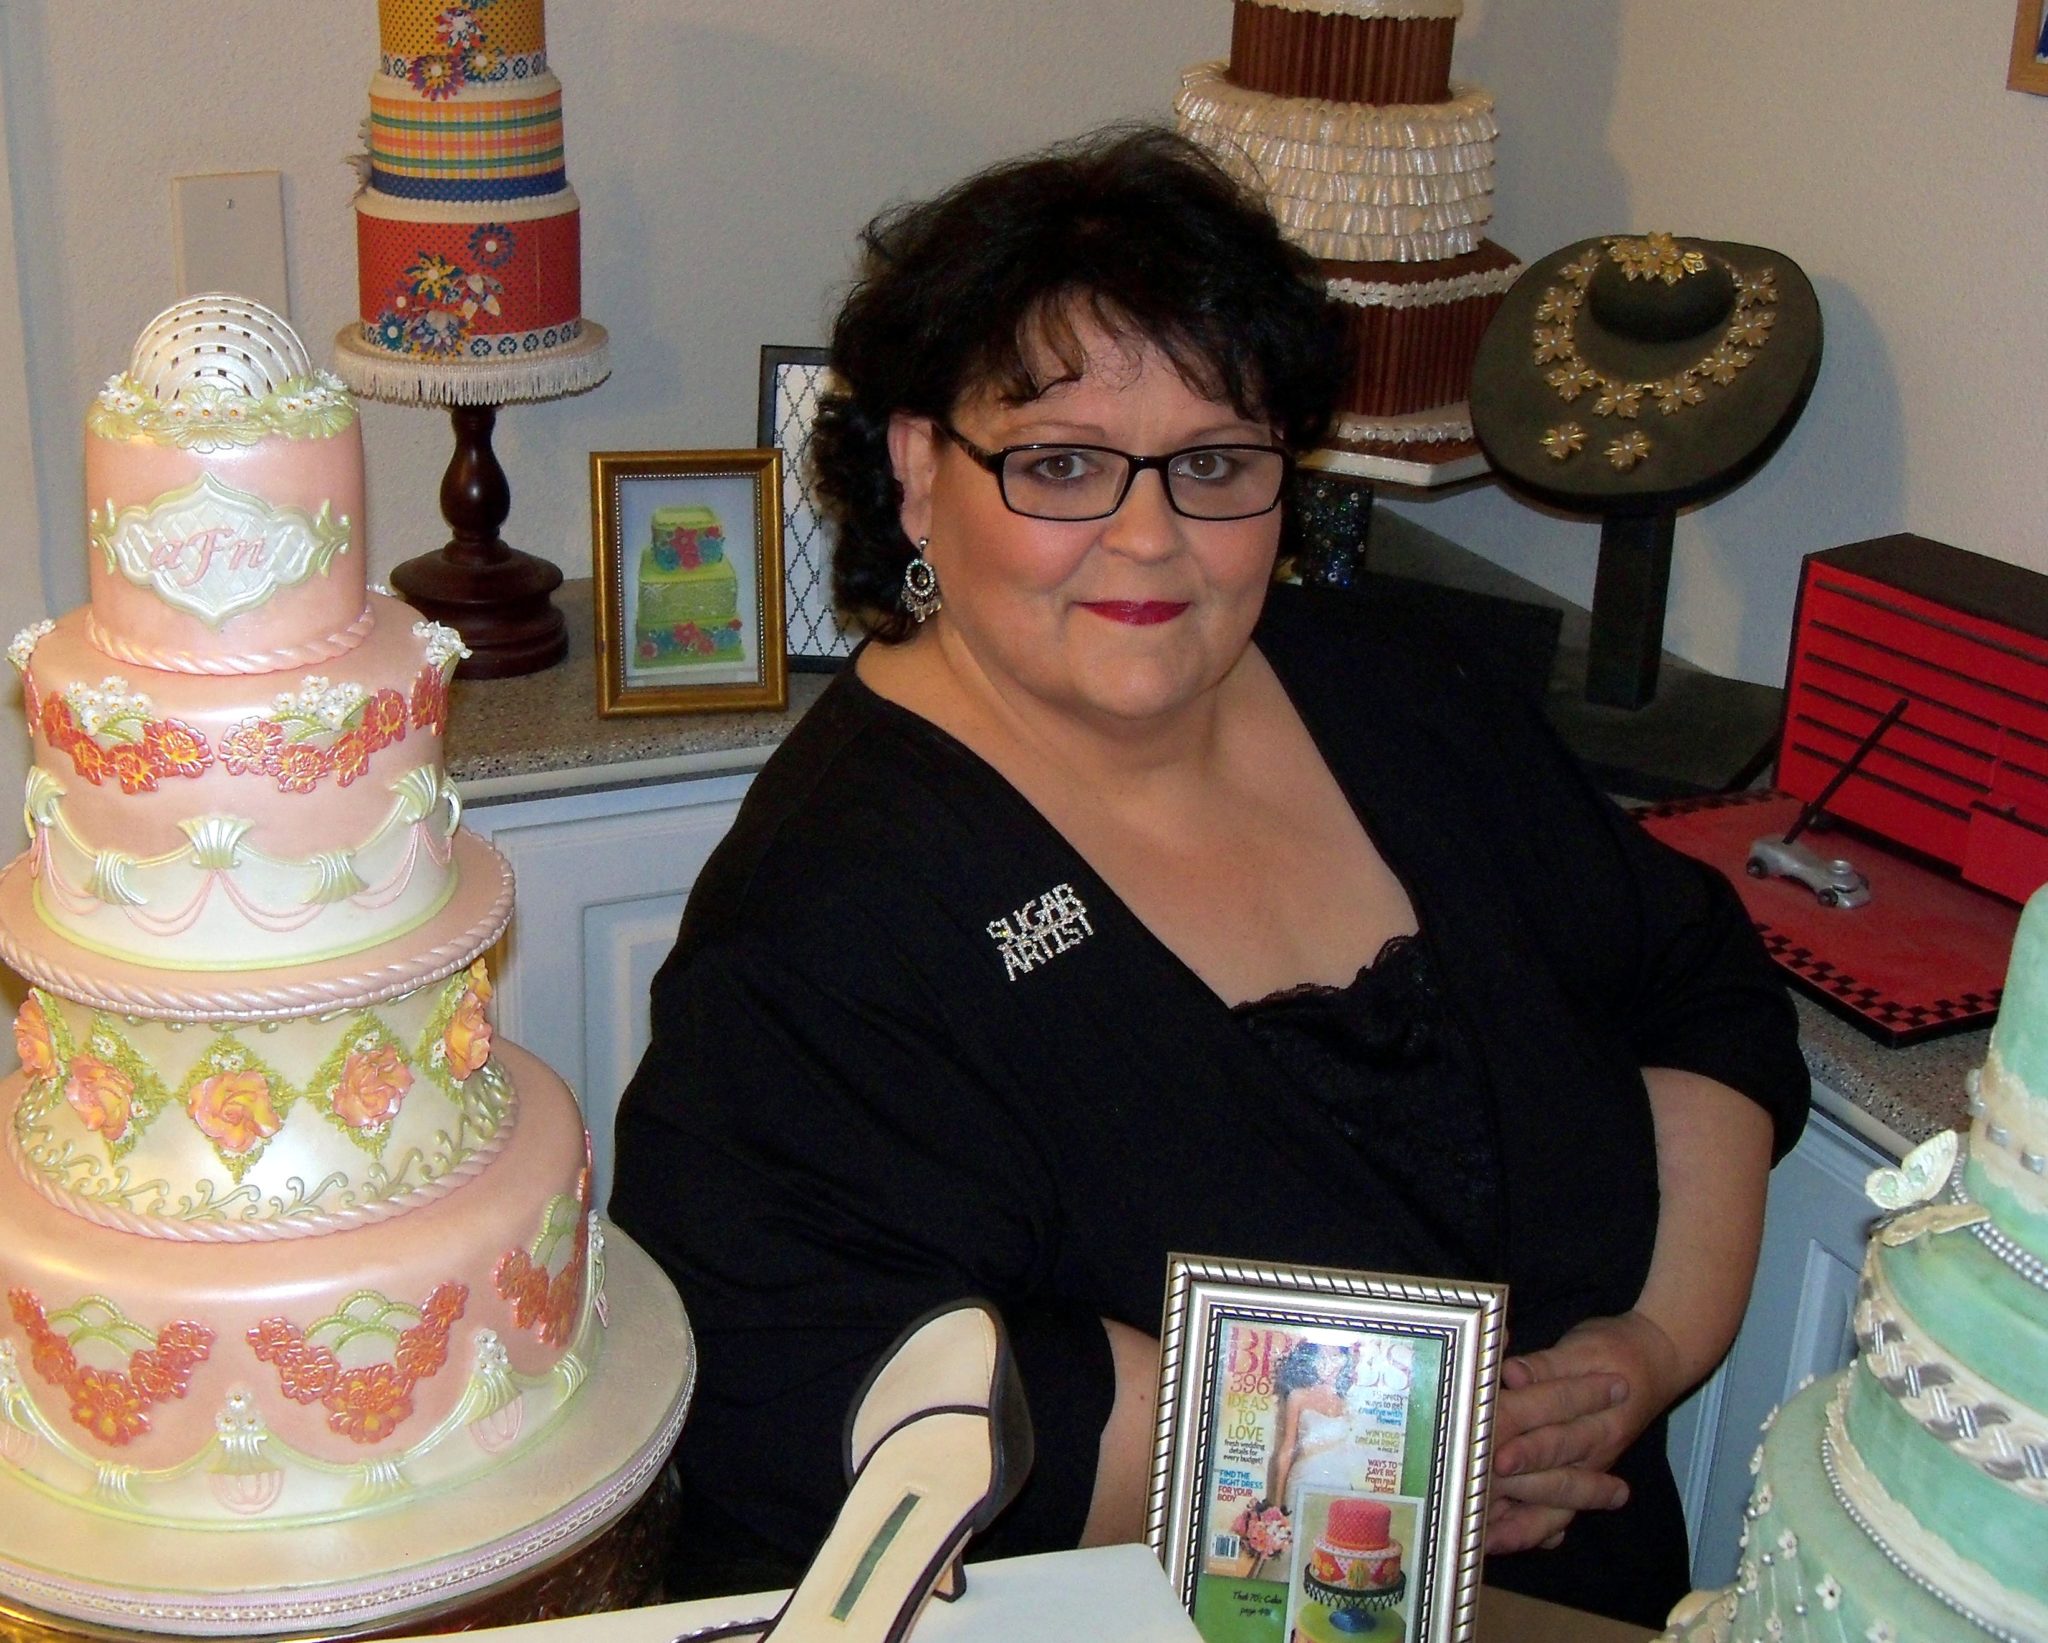 Author bio:
Rosemary Galpin is an accomplished sugar artist. Using the technique in this tutorial she won silver in the Oklahoma Grand National Wedding Cake Competition in 2012 and First Place – Best of Masters Division at Austin That Takes The Cake 2013.
Rosemary’s work has been featured in Brides Magazine, Modern Wedding Cakes and Chocolates, American Cake Decorators Magazine, Cake Central Magazine, Mail Box News Magazine, Hill Country Sun Magazine and The Smithville Times.
Please visit her at https://www.facebook.com/rosemarygalpin/.
Wow! Love it!