3D Gelatin Art – Gelatin Balloon Dog
By
Tami Utley

3d gelatin art balloon dog instructions:
Materials:
- Long Balloons (as for balloon animals)
- Balloon Pump
- Unflavored Gelatin
- Americolor Super Red Gel Food Color (or airbrush color)
- Black food marker (black gel food color will work)
- Toothpick, (tweezers or clamp optional)
- Medium microwave safe bowl
- Duct tape
- Shortening
- Ruler
- Measuring Spoon
- Styrofoam or slotted plate (cooling rack will work)
- Paintbrush
- Scissors
- Paper Towels
Step 1: Gelatin mixture: 2 parts cold water to 1 part unflavored gelatin (like Knox). I used 6 tablespoons water and 3 tablespoons gelatin. However, this is not a fussy recipe, so different proportions will work. Start by putting cold water into a microwave safe bowl. Add a little gel color; the amount will depend on how translucent you want your balloon dog (I used 3 drops). ↓

Step 2: Stir to dissolve the food color and then sprinkle your gelatin over the water so it will all get absorbed. ↓


Step 3: Let sit for 5 minutes to ‘sponge’. ↓

Step 4: During this time, blow up your balloons. I used a balloon pump which usually comes with the long balloons as a set. ↓

Step 5: A balloon will be needed for each section of the balloon dog. There will be 3 folded balloons, 2 are for the legs and one for the ears. Blow up the balloons to twice the length of the finished leg (4”), knot one end. Coat each balloon with shortening, wiping off the excess. I re-coated and wiped a second time since some balloons do absorb the shortening more than others. ↓
Step 6: Now fold the balloon in half so the two ends meet. ↓

Step 7: Twist the two ends together. ↓

Step 8: Tape with duct tape. ↓

Note ** A toothpick can also be added to the knot of the balloon as a sort of handle to hold and use later to stick into Styrofoam for drying.
Step 9: Four straight sections will also be needed, 1 each for the body, head, neck and tail. The head and neck are about 1 ½” long, the body is 2” and the tail is 1” with a 1” excess. These will also need to be coated with shortening and the excess wiped off as before. ↓


Step 10: Put the gelatin mixture into the microwave for about 15 seconds (depending on the microwave). The gelatin needs to heat up but not boil. Stir gently to make sure the gelatin is dissolved and being careful not to incorporate any air bubbles. Remove any foam or undissolved gelatin. ↓

*Important: Let the mixture cool to lukewarm or the balloon will pop when dipped.
Step 11: Grab the straight balloon by the knot and dip into the gelatin; rotating the balloon around to coat the entire surface. Let excess drip back into the bowl. Repeat with the remaining straight balloons. ↓

Step 12: Now using clamps, tweezers or the toothpick handle, dip the folded balloons in the same manner. ↓

Step 13: Hold the balloon upright (knot on the bottom, rounded part of the balloon on top) and tap to let excess gelatin drip off. A flat brush can be used to remove the excess gelatin at the base of the knot if needed. ↓

Step 14: The balloons will need 3 layers of gelatin to be thick enough once dry so after 3 minutes repeat the previous three steps, two more times. The gelatin mixture in the bowl will cool between steps, so it will need to be reheated. Pop the bowl back into the microwave for 5 seconds to re-heat.
Note ** Gelatin shrinks as it dries so any imperfections will be minimized. Also, we need a fairly thick layer so the gelatin won’t collapse when the balloon is popped. If it does collapse, it can usually be ‘popped’ back out with the end of a paintbrush, just be careful not to rip the gelatin.
Step 15: Place the balloon onto a holder or cooling rack with the knot side down to dry completely. If a toothpick was used as a holder, it can be placed into Styrofoam to dry. ↓
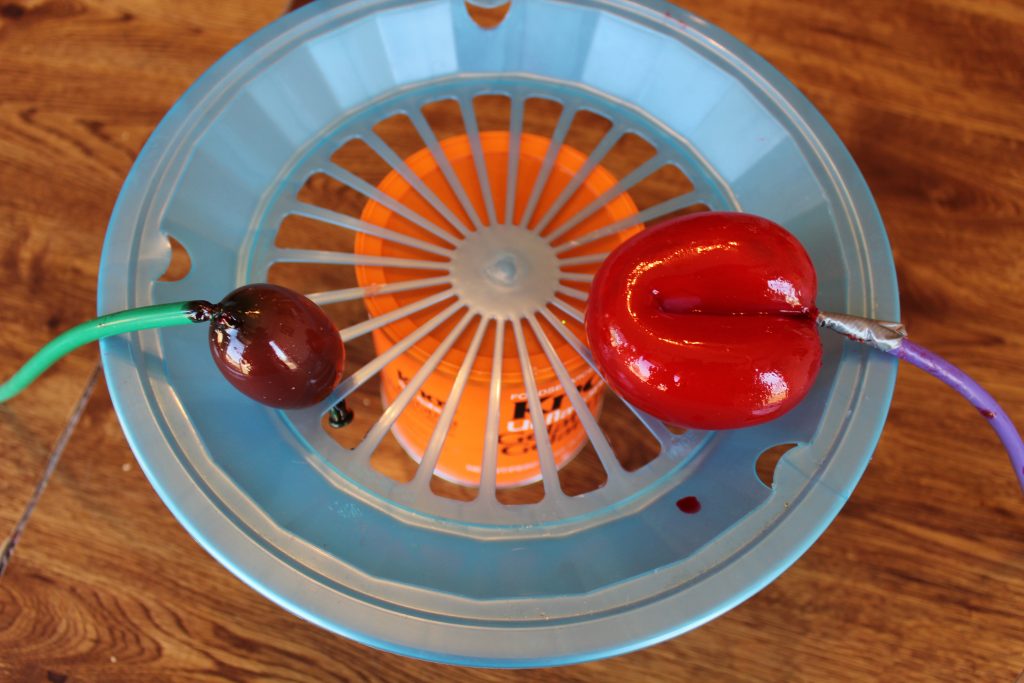
The balloon can be placed in front of a fan to speed up drying time, or let the dry on its own. Without the fan it could take a full 24 hours to dry, possibly more, with the fan, only about four hours. The gelatin is dry when it is firm and no longer cool or rubbery.
Save any leftover gelatin by placing plastic wrap on top and storing in the refrigerator.
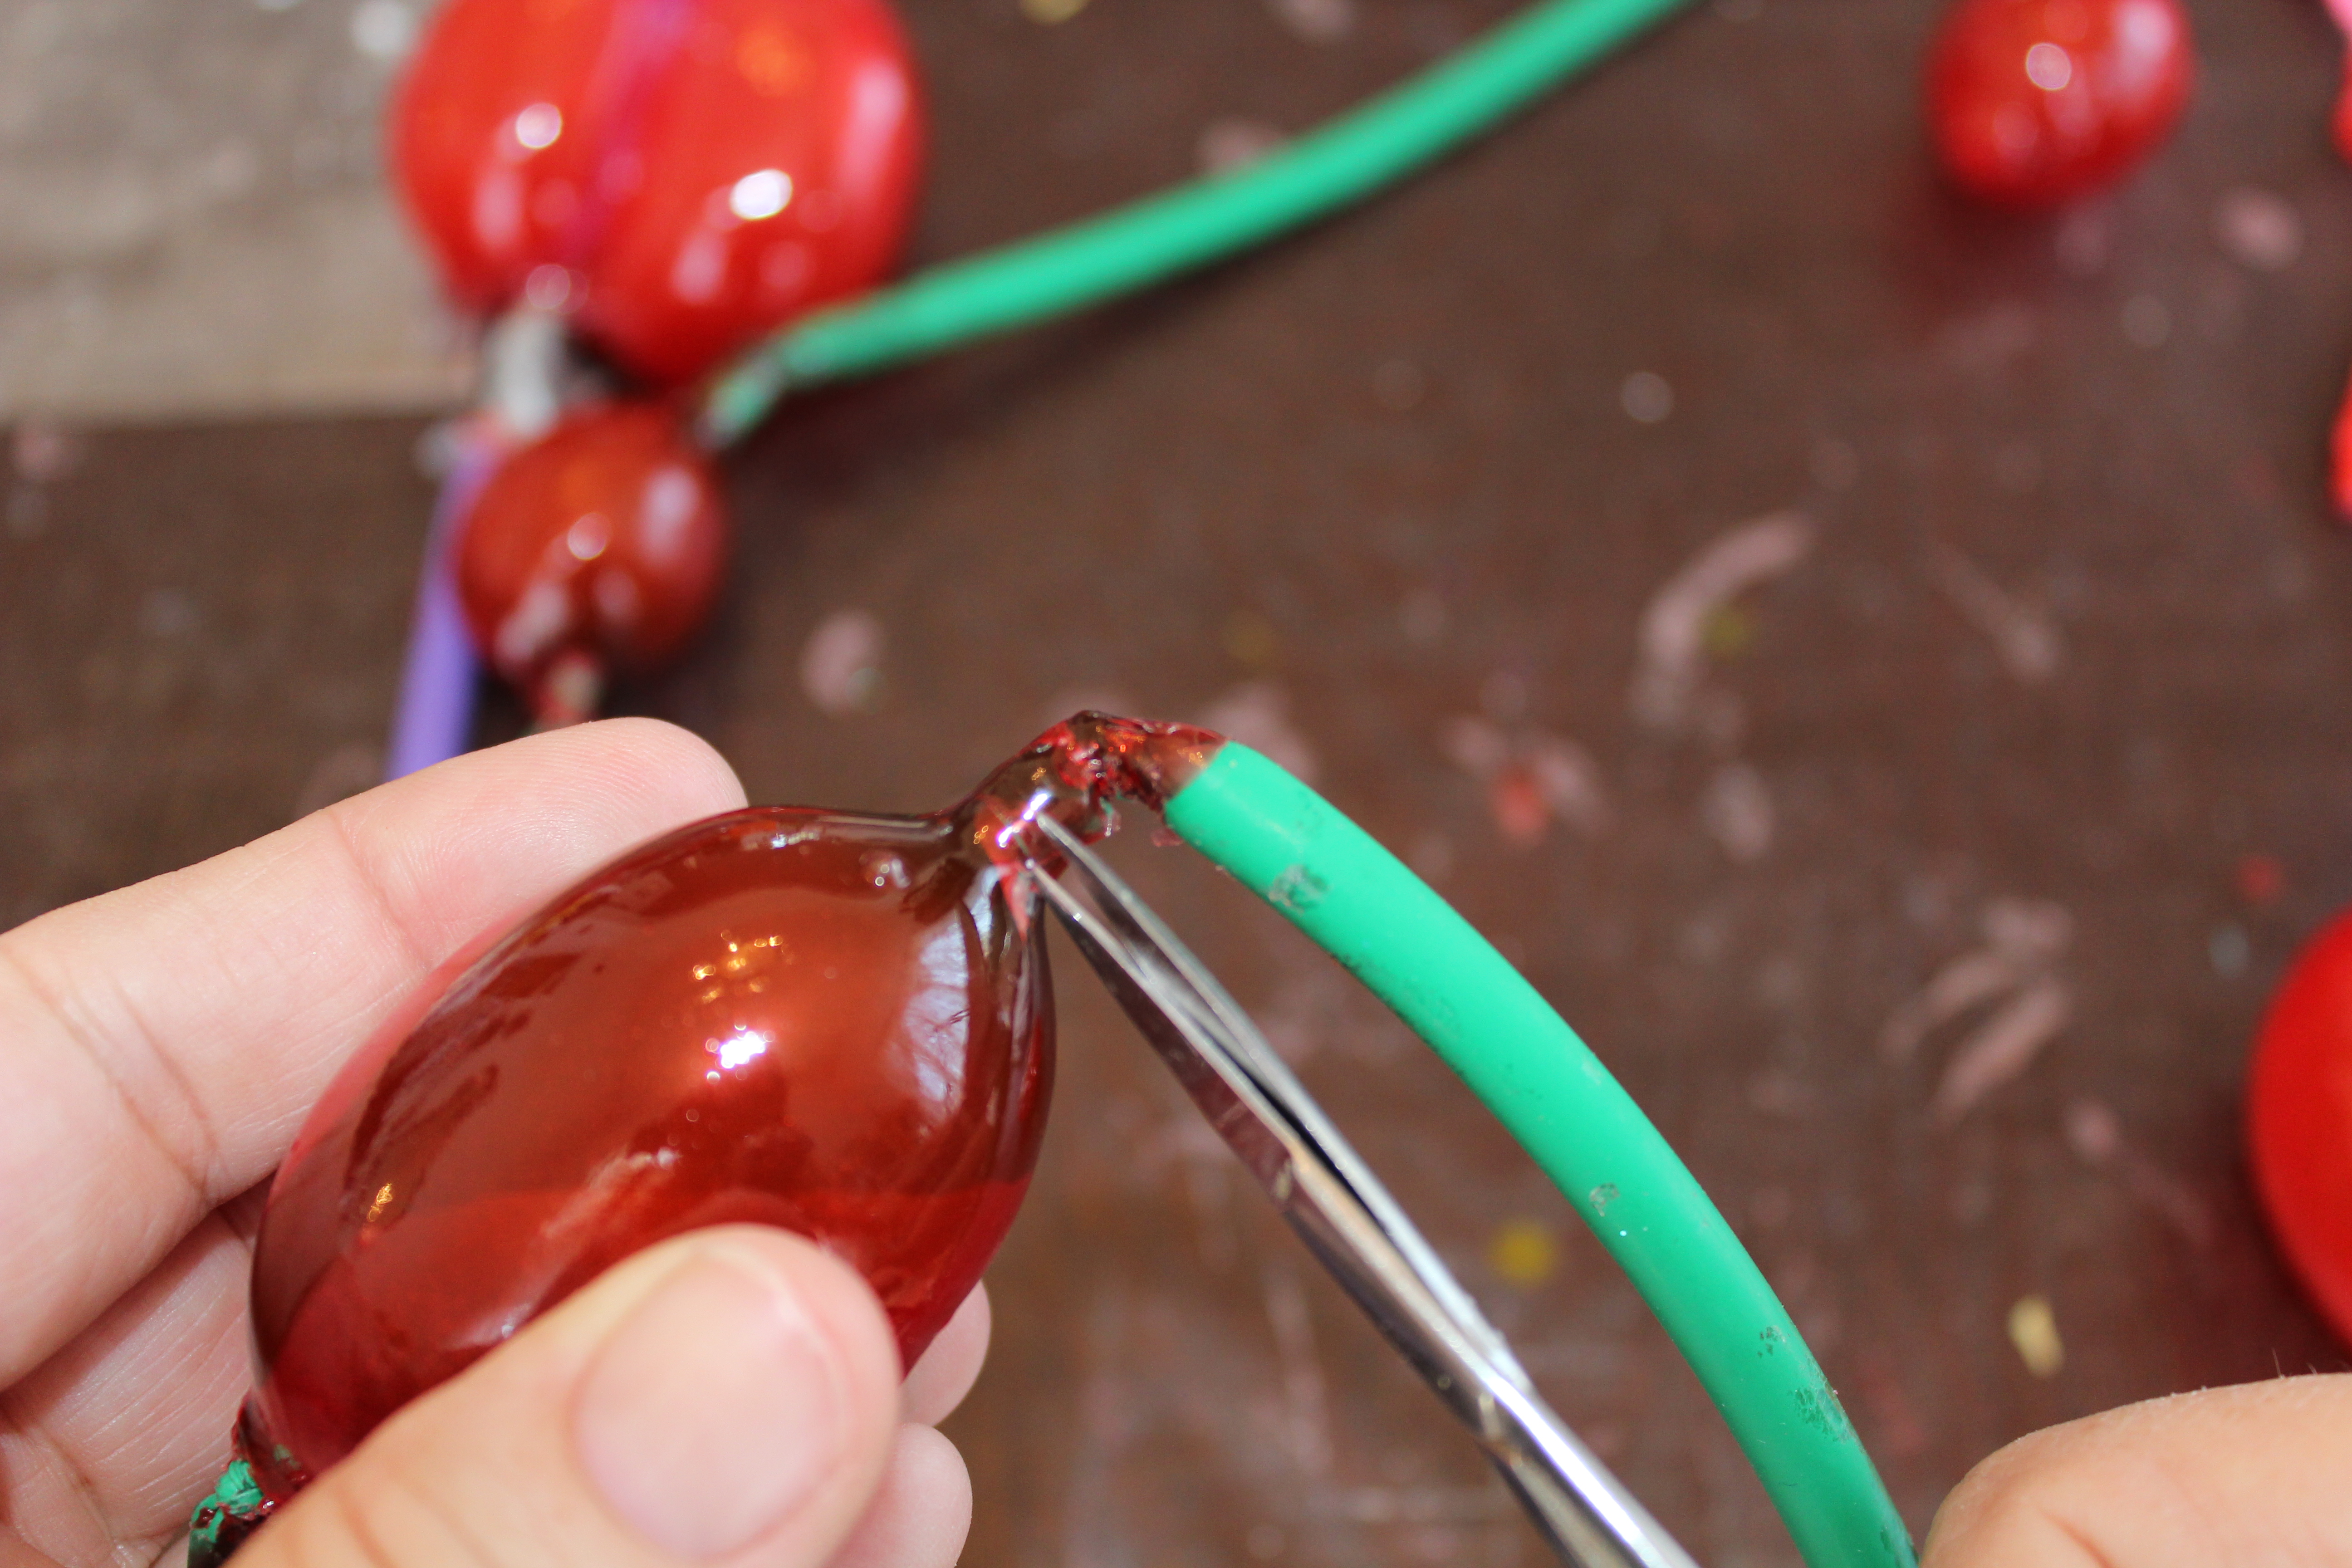
Step 16: Once dry, place scissors next to the knot and poke the balloon and it will deflate and release from the gelatin. Make sure to only cut one end and pull from the other. If some balloon does stick, usually placing a paint brush inside and rubbing will remove the excess. ↓


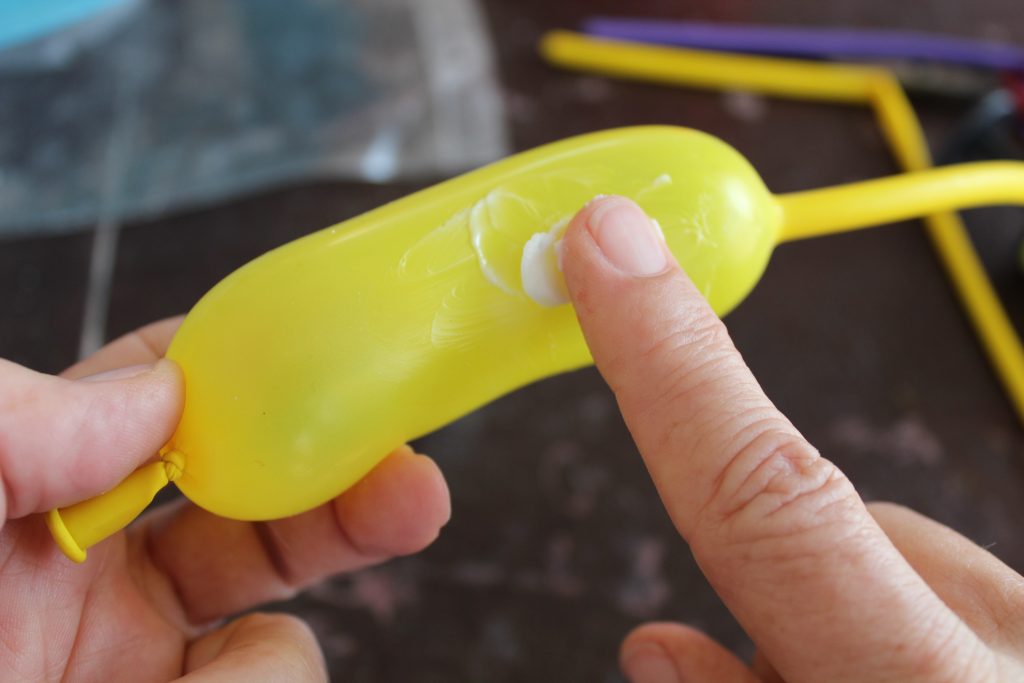
Step 17: Heat the remainder of the liquid gelatin and use to attach the pieces of the balloon dog together. Use a paint brush to dab a little liquid gelatin at the base of one of the folded pieces (ears) ↓

Step 18: Attach the head. Holding for a minute or two until the gelatin sets. ↓

Step 19: Next, attach the body to the legs in the same manner ↓

Step 20: Attach the neck to the ears/head. ↓

Step 21: Attach the tail to the top the back legs. ↓

Step 22: Use either a black food marker or a small paint brush with black gel food color (no water!) to make the eyes and mouth for the dog. ↓

Step 23: Attach the ear/head/neck piece to the top of the front legs. ↓

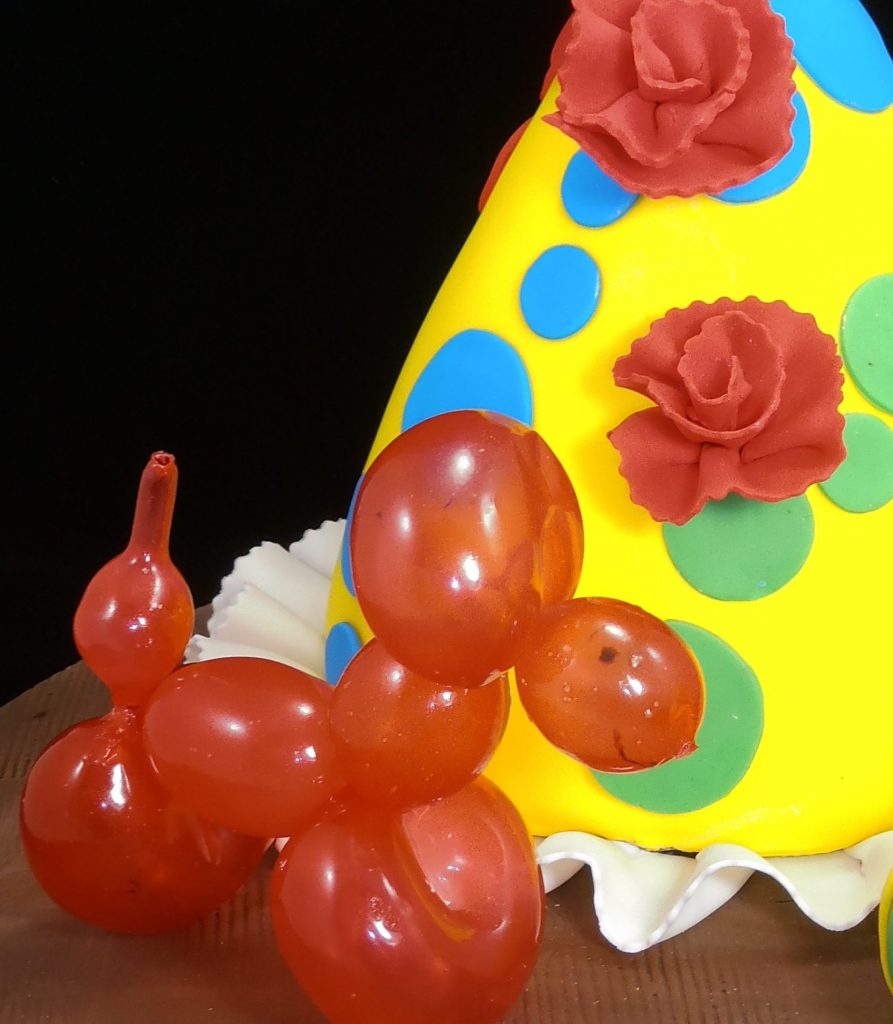
You’re done!

Remember, water will dissolve your gelatin dog.
This can be put in the refrigerator or sit out and will last for months. I have placed the gelatin dog on buttercream, rolled buttercream, candy clay and fondant with no problems, attaching to the cake with piping gel or icing.
 About the author
I am an ICES approved teacher with over 20 year’s experience. I have written articles for American Cake Decorating Magazine and ICES and have demonstrated the gelatin bubbles are their convention. I currently teach in San Diego at a local cake shop and on Yummy Arts. You can visit me at www.sugarartbytami.com.