Paris Cake
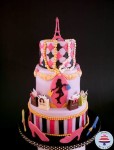
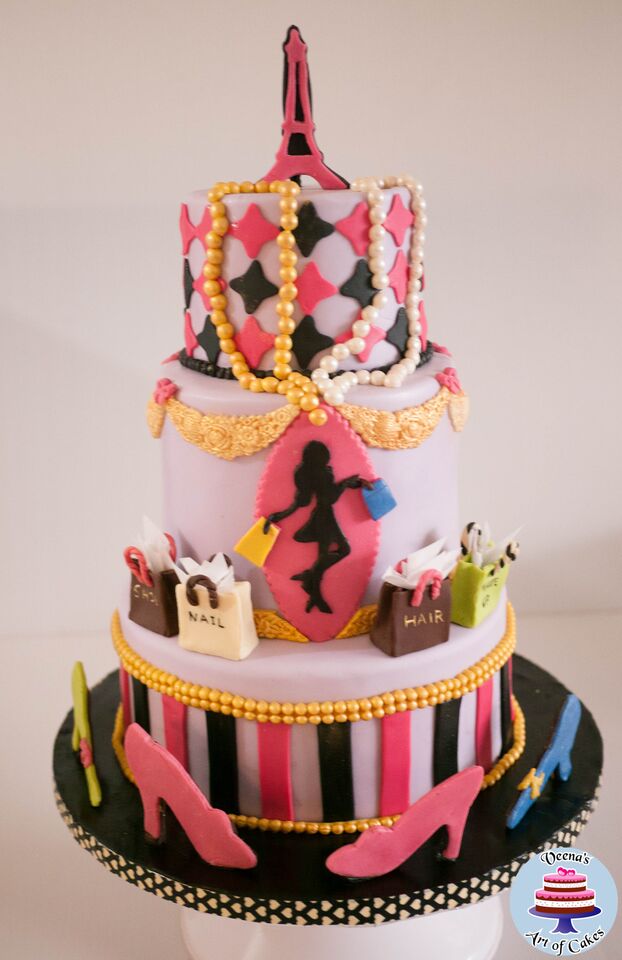
We have an amazing tutorial for you today by Veena Azmanov! Read on to learn how to create this Paris Inspired Fashion Theme THREE TIERED cake!!
This is a three tier Cake:
- 10 x 4 “tall Bottom
- 8 x 6” Tall – Middle
- 6 x 4 “tall – Top
The Tutorial consists of:
- Making the Eiffel Tower
- Shopper Silhouette
- 2D Shoes
- Shopping Bags (which are best made a head of time so they can dry)
Medium to use – Azmanov is using Fondant with CMC added in this tutorial. You could also use 50% gum paste and 50% Fondant. Modeling chocolate works well too.
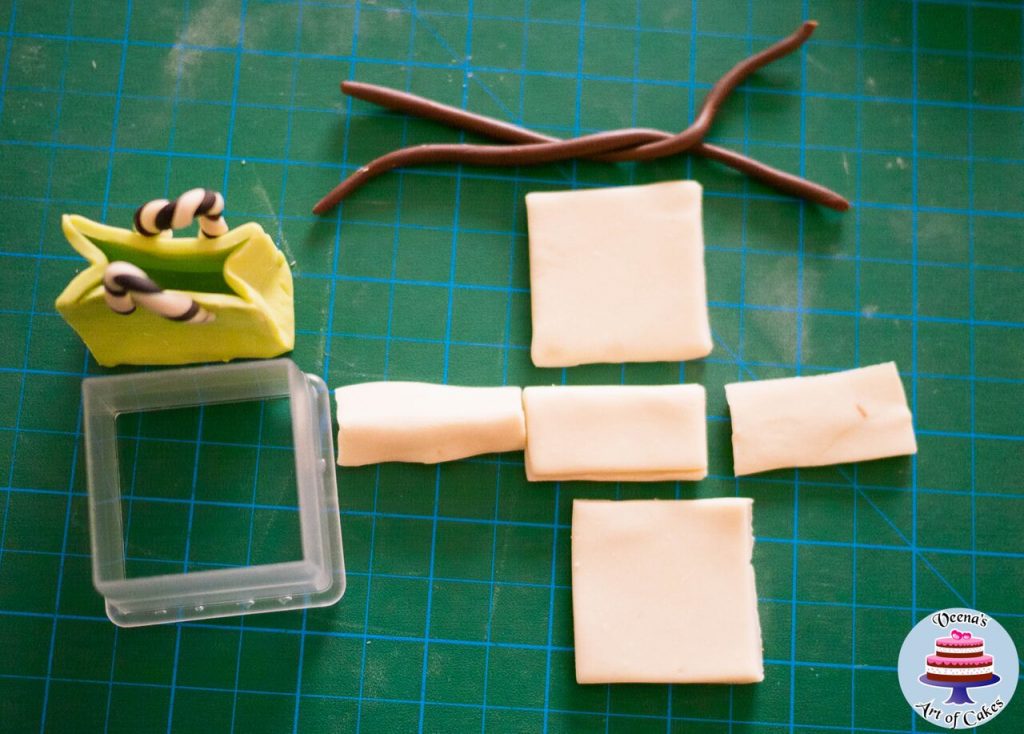
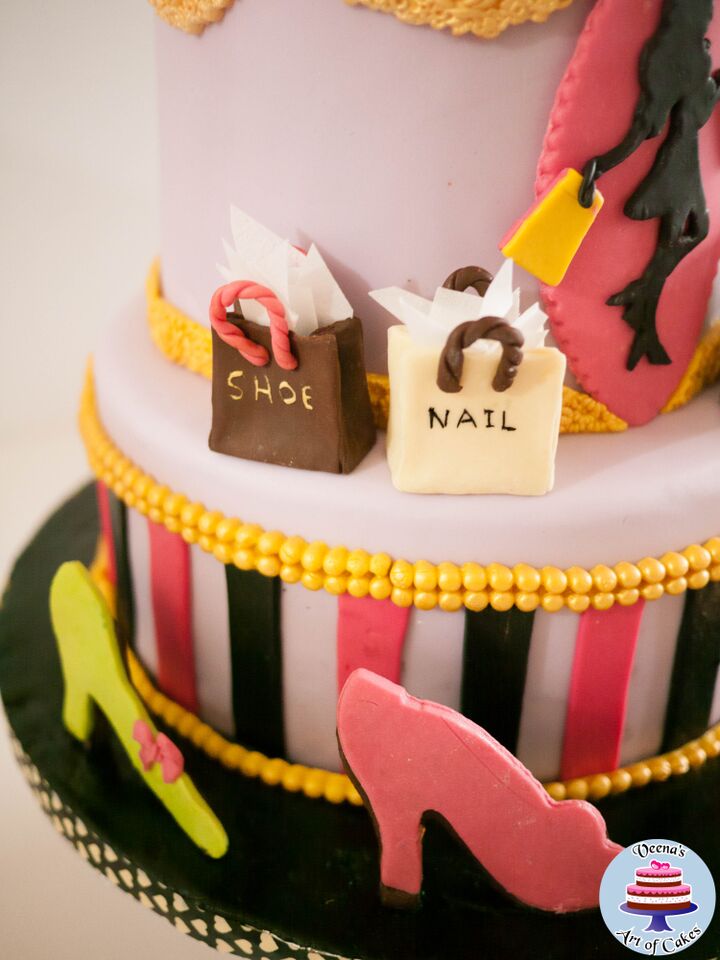
Creating The Shopping Bags
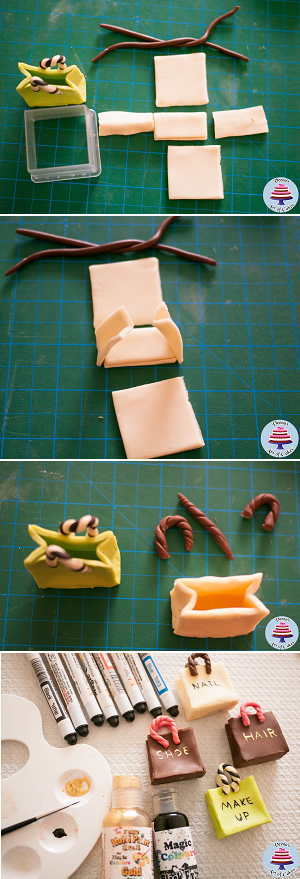 These are best made a head of time so they can dry.
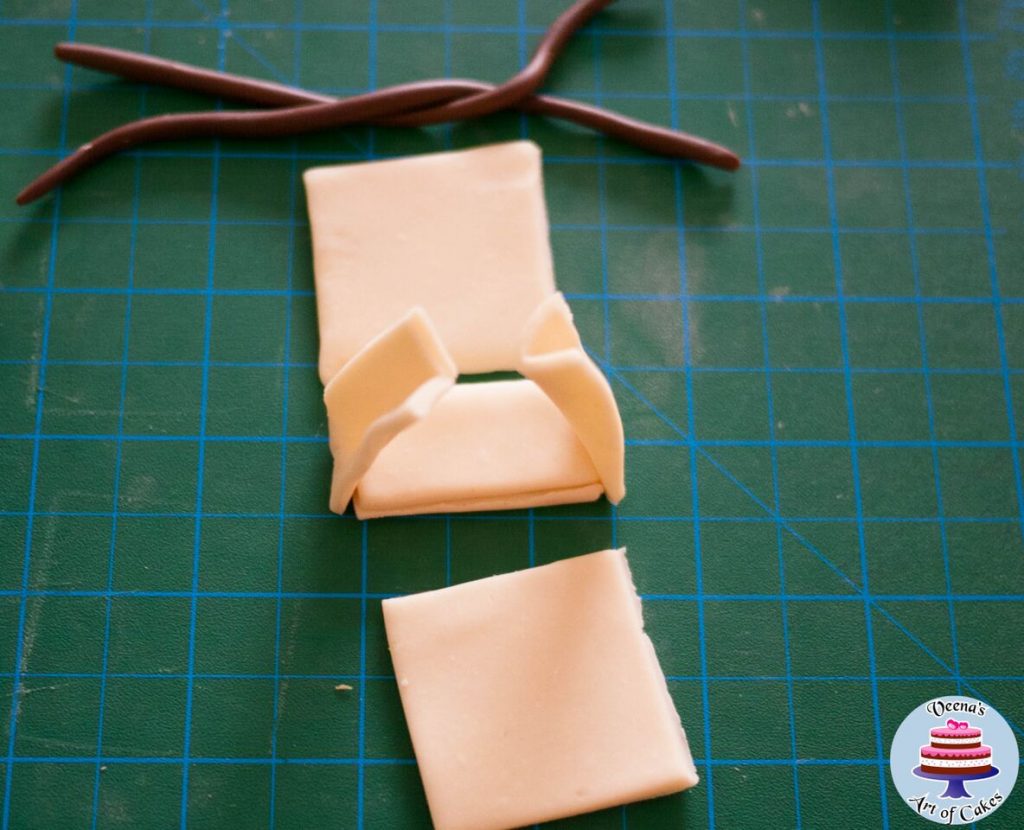
1. Cut out four squares of the size of bag you need. Two for the broader sides, one for the narrow sides, one for the bottom.
2. Fold the bottom square in half so you have a double more stable base.
3. Cut one square in half to make the two sides – fold these into half to get the center indent.
4. Now assemble the two narrow sides first.
5. Then attach the broader sides
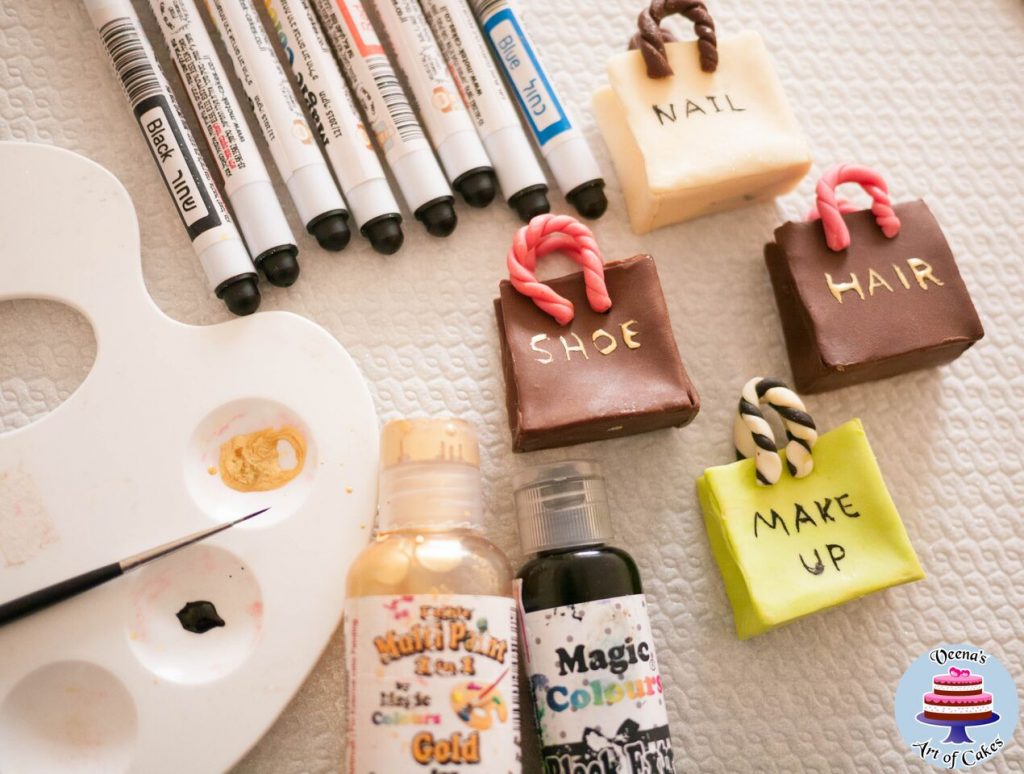
6. Roll two thin sausages to create the handles.
7. Use Magic Color Gold, black and a thin paint brush to write your desired accessories or brand names.
8. Fill the bag with thin dried triangle of fondant or rice paper.
Making the Eiffel Tower
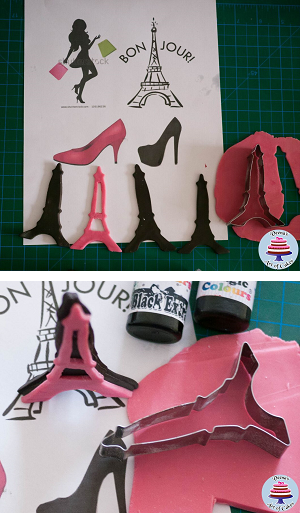 To make the Eiffel tower you can use cookie cutter or use a picture printed out from Google.
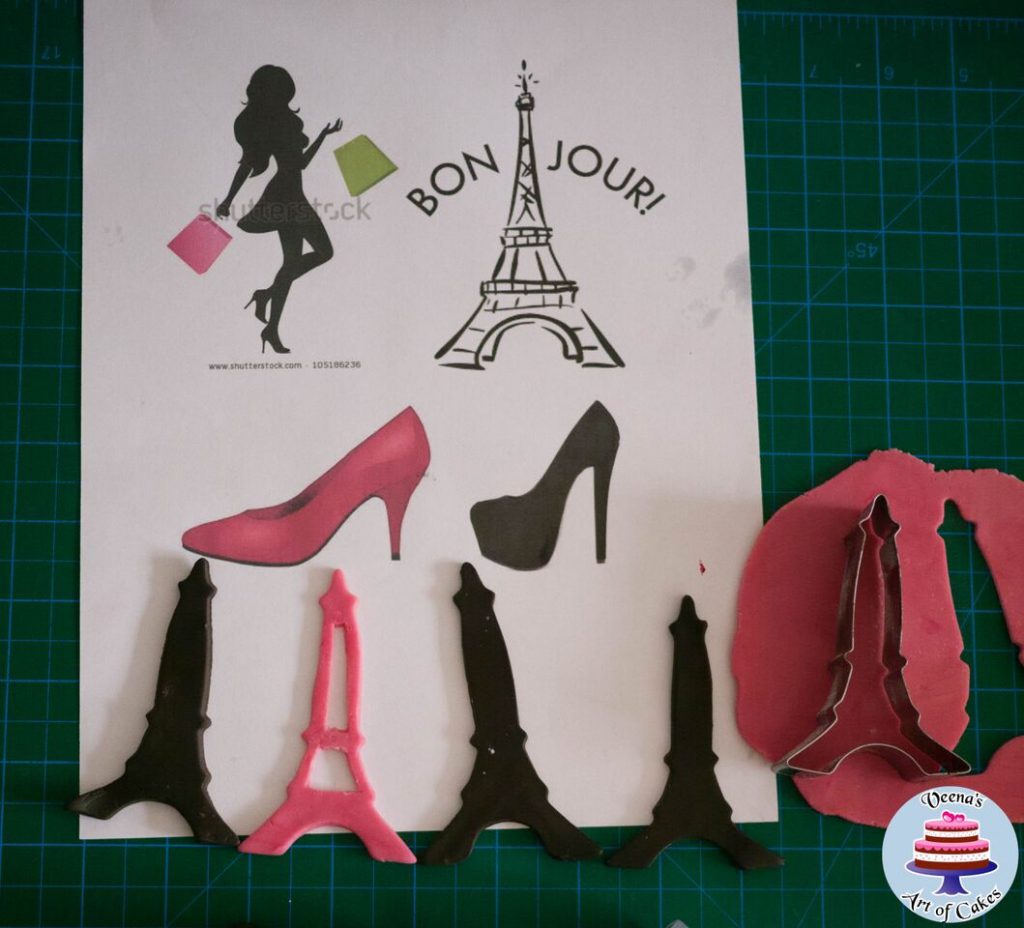
1. Roll past a bit thicker – Cut the shape using your cookie cutter or your template.
2. Let it dry for a few minutes so it is firm but still pliable before the next step.
3. You will need four cut outs. Three in black and one is Pink.
Using a sharp scalp blade cut the inside of the pink piece leaving a nice thick but neat Outline. Now place the pink on one of the black.
4. Place the three cut outs of the Eiffel Tower using each other to support and make them stand – use tissue paper or external supports if necessary to support the shape until it dries.
Beginners may find it easier to assemble the Eiffel tower on a small dried gum paste circle / disc with Royal Icing for more stability.
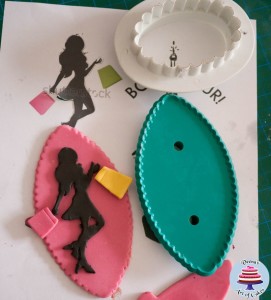
Making the Shopper Silhouette
Find a picture of a Shopper that you would like to use from the internet. Make sure the height matches the size of your cake height.
For reference: Azmanov’s cake is 6” tall. The Pink back ground is 6” tall and the Shopper Silhouette is about 4.5” tall
 1. Roll your black Fondant fairly thin.
2. Use a sharp Scalp blade to cut out your shopper Silhouette.
3. Let dry for a few minutes so it’s easier to handle.
4. Roll the Pink paste and cut out a 6” oval.
5. Place the Black Silhouette on the Pink Oval background
6. Attach to the cake using water or edible glue.
7. You can cut the Silhouettes accessories such as bags in black or other colors as well.
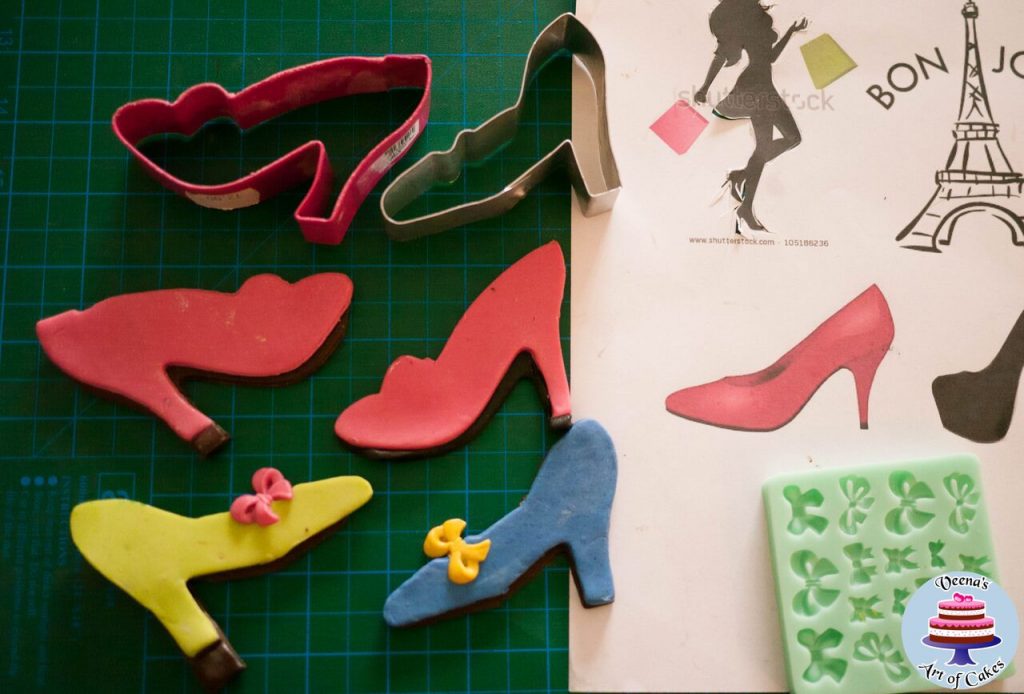
Making the 2D Shoes
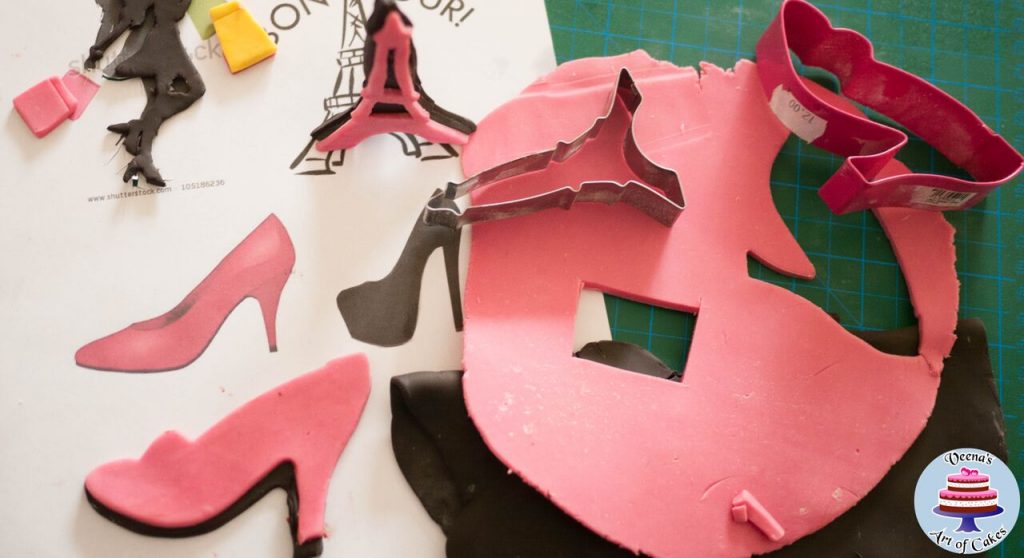
The shoes are cut the same way as the Eifel Tower. You can use a cookie cutter or a template from the internet. You will need two cut outs for each shoe. One in the color you need and black to create the soles.
For reference: Azmanov used Pink / Royal blue / Apple green and Extra Black as choice of colors here.
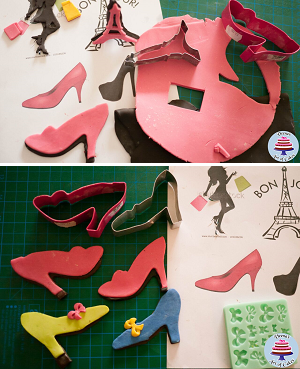 1. Cut your shoe shapes out form the template of cookie cutter.
2. Place the colored shoe template on the black template. Such that the black looks like the sole of the shoe.
3. Cut off any excess. Add a bow or buttons if you like.
4. Secure a cocktail stick or Spaghetti between the two shapes before they dry, alternatively; Use melted chocolate or Royal Icing to secure the toothpick later.
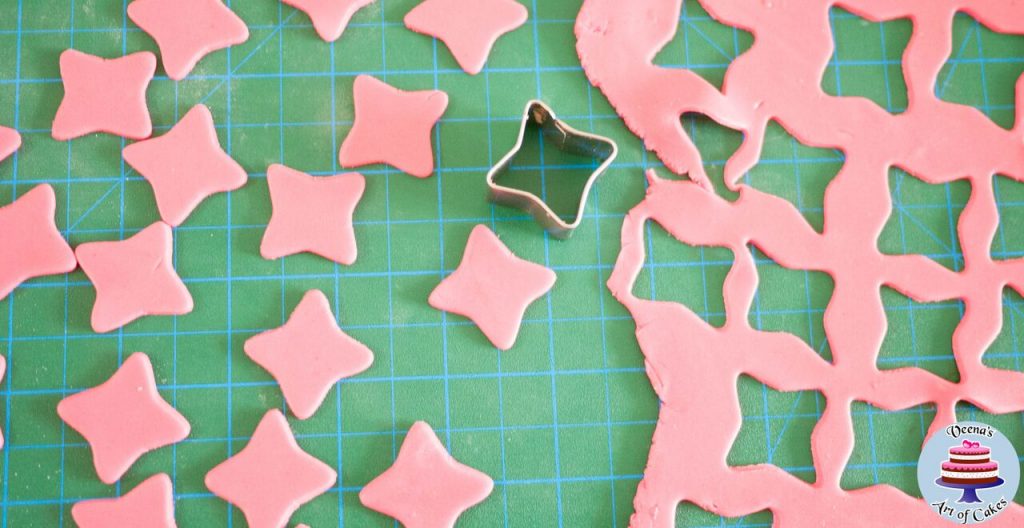
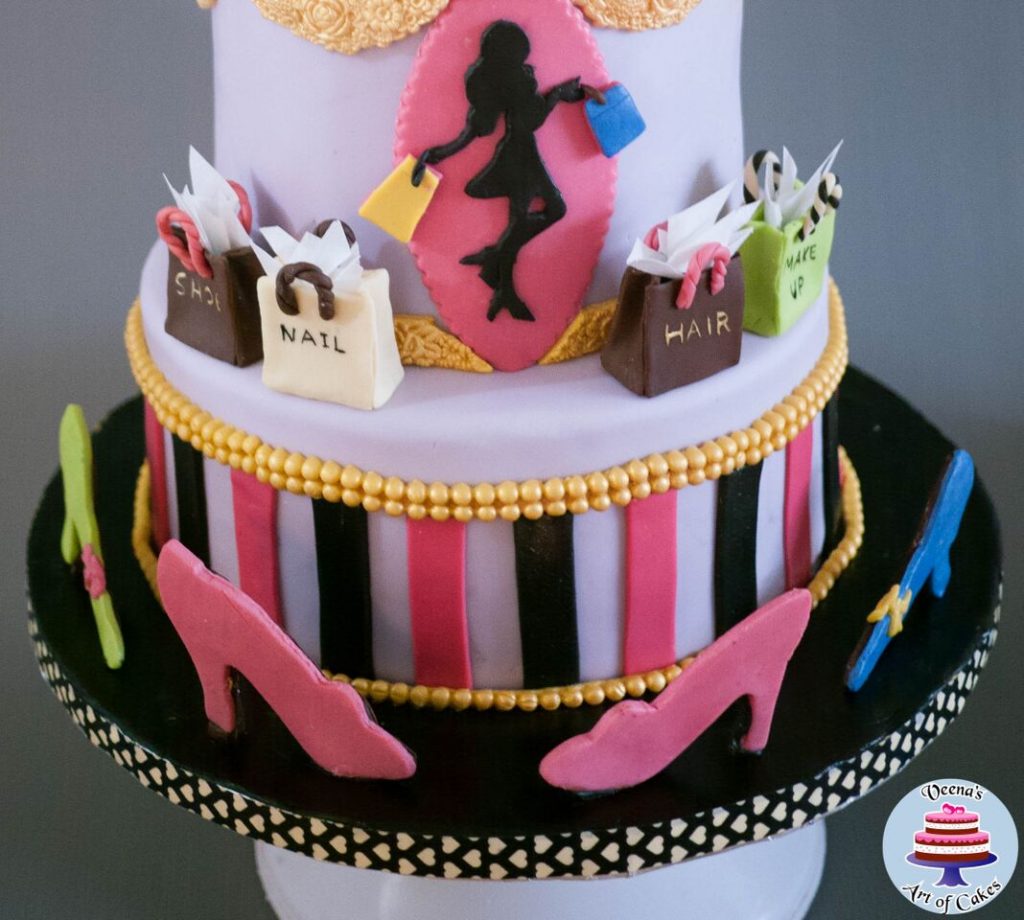
Additional Notes on Decorating the Tiers
The cake tiers are decorated quite simple with basic shapes and molds.
- Top Tier – The top using a four corners shape in alternating in Bazooka Pink and Black.
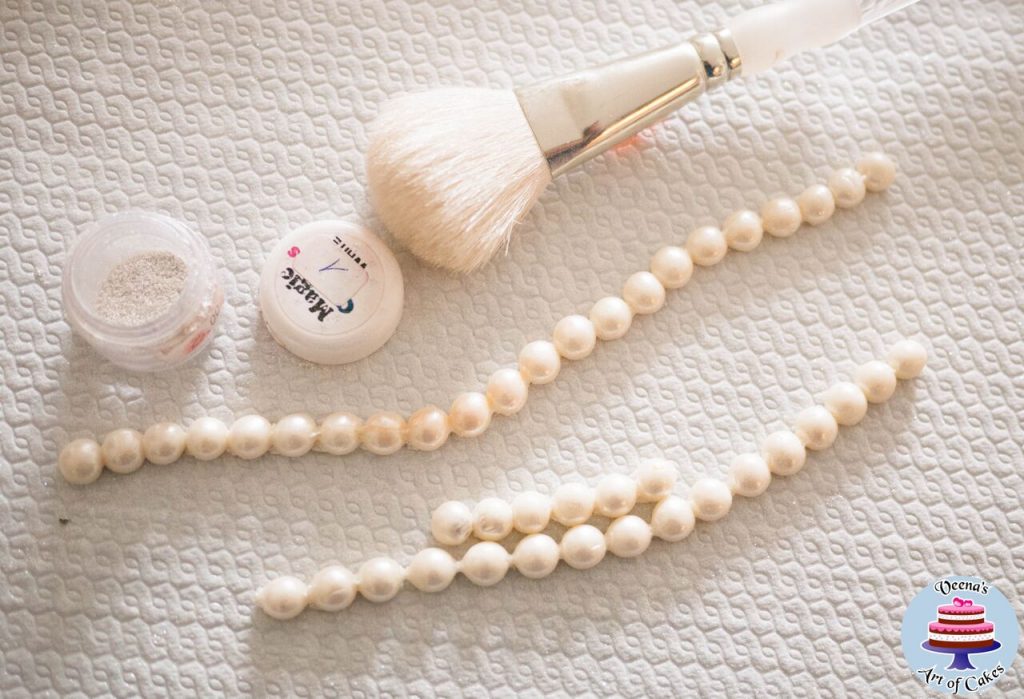
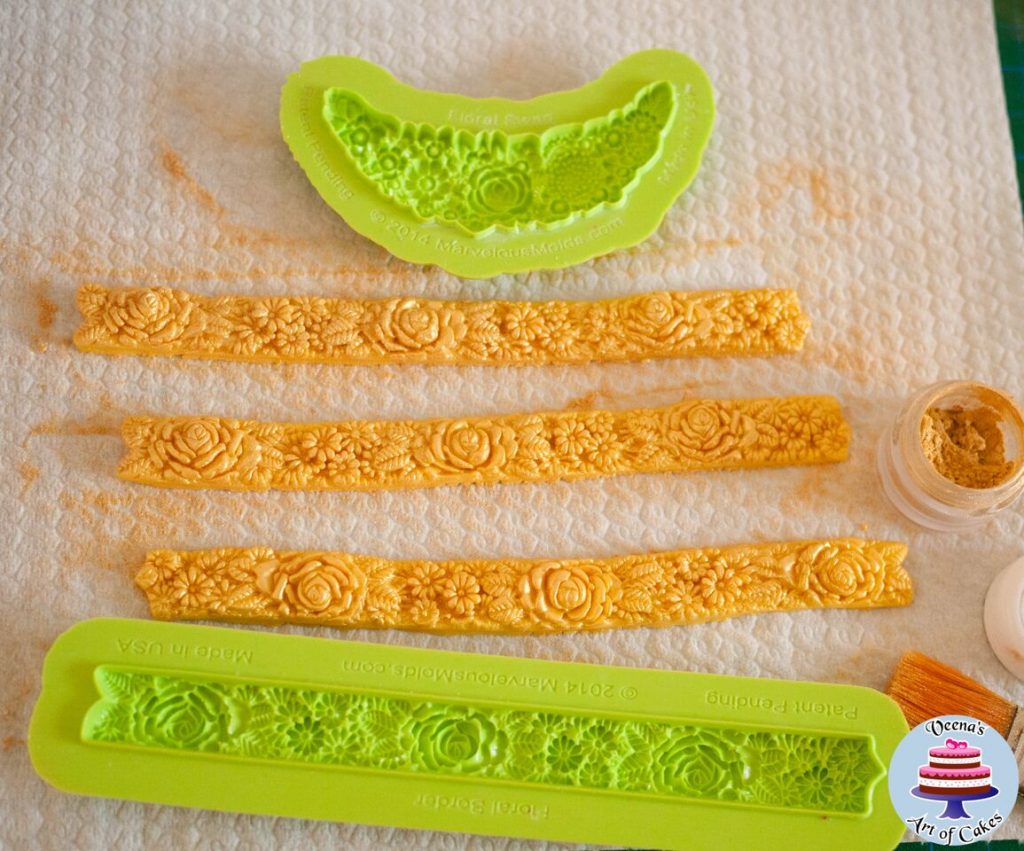
Azmanov used a Pearl Mold to create a Pearl necklaces and dusted them with Super Pearl and Metallic Gold. - Middle Tier – For the middle, Azmanov used a Marvelous Molds Floral Swag and border mold but you could use a circle cutter to create your own swag.
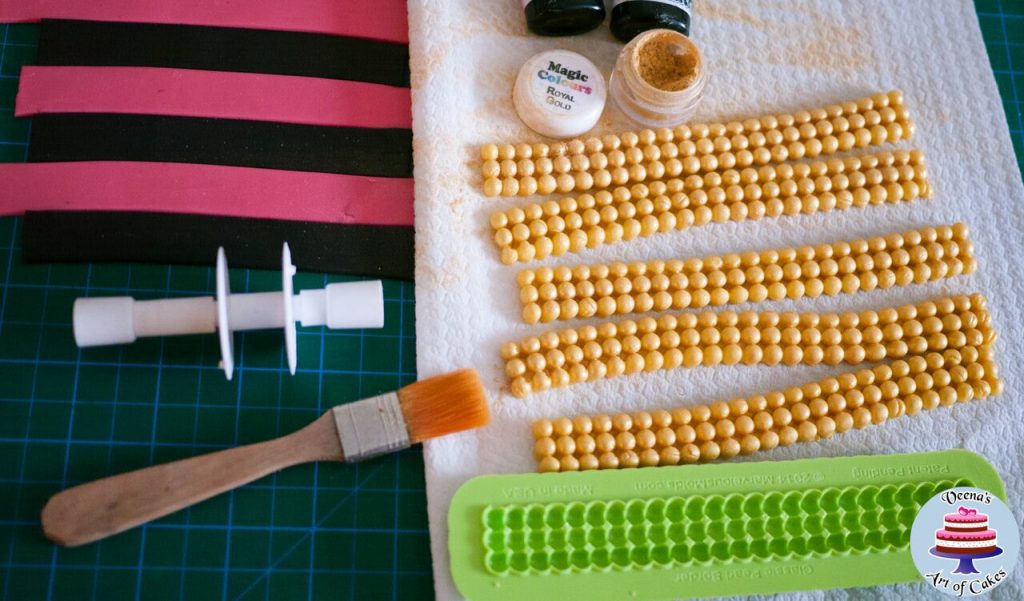
Azmanov dusted the swag and border with Metallic Gold Powder - Bottom Tier – For the Bottom Tier, Azmanov cut out strips of Bazooka Pink and Extra Black fondant
Azmanov used the Marvelous Molds Triple bead mold and dusted it with Metallic Gold.


Connect With Veena Azmanov:
Connect with Veena Azmanov and learn more about her fantastic works:

View All The Pictures From This Tutorial:


[content-egg module=Amazon template=grid]