As the sweet scent of cocoa fills the air and vibrant colors dance around your kitchen, the joy of Easter season is palpable – a time when indulging in delectable treats becomes a delightful ritual. In the realm of confectionery artistry, crafting chocolate Easter eggs is a tradition that blends culinary skill with creative flair, transforming humble ingredients into edible masterpieces. Embark on a journey to unlock the secrets of this beloved tradition as we delve into the intricate world of chocolatiers and explore the nuances of shaping, filling, and decorating chocolate eggs that are sure to impress even the most discerning of palates. Imagine the satisfaction of presenting your loved ones with bespoke chocolate Easter eggs that not only look professionally made but also taste divine. From mastering the art of tempering chocolate to experimenting with luscious fillings and dazzling decorations, this blog post is your gateway to becoming a chocolatier extraordinaire. Whether you’re a seasoned culinary enthusiast or a novice eager to explore the realms of chocolate alchemy, join us as we unravel the mysteries behind crafting chocolate Easter eggs like a pro. Get ready to elevate your Easter celebrations and leave a lasting impression with homemade delights that showcase your creativity and passion for the art of chocolate-making.

The Art of Tempering Chocolate
Tempering chocolate is a crucial step in creating smooth, glossy, and perfectly textured chocolate Easter eggs. This process involves carefully melting and cooling the chocolate to ensure that the cocoa butter crystals are properly formed. By tempering the chocolate, you not only achieve a professional finish but also enhance its flavor and shelf life.
To begin, select high-quality chocolate that has a high cocoa content. Dark or semi-sweet chocolate works best for Easter eggs as it provides a rich and intense flavor. Chop the chocolate into small, uniform pieces to ensure even melting.
There are several methods for tempering chocolate, but one of the most common techniques is the seeding method. Start by melting two-thirds of your chopped chocolate in a heatproof bowl set over a pan of simmering water. Stir gently until the chocolate reaches a temperature between 110°F and 115°F (43°C-46°C) for dark chocolate or 105°F-110°F (40°C-43°C) for milk or white chocolate.
Once melted, remove the bowl from heat and add the remaining one-third of chopped chocolate to cool down the mixture. Stir continuously until all the added pieces have melted completely and the temperature drops to around 82°F-84°F (28°C-29°C) for dark chocolate or 80°F-82°F (27°C-28°C) for milk or white chocolate.
At this point, your tempered chocolate is ready to be used for molding your Easter eggs. Remember to work quickly as tempered chocolate sets relatively fast. Pour it into your chosen molds, ensuring that every nook and cranny is coated evenly. Tap gently on a flat surface to remove any air bubbles before refrigerating until set.
 Choosing the Right Chocolate for Easter Eggs
When it comes to crafting chocolate Easter eggs, the type of chocolate you choose plays a significant role in the overall taste and texture of your creations. The market offers a wide variety of chocolates, each with its unique characteristics and flavor profiles.
For a classic and indulgent experience, opt for high-quality dark chocolate with at least 70% cocoa content. Dark chocolate provides a rich, intense flavor that pairs well with various fillings and decorations. Its slightly bitter notes balance out the sweetness of other ingredients, creating a harmonious taste sensation.
If you prefer a milder and creamier option, milk chocolate is an excellent choice. With its smooth texture and sweet taste, milk chocolate appeals to both children and adults alike. It pairs well with fruity or nutty fillings, adding depth to your Easter eggs.
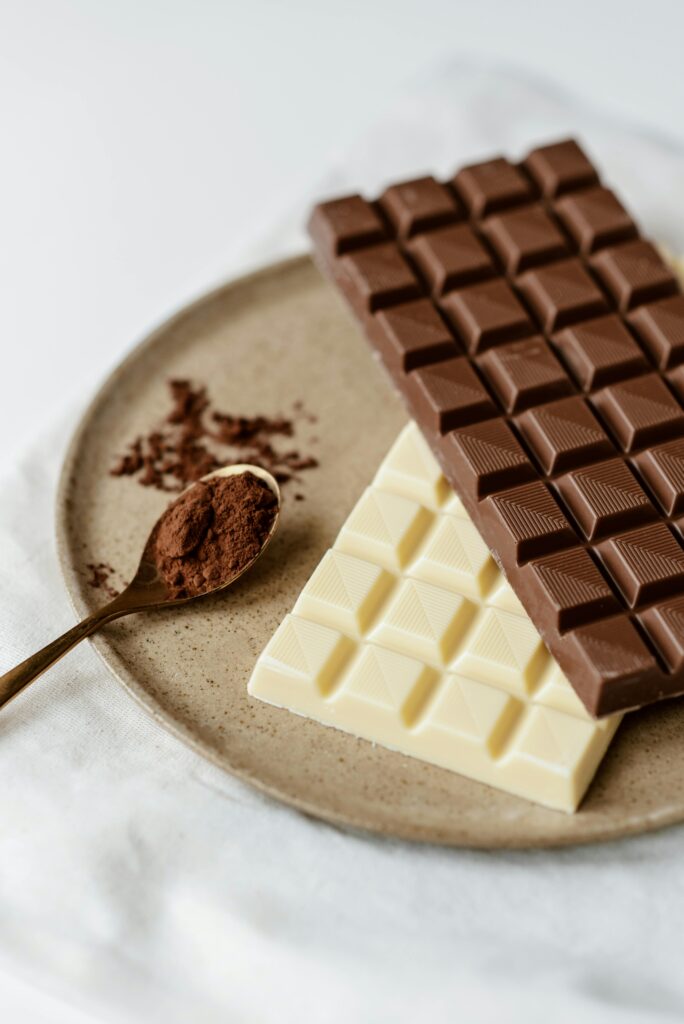
For those seeking an elegant and visually striking option, white chocolate is perfect. Although technically not true chocolate as it doesn’t contain cocoa solids, white chocolate adds a luxurious touch to your creations. Its creamy texture and subtle vanilla flavor create a delightful contrast when paired with vibrant fillings or colorful decorations.
Ultimately, the choice of chocolate depends on personal preference and the desired flavor profile of your Easter eggs. Experiment with different types and brands to find the perfect balance that suits your taste buds.
 Molding Techniques: From Classic to Creative
The art of molding is where your creativity truly shines as you transform molten chocolate into beautifully shaped Easter eggs. There are various techniques you can employ to achieve different effects – from classic smooth shells to intricate designs that will dazzle both young and old.
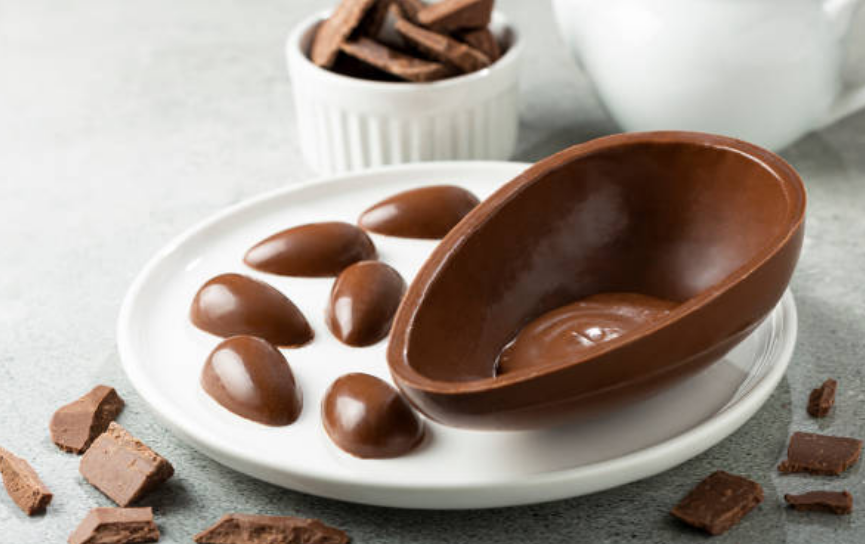
To create classic solid Easter eggs, use plastic or silicone molds specifically designed for this purpose. Ensure that the molds are clean and dry before pouring in tempered chocolate. Fill each half of the mold with melted chocolate, ensuring that the chocolate reaches all the edges. Gently tap the mold on a flat surface to remove any air bubbles and create a smooth surface. Refrigerate until set, then carefully remove the chocolate shells from the molds.
If you’re feeling adventurous, try using textured molds to add visual interest to your Easter eggs. These molds have intricate patterns or designs that imprint onto the chocolate, creating a stunning effect once unmolded. Simply follow the same process as with classic molds, but pay attention to aligning the pattern correctly before pouring in the chocolate.
For those who want to take their molding skills to the next level, consider using 3D molds or even hand-painting your Easter eggs. 3D molds allow you to create hollow eggs with intricate details and fillings inside. Hand-painting involves using food-safe brushes and edible coloring to decorate your Easter eggs with personalized designs or patterns.
Remember, practice makes perfect when it comes to molding techniques. Don’t be discouraged if your first attempts don’t turn out exactly as planned – embrace each experience as an opportunity for growth and improvement.

