Baking with Yeast
I like baking with yeast and I have a real soft spot (and probably a slightly softer belly) for yeasted cake. I cannot be trusted around a Panettone or a slice of Stollen and my penchant for them means that the festive season is a land of temptation that I am not strong-willed enough to resist. There is something enchanting about their complex flavors and robust texture and their ability to immediately evoke the senses.
 History of Baking with Yeast
Traditionally, yeasted cakes represent a celebration for large occasions such as Christmas, Easter, weddings, and other significant events. These cakes were made for savoring and sharing. Ingredients were expensive and spice mixtures were sourced regionally. Countries become synonymous with the sweetbreads Brioche, Kugelhopf and Challahs. Nowadays, with supermarkets offering cheap and readily accessible alternatives all year, this traditional exclusivity is somewhat lost. Recently I worked my way through three packets of a well-loved British brand of hot cross buns … in Hong Kong during October.
Being the complete opposite of the fluffy cakes akin to the chiffon, the light cakes we know today are a relatively recent invention. Before the days of chemical raising agents, bakers used a brewer’s yeast to leaven cake batters. The first known mention of baking soda being used as a raising agent was around 1830. Baking powder came a little later in the 1900s. The invention of cake tins also changed things, as it allowed batters to become softer and more luxurious.
England was famed for its bun shops where King George III reportedly queued in the street for Chelsea Buns. Where buns may now have fallen out of favor, they made way for the likes of doughnuts and Rum Babas. Even with the invention of quicker processes, the beauty of a yeasted dough is still prized as a popular treat.
Characteristically, a yeasted cake could be compared to bread rather than a cake because yeasted cakes contain a high enough fat content. However, if by classifying them as bread it allows me to justify eating more, I won’t argue.
The benefit of using yeast is that it provides a depth of flavor that cannot be achieved by the use of chemical raising agents. The lengthy rising process gives the dough its texture and taste. Some enriched doughs take days of preparation before going anywhere near an oven.
Yeast is a living organism and will need a little warmth to create rise. Enriched dough requires lots of warmth whilst proofing (or proving) in order to encourage the yeast to grow. The best place to proof them is a warm sunny spot or an airing cupboard. The optimal temperature is 35°C, any warmer and you might kill the yeast.
Types of Yeast
Many people who love to bake or have started a baking business can often feel the need to invest in lots of tins, either to be able to bake that perfect recipe or fulfill that specific order. Cupboards start to groan with the multitudes of varying sized and shaped tins and recipes can get very complicated. It is far too easy, not to mention far too tempting to buy every baking tin imaginable—I should know, also affect the rate of distribution of heat.
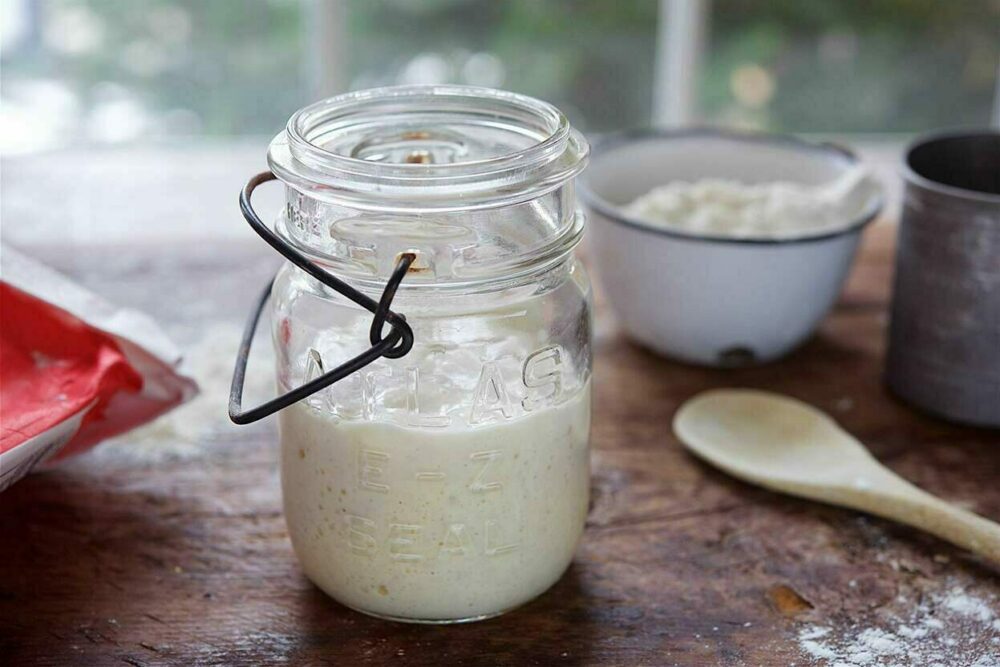
Sourdough starters — More commonly used for bread rather than enriched doughs, the sourdough starter is alive, thick, runny batter of flour, water, and natural living wild yeasts.
Fresh bakers’ yeast — Sold as putty-like blocks this yeast is usually mixed with warm water (not too hot, so as not to kill off the yeast) and then mixed with the dry flour mixture. Usually, you will need 15 grams of yeast to 750 grams of flour.
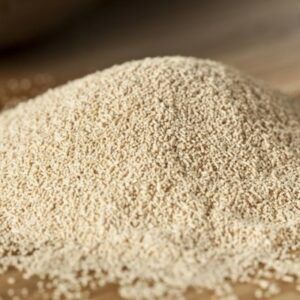
Instant (easy blend) dried yeast — Generally the most readily available, this yeast is a light brown powder sold in small sachets. Instant dried yeast is activated by dry flour before being mixed into a liquid. Once opened the sachets must be used immediately. One 7-gram sachet (2 teaspoons) is the same as 15 grams of fresh bakers’ yeast.
This is a great article about dry yeast vs instant yeast.
Baking with Yeast – Recipe
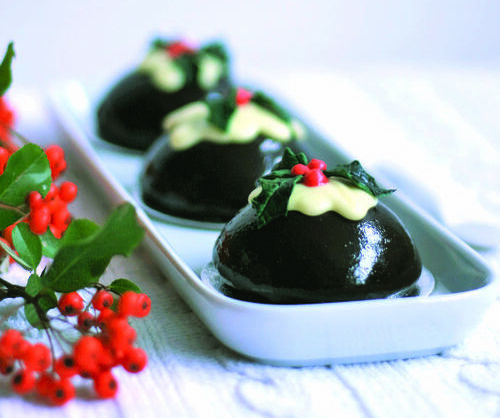
Chocolate Orange Pudding Cakes
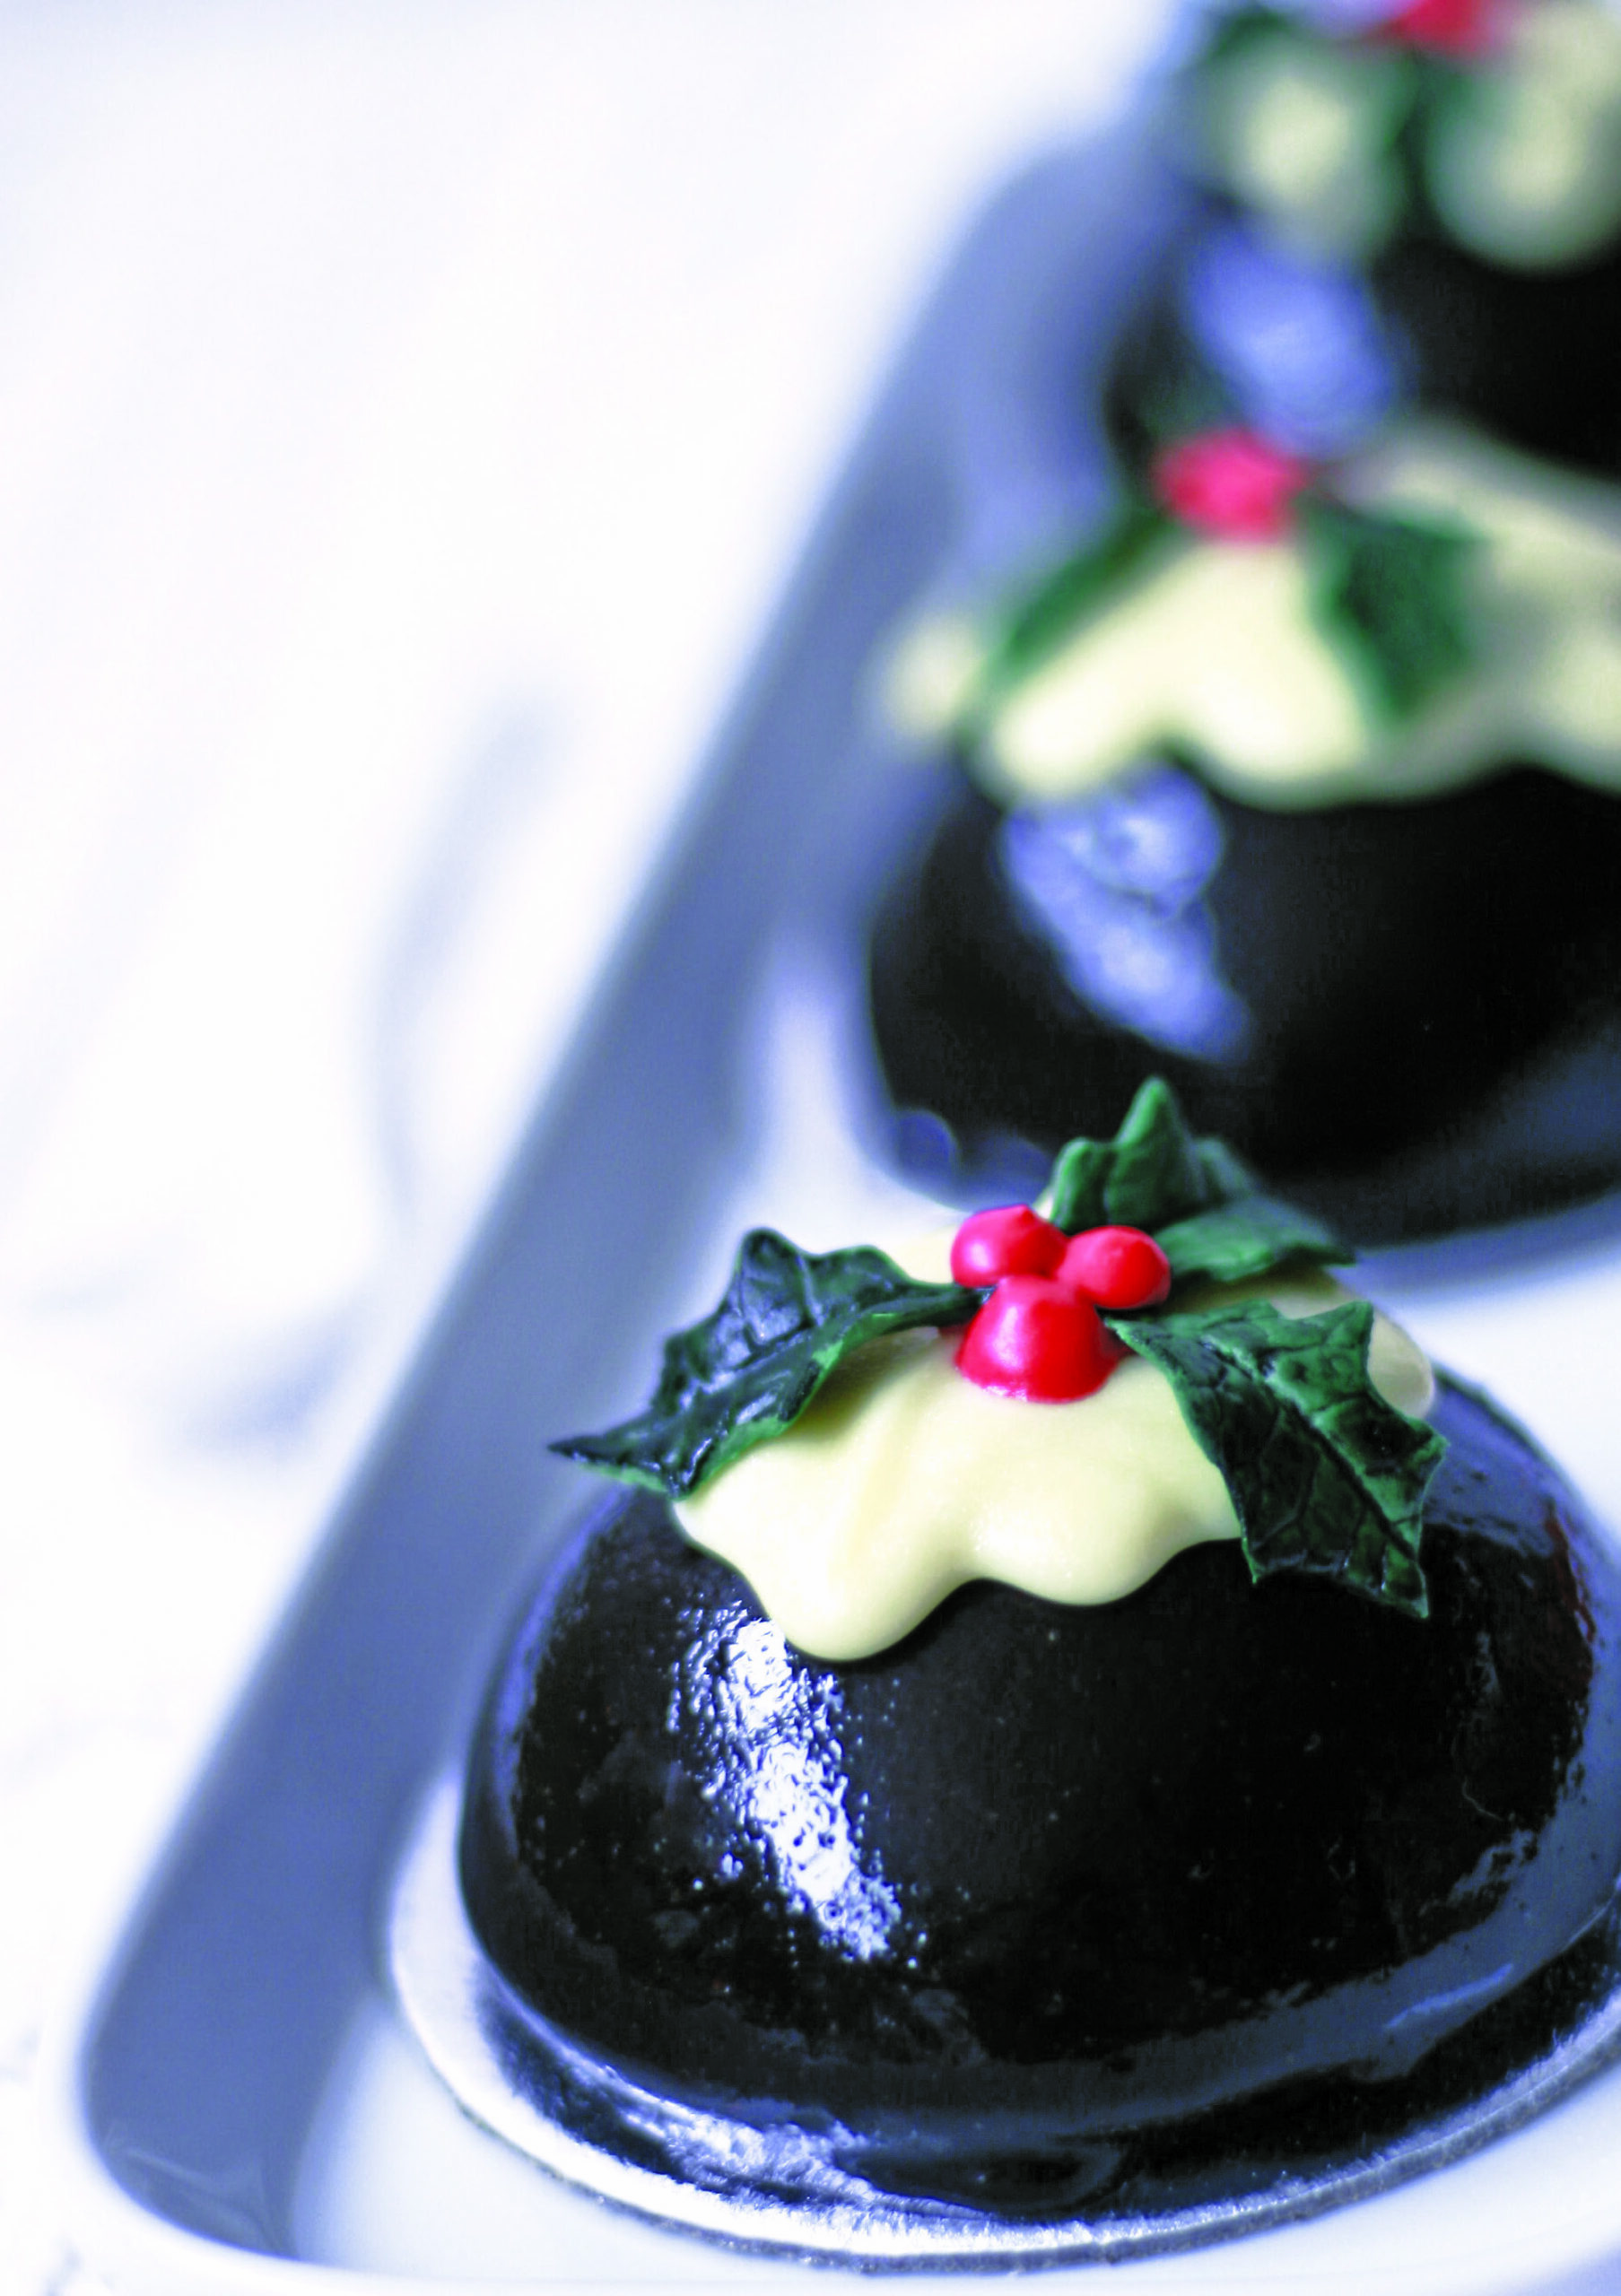
This recipe is an adaptation from a Laduree recipe. I initially found it really unusual (and at first wasn’t sure if they hadn’t made a recipe error) that they had used yeast to leaven this loaf. But the flavour of this cake is beautiful and will stay moist for up to a week. It is a good alternative to a traditional fruited cake.
Cake Batter
- 150 grams unsalted butter
- 120 grams plain cake flour
- 30 grams cocoa
- 5 grams easy blend dried yeast or 10 grams fresh yeast
- 150 grams castor sugar
- 3 eggs (gently beaten)
- 100 grams candied citrus peel
- 50 grams sultanas
- Zest of one orange
- 50 milliliters brandy or other liqueur
- Orange Oil few drops
- The day before, soak the candied peel and sultanas in the liqueur and orange zest.
- Grease and line your tins or molds.
- Preheat your oven to 200°C.
- Sift together the flour, cocoa and dried yeast. If using fresh yeast add it to wet mixture once the eggs have been added.
- Cream together the butter and sugar until light and fluffy.
- Add the eggs a little at a time until fully incorporated.
- Fold in the flour mixture. Add candied peel and sultanas and mix.
- Fill your tin or molds with the mixture and bake for either 40 minutes for a large cake and 20 minutes for the smaller ones; or until the cake springs back.
- Once removed from the oven glaze with orange sugar syrup and leave cool.
Orange Sugar Syrup
- 100 milliliters orange juice
- 100 grams castor sugar
Bring both the ingredients to the boil allowing the sugar to fully dissolve. Leave to cool.
Dark Chocolate Ganache Glaze
- 150 grams dark chocolate, minimum 70% cocoa solids
- 150-milliliter whipping or double cream
- Chop the chocolate into small chunks and place in a bowl.
- Heat the cream until boiling and pour over the chocolate. Stir until fully mixed and pour over cooled cakes to fully cover. Leave to cool on the rack for a few minutes before immediately transferring to cake cards or serving plate.
Decorate as illustrated with white chocolate drips and holly leaves.
TIP – When glazing cakes line your surface with cling film under your cooling rack. This way you can easily reuse any excess ganache! Be careful – the more times you use your ganache the more it incorporates air bubbles.
Decoration
- Melted white chocolate
- Fondant decorations
- Royal icing berries
Stollen Wreath Bun
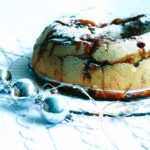
This recipe has the structure of a British Chelsea Bun and the flavor inspiration of a Stollen. The wreath symbolizes eternity as it has no beginning and no end. Don’t be put off by the sound of the ‘flying sponge’; it just helps aid the sponge fermentation of the enriched dough. Even though this does take a bit of time, it is well worth the effort.
Make the filling the day before so that the flavors can fully absorb. This filling recipe is really just a template; you as the baker can add your own spice mixture and filling choices.
Filling
- 100 grams chopped roasted almonds
- 200 grams glaze and dried fruit cherries, angelica, raisins, etc.
- Zest and juice of 1 orange
- 50 grams marzipan cut into cubes
- 2 tablespoons brandy
- Ground spices: 10 cardamom pods 2 tablespoons cinnamon, 2 tablespoons ginger, black pepper
- 4 cloves
- Mix all the ingredients and leave at room temperature overnight.
Flying Sponge
- 200 grams white bread flour
- 20 grams fresh yeast or 10 grams easy blend yeast
- 270 milliliters wate
Mix together and stand at room temperature for 30-40 minutes
Dough
- 300 grams white bread flour
- 10 grams salt
- 75 grams unsalted butter, plus a little extra
- 75 grams castor sugar
- 480 grams flying sponge
Added filling: 70 grams melted butter and 70 grams brown sugar.
- In a bowl mix together the flying sponge, salt and flour. Once combined add the butter and sugar and knead for about 10 minutes until fully incorporated and the dough is silky. Alternatively, mix with a dough hook in a freestanding mixer.
- Lightly dust the dough with flour and leave to proof in the bowl, covered with a plastic bag for 30-40 minutes or until doubled in size.
- Grease a Bundt tin or line a baking tray.
- Turn the dough out onto your work surface. Roll into a rectangle about 12 by 18 inches. Paint the surface with the melted butter, then sprinkle with the brown sugar and finally spread over the filling. Roll from one of the longer sides into a Swiss roll. Cut into 1-inch sections.
- Lay the swirls in the tin or on the tray. Cover again with the plastic bag and leave approximately 35 minutes or until doubled in size.
- Bake at 180°C for approximately 35 minutes or until it springs back to the touch. Allow to cool and to serve dust with icing sugar.