Baking cake is one of the most fun and relaxing hobbies there are.
It doesn’t matter if you’re whipping up an easy pound cake topped with fresh fruit or spending days laboring over an elaborate multilayered cake with a variety of different fillings and frostings; there are a few key tips that are universally applicable to all cakes.
Baking a cake is not necessarily difficult, but it does require a little organization and forethought. The following cake-baking tips will assist you in ensuring that your homemade cakes turn out perfectly each and every time.
1. Go through the recipe step by step.
This may appear to be common sense, but cakes in particular have specific requirements that cannot be changed, including the temperature of the oven, the amount of time spent baking, and the ingredients. You don’t want to wait until it’s too late to figure out that the butter and sugar that you just combined should have been softened first.

2. Put the oven on to preheat before you begin making the cake batter.
Make sure the racks are in the appropriate positions before you start: In order to prevent your cake from getting burned, place a wire rack in the center of the oven for layer cakes and in the lower third of the oven for tube cakes. This will ensure that the top of the pan is not too close to the peak of the oven.
First, preheat the oven to the appropriate temperature before beginning to prepare the cake batter. This could take some time, and it is recommended that you use an oven thermometer to verify the temperature, as many ovens do not accurately report their temperature.
You should hold off on mixing the batter because if it is allowed to sit at room temperature for ten minutes while you are waiting for the oven to heat up, the batter will not react correctly to the heat. If you continue to warm the oven after you’ve placed the pan inside of it, your cake won’t rise the way it should either.
 3. Compile the ingredients and check that they are at the appropriate temperatures.
Before you begin, lay out all of your wet and dry ingredients as well as your equipment on the counter, and check to make sure that everything is at the appropriate temperature.
This is of utmost significance with regard to butter and eggs: Eggs at room temperature ensure that the temperature of the batter remains consistent, and soft butter ensures that the cake will have a light and airy texture.
If you want to soften butter, you should leave it out for several hours; after that, pressing on it should not result in any resistance. Alternately, you could use a microwave to speed up the process: To soften the butter without melting it, cut it into cubes about half an inch square, arrange them in a single layer on a plate that is safe for the microwave, and heat it on high for three seconds at a time, checking it in between.
Do this until the butter is pliable but not melted. Be careful not to let the butter melt all the way, as this will prevent your cakes from rising as much as they should.
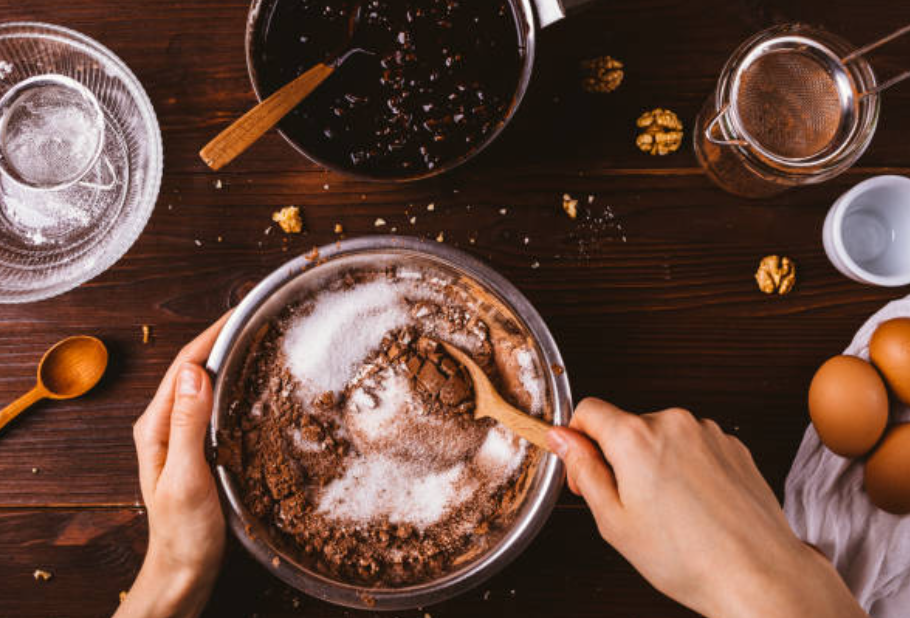
4. Make the batter … the best part of baking cake.
The following are some examples of cakes and their corresponding instructions: Creaming the butter and sugar is the typical method for combining the ingredients for butter cakes, while beating the eggs and then folding them in is the standard procedure for making sponge cakes. Make sure that you follow the instructions to the letter in order to achieve the desired texture, and then bake the dish after pouring the batter into the appropriate pan (or pans).
5. Ready the pan before baking cake.
It is essential to check that the cake can be removed from the pan without breaking into multiple pieces if you want the finished product to have the desired form. Buttering the cake pan is the method that is most frequently used to accomplish this, though the specifics may change depending on the kind of cake being baked.
When making cake layers in general, use a brush to spread butter that has been softened but has not yet melted all over the interior of the pan. After that, transfer an area of parchment paper that has been trimmed to fit the interior of the dish to the center of the pan. (Precut parchment paper sheets are a luxury that we enjoy having on hand, and we recommend that you purchase some of these in the appropriate size for your cake pans.)
To make a butter cake that is baked in a Bundt pan, first coat the pan with melted butter, and then coat the buttered surface with fine, dry bread crumbs (or finely ground nut flour), tapping the inverted pan to dislodge any excess bread crumbs. After that, give the cake a quick coating of vegetable cooking spray to make absolutely certain that it won’t stick to the pan.
Create a foil lining for a pan that is either rectangular or square by first shaping the foil on the reverse side of the pan and then pressing it into the pan. The butter went on the foil. This makes it simple to lift a cake directly out of the prepared pan even if you don’t want to invert it, as is the case with a crumb cake.
6. Do not undermix or overmix the ingredients.
When you’re mixing, it’s easy to get carried away, but keep in mind that the purpose of the process is to simply combine the ingredients. If you overmix the batter, you will remove the necessary air and be left with cakes that have a dense and brittle consistency. On the other hand, make sure not to undermix the ingredients. It is essential that all of the components be thoroughly combined.
7. Be patient when baking cake – Don’t open the oven door
Resist the urge to peek inside the oven at a cake that’s in the process of baking, no matter how tempting it might be to make a small opening in the door. By cracking the door of the oven, one can let in fresh air, which causes a significant temperature drop inside. The sudden shift in temperature may completely ruin your cake.
8. Test for doneness
To determine whether or not a cake is done, insert a toothpick, cake tester, or thin knife into the middle (or halfway between the side and the tube if using a tube pan). When a cake is done, you will notice that a few crumbs have adhered to the knife or toothpick that you use to remove it from the cake. If the cake has not yet finished baking, wet batter will continue to adhere to the surface of the cake.
 9. Let the cake cool down.

The majority of cakes are typically allowed to cool on a metal rack to ensure uniform air circulation. A recipe will specify whether the cake should be allowed to cool in the pan or should be unmolded as soon as it is done baking. Carefully following the instructions is important because some types of cakes can become stuck in the pan if they are left there for too long.
Angel food cakes and chiffon cakes must be allowed to cool while suspended upside down in their respective tube pans. If not, the cakes will deflate as they cool, causing them to appear unappealing and unattractive once they have been cut. Turn the pan upside down over several ramekins that have been turned upside down so that the edges of the pan are supported by the ramekins.
Before beginning to bake the cake, it is best to figure out the system for doing this by practicing with an empty pan over ramekins to ensure that your system will be stable. This can be done before you start the baking process.
10. After baking cake carefully remove the cake from the mold.
When you are ready, slide a sharp, thin knife between the edge of the pan and the cake while moving the knife slowly back and forth. After that, place a rack or platter (as directed by the recipe) over the top of the pan so that it is upside down. Flip the cake pan over, and remove it from under the cake. It’s possible that you’ll be asked to finish cooling the cake upside down, or you might be given the instruction to turn it right side up once more. Always make sure to follow the instructions, as there is no one way that works best for cooling different kinds of cakes.
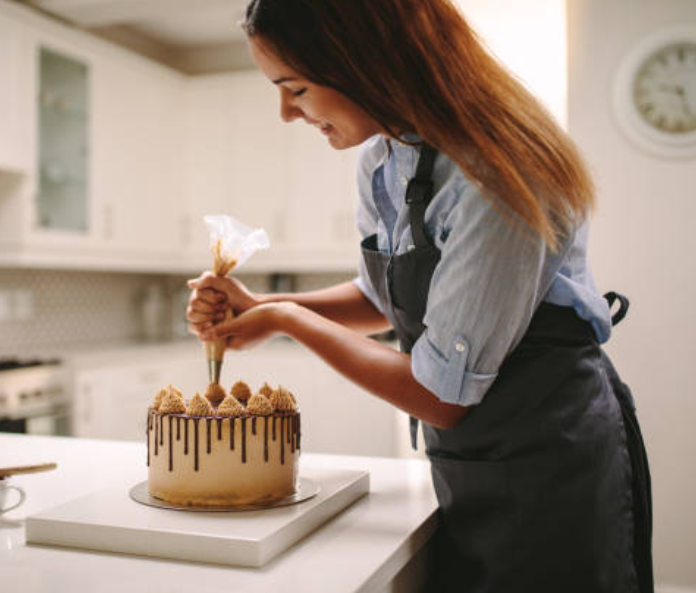
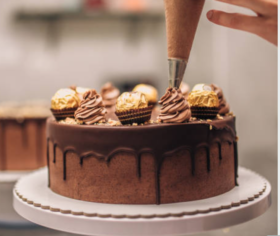
11. Finish icing the cake.
There are many ways to put the finishing touches on a cake. Some types, like pound cakes and crumb cakes, are finished when they are removed from the oven and do not require any additional decorating at all. For some, the finishing touch may consist of nothing more than a light sprinkling of powdered sugar or a swift brushing with a glaze.
In addition, certain cakes, such as those made in the European layer cake style, can have more than one type of filling, each of which can be frosted with a unique type of frosting or glaze, and then be adorned with intricate decorations, such as buttercream that has been piped or marzipan that has been shaped into roses and leaves.
Following these 11 steps will help you bake the perfect cake every time.