I’m going to show you that crafting the perfect frosting isn’t just about following a recipe; it’s also about the quality of your ingredients and tools. This foundation can make or break the final result. Here’s what you need to know to set the stage for frosting mastery.
You’re going to find out about the importance of selecting the right ingredients. High-quality butter for richness, pure vanilla extract for flavor, and confectioners’ sugar with just the right fineness are paramount. These choices ensure a frosting that’s not only delicious but also has the perfect texture and spreadability.
Let’s talk tools. Without the proper equipment, even the most premium ingredients won’t perform as they should. We’ll need spatulas for mixing, an electric mixer for that airy texture, and smoothing tools for a polished finish. I’ll also explain why a turntable could become your new best friend in the frosting world.
Your workspace sets the tone for your frosting endeavors. I recommend clearing a generous area, so you’re free to create without constraint. This isn’t just about comfort; it’s also about having enough room to work effectively and keep your tools within easy reach.

Now, ingredient temperature plays a pivotal role. Believe it or not, the temperature of your butter and other ingredients can dramatically influence the consistency of your frosting. I’ll go over the ideal temperatures that lead to a spread that’s neither too stiff nor too runny.
Finally, sifting isn’t just a needless extra step. It’s the secret to removing lumps from your sugar and ensuring that your frosting is as smooth as silk. After we’ve discussed the specifics of preparation, you’ll be ready to dive into the nuances of the application process.
Mastering the Art of Application: Techniques for Perfect Frosting
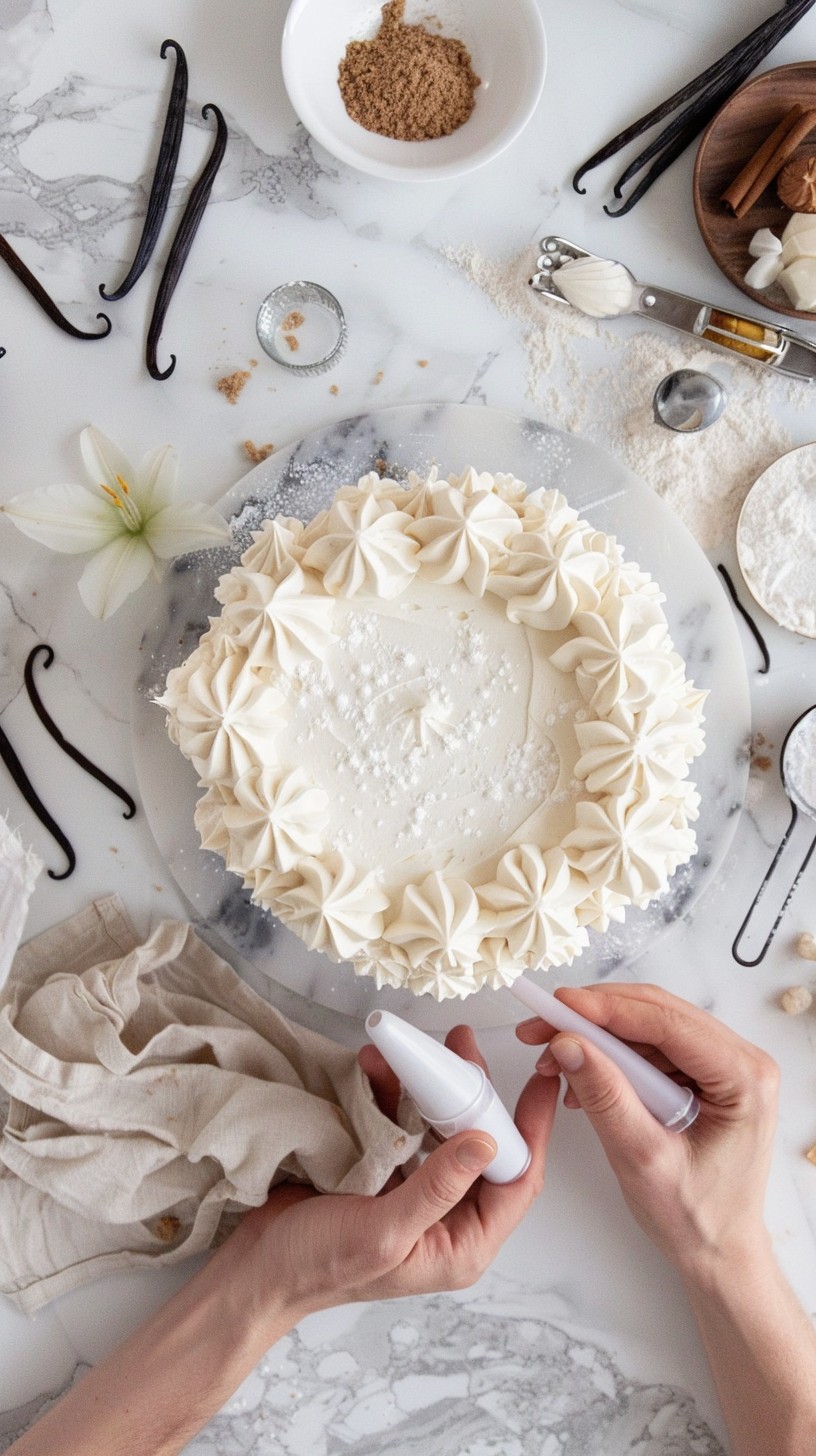
I’m going to walk you through some techniques that are going to make a world of difference in how you apply frosting. First up, it’s about even frosting application. You’ve probably seen those cakes that look so flawless, you almost don’t want to take a slice. The key here is consistency and using the right tools like offset spatulas and cake turntables. It’s like having extra hands in the kitchen.
Now, if you want to get fancy with your designs, piping is where it’s at. Don’t worry too much about perfection on your first go. It’s all about practice. But I’ve got tips that will set you up for success. Choose the right piping tips, maintain steady pressure, and don’t rush. It’s not just a frosting game; it’s a patience one too.
When it comes to adding texture, I say choose something that resonates with you. A simple spoon can create stunning peaks, while a toothpick can make intricate swirls. This is where you let your creativity take the driver’s seat.
A lot is happening very quickly when you start coloring frosting. Remember, a little goes a long way with food coloring, so add it drop by drop. You’re aiming for that perfect hue without changing the frosting’s texture.
After all the effort you’ve put in, you want your masterpiece to last, right? Storing your frosted creations is crucial. I’m here to tell you how to keep them looking as fresh as when you piped that last rosette. The right temperature, airtight containers, and choosing the correct frosting types for the weather — all these factors come into play.
By now, you’ve got the inside scoop on creating perfect frosting. Just don’t focus too much on perfection. Your first attempt doesn’t need to be your last. Frosting is an art, and every artist develops their style over time. I really hope that you need feel encouraged to experiment and have fun. Frosting is delicious, after all, so even your ‘mistakes’ will be tasty! Don’t forget, I’d love to hear how your frosting adventures go, so share your stories and maybe a photo or two. Here’s to making your next cake a showstopper!