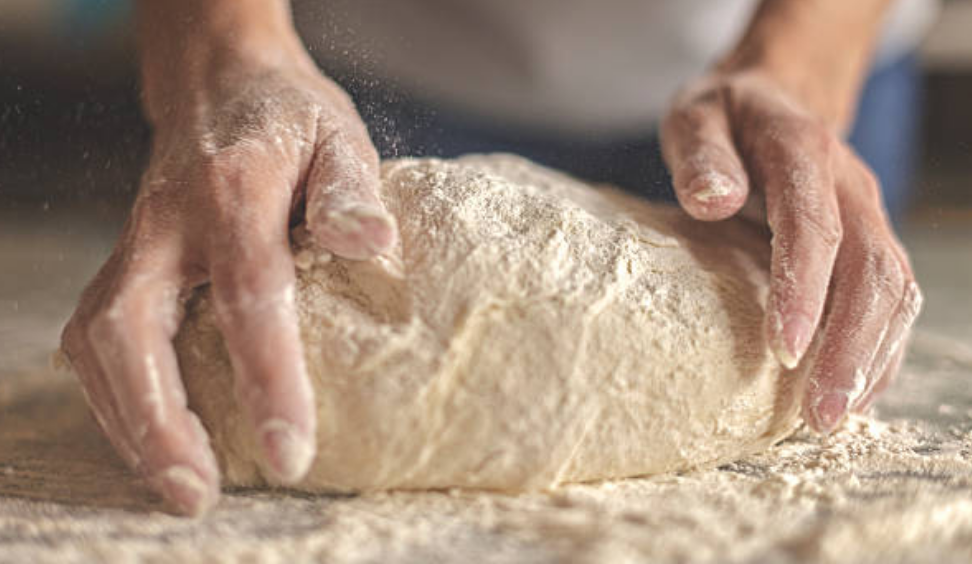
Embarking on a culinary journey often starts with mastering the fundamentals, and when it comes to baking, understanding the basics of dough is an essential step. In this guide, we’ll delve into the intricate world of dough, exploring different types, the science behind gluten development, essential tools, flour quality, hydration, and the importance of resting periods in creating workable dough.
Different Types of Dough and Their Unique Characteristics
Dough is a versatile foundation in the culinary world, with various types catering to specific recipes and tastes. From the flaky layers of pie crusts to the elastic structure of bread dough, understanding the characteristics of different types allows you to choose the right foundation for your culinary creations.
The Science Behind Gluten Development and Dough Elasticity
At the heart of many doughs lies the science of gluten development—a protein network that provides structure and elasticity. Discovering how to manipulate gluten formation allows bakers to achieve the desired texture, whether it’s the chewiness of a baguette or the tenderness of a pastry.

 Essential Tools for Dough Rolling and Shaping

Equipping your kitchen with the right tools is crucial for achieving precision and finesse in dough preparation. From rolling pins and pastry cutters to molds and shaping tools, having the essentials ensures a seamless and enjoyable baking experience.
Importance of Flour Quality and Hydration for Workable Dough
The choice of flour and the hydration level play pivotal roles in the success of your dough. High-quality flour with the appropriate protein content, combined with careful hydration, results in a workable and consistent dough that responds well to shaping and rolling.
The Role of Resting Periods in Dough Preparation
Patience is a virtue in the world of dough. Understanding the significance of resting periods allows the dough to relax, reducing elasticity and making it easier to handle. This step is crucial in preventing shrinkage during baking and achieving the desired texture in the final product.
The Art of Rolling: Techniques for Perfect Thickness and Texture
With a solid understanding of dough basics, let’s move on to the art of rolling—the pivotal step that transforms dough into the foundation of your baked delights.
Step-by-Step Guide to Rolling Dough Evenly Without Tearing
Rolling dough evenly without tearing is a fundamental skill that every baker should master. Whether you’re crafting pie crusts, pizza dough, or any other type of pastry, a smooth and tear-free rolling process is essential for achieving the perfect texture in your final baked goods. Here’s a step-by-step guide to help you roll dough evenly without encountering tears:
Step 1: Prepare Your Work Surface:
Begin by clearing and cleaning your work surface. Ensure it’s smooth, dry, and lightly floured to prevent the dough from sticking. A non-stick silicone baking mat or a well-floured countertop works well.
Step 2: Have the Right Tools:
Equip yourself with the appropriate tools—a rolling pin and, if needed, additional flour for dusting. Choose a rolling pin with handles and a smooth surface to facilitate an even roll.
Step 3: Begin with a Disc of Dough:
Take a portion of your dough and shape it into a disc. This helps in the initial flattening process and minimizes the chances of uneven rolling.
Step 4: Flatten with Hands:
Before using the rolling pin, lightly flatten the disc with your hands. This preliminary step spreads the dough and makes it more receptive to rolling.
Step 5: Roll from the Center Outwards:
Place your rolling pin in the center of the disc. Apply even pressure as you roll away from yourself and towards yourself, rotating the dough periodically. Always start from the center and work your way out to maintain an even thickness.
Step 6: Lift and Turn:
Periodically lift the dough, rotate it 90 degrees, and place it back on the work surface. This prevents sticking and ensures an even thickness throughout the entire dough.
Step 7: Dust with Flour as Needed:
If you notice the dough sticking to the surface or the rolling pin, lightly dust it with flour. Be conservative with flour to avoid altering the dough’s consistency.
Step 8: Aim for Uniform Thickness:
Continue rolling until you achieve the desired thickness. For many recipes, a uniform thickness is crucial for even baking. Use a ruler or your fingers to check thickness consistently across the dough.
Step 9: Check for Air Bubbles:
Keep an eye out for air bubbles trapped in the dough. If you spot any, use a fork to gently prick them, releasing the air and preventing uneven rising during baking.
Step 10: Adjust Pressure for Edges:
When reaching the edges of the dough, lighten the pressure on the rolling pin. This prevents thinning of the edges, ensuring that they are neither too thick nor too thin.
Step 11: Final Adjustments:
Inspect the rolled dough for any uneven areas or tears. If needed, gently reshape and even out the thickness with your hands.
Step 12: Transfer Carefully:
Once your dough is perfectly rolled, carefully transfer it to your baking sheet or pan. Use a spatula if necessary, especially for delicate pastries.
By following these steps and practicing the art of rolling dough, you’ll develop the skills needed to achieve a smooth, even texture without the frustration of tears or uneven thickness. With time and experience, you’ll become adept at rolling dough for a variety of recipes, creating the perfect foundation for your delicious baked creations.
Tips for Maintaining the Desired Texture Through Proper Rolling
Texture is everything in baking, and proper rolling techniques contribute significantly to the end result. Learn how to preserve the desired texture, whether it’s achieving flaky layers in pastry or an even rise in bread.
Adjusting Rolling Techniques for Different Dough Types (e.g., Pie Crust vs. Pizza Base)
Different dough types require tailored rolling approaches. Understanding how to adjust your technique for pie crusts, pizza bases, or laminated dough ensures that each recipe gets the attention it deserves.
Creative Rolling Methods for Unique Culinary Creations
While precision is key, creativity has its place in the kitchen. Explore innovative rolling methods to infuse your creations with a touch of uniqueness, from decorative patterns to layered designs.
Troubleshooting Common Rolling Issues and How to Solve Them
Encountering challenges is a natural part of the baking process. Address common rolling issues such as sticking, uneven thickness, or tearing with effective troubleshooting tips, ensuring that you can overcome hurdles with confidence.
Masterful Shaping: Crafting the Final Form with Skill and Creativity
With a perfectly rolled foundation, the final step is shaping—the artful process that gives your baked goods their distinctive form and character.
Fundamental Shaping Techniques for Various Baked Goods
Whether you’re crafting bread loaves, pastries, or cookies, mastering fundamental shaping techniques lays the groundwork for a wide array of baked delights. Explore classic shapes that serve as the basis for countless recipes.
Innovative Shaping Ideas to Enhance Presentation and Taste
Elevate your baking repertoire by incorporating innovative shaping ideas. From intricate braids to artistic twists, these ideas not only enhance presentation but also contribute to a delightful tasting experience.
How to Avoid Overworking the Dough During the Shaping Process
Overworking the dough can lead to toughness and undesirable textures in the final product. Learn the art of gentle shaping to ensure optimal rise and a tender crumb, preserving the delicate balance of flavors and textures.
Shaping Dough for Optimal Rise and Expansion During Baking
Understanding how shaping influences the rise and expansion of your baked goods is essential for achieving the desired outcome. Explore techniques that promote optimal volume and a uniform rise.
Personal Touches: Adding Signature Twists to Classic Shapes
Unleash your creativity by adding personal touches to classic shapes. Whether it’s a unique scoring pattern on a baguette or a distinctive twist in a braided loaf, these signature elements make your creations truly one-of-a-kind.
The journey from dough basics to masterful shaping is a continuum of knowledge, skill, and creativity. Armed with an understanding of different dough types, gluten science, essential tools, and proper techniques for rolling and shaping, you’ll be well-equipped to create a wide array of delectable and visually stunning baked goods. So, roll up your sleeves, dust your countertop with flour, and let the transformative process of shaping dough take your culinary creations to new heights.