I’m going to be upfront with you – baking is as much a science as it is an art. Getting it right consistently? That’s going to include being precise with your ingredients. You’re going to find out about the tools and techniques that make a big difference in the outcome of your baked goods.
This isn’t just about getting the flavors right; it’s also about the textures and the rise that make your baked goods appealing. In baking, a simple miscalculation can lead to a cake that’s dry or cookies that spread too thin. So, accuracy is key.
Some tools can make all the difference. I’m here to help you understand when to use a measuring cup versus when to pull out the kitchen scale. If you want to elevate your baking game, it’s crucial to get comfortable with different measuring instruments and know how to use them like a pro.

And don’t worry too much about making mistakes. Baking is a learning process. You can always adjust your approach down the road as you gain more experience. Choose something that resonates with you, whether it’s a simple set of measuring spoons or a shiny new kitchen scale.
 Mastering the Art of Measuring Dry Ingredients
If you’ve ever wondered why your homemade bread isn’t as fluffy as the one from the bakery, the answer might just lie in how you measure your flour. Measuring dry ingredients accurately is a pivotal step in baking. It’s not just about getting the quantities right; it’s about understanding the interaction between these ingredients. So, I’m going to help you turn measuring into an art form.
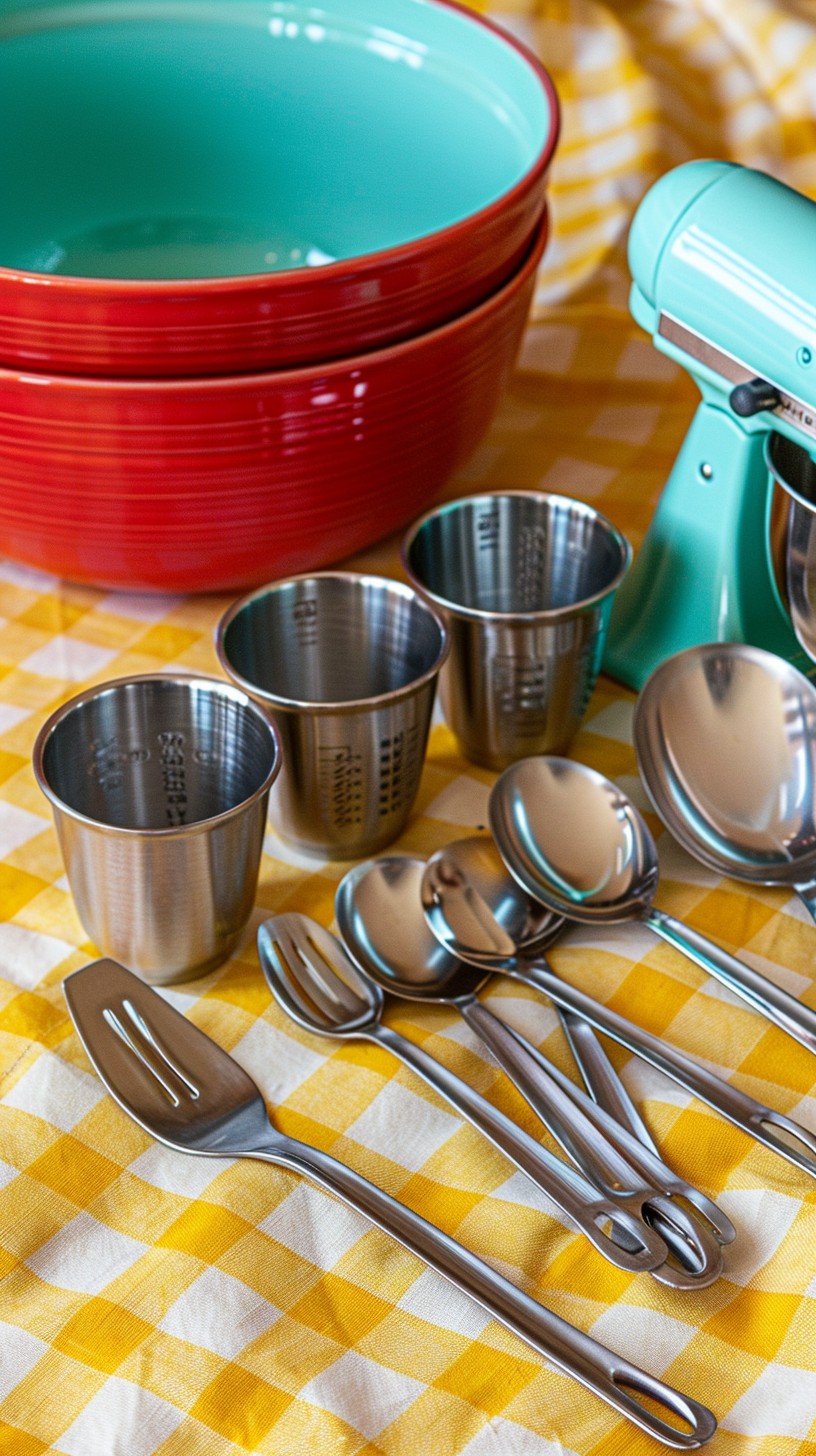
Start by getting hold of the proper tools: measuring cups and spoons. Not all cup sets are created equal, though, so choose something that resonates with you in terms of quality and ease of use. Now, let me introduce you to the ‘spoon and level’ method. Simply spoon your dry ingredient into the measuring cup until it’s mounded above the rim, then sweep a straight-edged utensil over the top to level it off. This technique helps to avoid the common pitfall of using too much flour, which could turn your cookies from chewy to chalky.
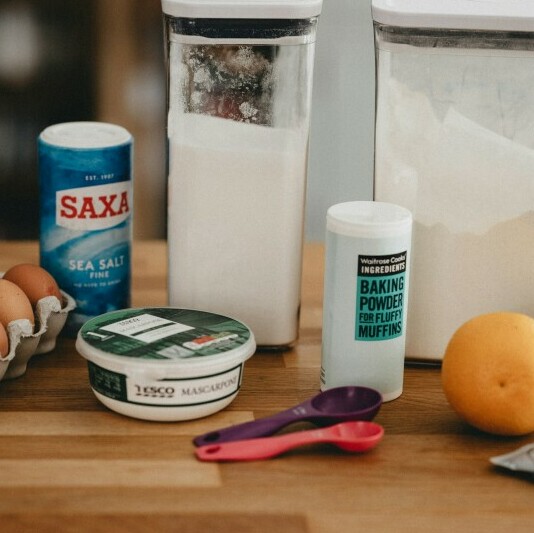
What about brown sugar, you ask? That’s where the concept of packed versus loose measurements comes into play. When a recipe calls for packed brown sugar, you’ll want to press it firmly into your measuring cup to eliminate any air pockets. This ensures that you’re using the amount of sugar intended by the recipe, which is crucial for that perfect balance of sweetness and texture.
In my opinion, one of the best investments for a home baker is a reliable digital scale. Weighing your ingredients is a surefire way to maintain consistency and ensure that every batch turns out just as good as the last. It’s a game-changer that might make you forgo cups and spoons altogether! But if you’re not ready to make the leap to weights, following these methods will still significantly improve your accuracy.
As you perfect these techniques for dry ingredients, you’re going to find out about the subtleties involved in measuring liquids. This is just as important, as even a small mistake can lead to a baking disaster. I’ll guide you through that in the next section, so your baking prowess can rise to new heights.
Navigating the World of Liquid Measurements in Baking
Now that you’ve gotten the hang of measuring dry ingredients, it’s time to tackle the liquids, which have their own set of challenges. Liquids are essential to the chemistry of baking, adding moisture, and in some cases, activating leavening agents. But add too much, and you’ll find yourself with a batter that’s more soup than substance.
First things first: you’re going to need a clear liquid measuring cup, preferably one with a spout. It makes pouring a breeze, and the measurements are generally more accurate than when you try to eyeball a line on a regular cup.
Why is accuracy so crucial with liquids? Because they integrate into the batter or dough in a way that dry ingredients just don’t. Excess moisture can lead to gluten development errors, unbalanced batter ratios, and ultimately, failed baking projects.
Now, for the sticky situation—we’ve all dealt with the mess of measuring ingredients like honey, molasses, or syrup. Here’s a trick: lightly coat your measuring tools with oil before pouring in the sticky substances. This way, you get all the sweetness without the stickiness.
And that’s about it. You’re now well-versed in the subtle art of measuring both dry and wet ingredients accurately. Remember, good baking is as much about precision as it is about passion. By taking the time to measure correctly, your consistency will shine through in the impeccable taste and texture of your creations.
I really hope that this guide has given you a new sense of confidence in the kitchen. Baking shouldn’t be a daunting task; it’s a rewarding process that, when done correctly, yields delicious outcomes. So go ahead, preheat that oven, and remember, in baking, as in life, the little things—like accurate measurements—can make all the difference.