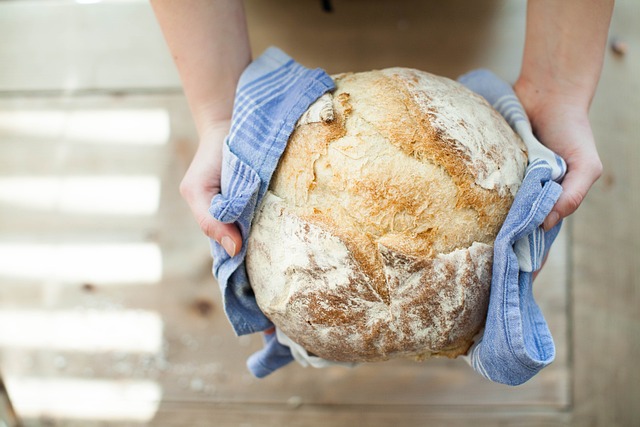
Embarking on a culinary journey through the enchanting world of baking, where dough transforms into art, and the scent of freshly baked bread tantalizes the senses, is an experience like no other. Imagine the satisfying crunch of a perfectly golden crust giving way to a soft, pillowy interior, each bite a symphony of flavors and textures. In this delectable realm, mastering the art of leavened bread stands as a pinnacle of achievement—a delicate dance of science and intuition that elevates humble ingredients into a gastronomic masterpiece. As you knead, proof, and bake your way through the intricacies of leavened bread, each step holds the promise of unlocking new secrets to baking success. From understanding the alchemy of yeast to fine-tuning the fermentation process, every decision shapes the final loaf that emerges from your oven—crisp, aromatic, and utterly irresistible. With a sprinkle of flour here and a dash of patience there, you’ll soon find yourself on a transformative voyage, where the simple act of baking transcends into an art form that nurtures both body and soul. Join us as we unravel the mysteries, share invaluable tips, and delve deep into the heart of creating the perfect leavened bread.

 The Fundamentals of Leavened Bread: Yeast and Its Role
At the heart of every loaf of leavened bread lies a tiny organism with an extraordinary ability to transform dough into a light and airy masterpiece. We’re talking about yeast, the unsung hero of baking. This microscopic powerhouse feeds on sugars present in the dough, releasing carbon dioxide gas as it ferments. The trapped gas causes the dough to rise, resulting in those coveted air pockets that give leavened bread its characteristic texture.
When it comes to selecting yeast for your bread, you have two main options: active dry yeast and instant yeast. Active dry yeast needs to be dissolved in warm water before use, while instant yeast can be added directly to the dry ingredients. Both types work equally well, so choose whichever is most convenient for you.
To activate the yeast, you’ll need a warm environment. Dissolve it in lukewarm water (around 110°F) along with a pinch of sugar to provide nourishment for the yeast. Let it sit for about 5-10 minutes until it becomes frothy and bubbly. This indicates that the yeast is alive and ready to work its magic.
It’s important to note that using too much or too little yeast can greatly affect your final result. Too much yeast can cause the dough to rise too quickly, resulting in a coarse texture and overpowering flavor. On the other hand, too little yeast may lead to a dense loaf with minimal rise. Finding the right balance is key.
Selecting the Perfect Flour: A Crucial Ingredient in Baking Success
When it comes to baking leavened bread, choosing the right flour is essential for achieving optimal results. Different types of flour have varying protein content, which directly affects gluten development—the backbone of a well-structured loaf.
Bread flour, with its high protein content (around 12-14%), is the go-to choice for most bread recipes. Its strong gluten-forming ability helps create a chewy and elastic crumb. All-purpose flour, with a slightly lower protein content (around 10-12%), can also be used for bread baking, although the texture may be slightly less chewy.
For those seeking a lighter loaf, pastry flour or cake flour can be used. These flours have lower protein content (around 8-10%) and result in a more tender and delicate crumb. However, they may not provide enough structure for certain types of bread.
Experimenting with different types of flour can yield interesting results and unique flavors. Whole wheat flour adds nuttiness and complexity to your loaves, while rye flour imparts a distinct earthy taste. Don’t be afraid to mix flours to create your own signature blend.
 Kneading Techniques: The Key to Developing Gluten Structure
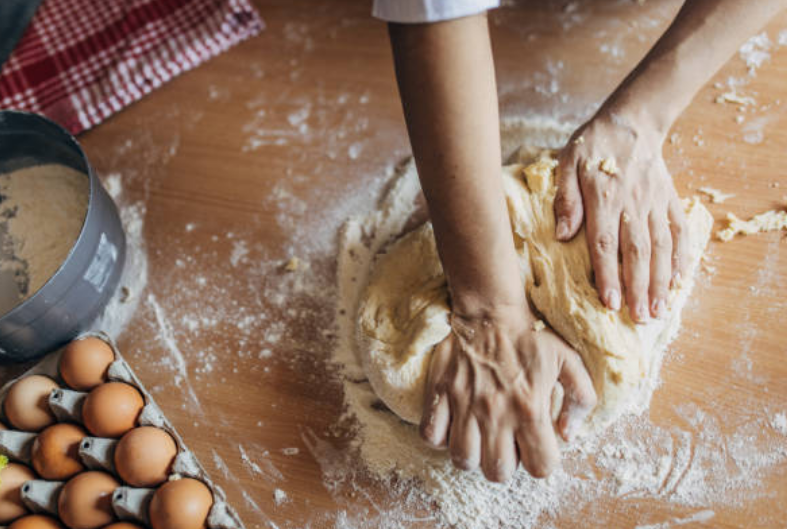
Kneading is an essential step in bread making that develops gluten—the network of proteins responsible for giving bread its structure and elasticity. This process involves working the dough by hand or using a stand mixer until it becomes smooth, supple, and elastic.
To knead by hand, start by lightly dusting your work surface with flour to prevent sticking. Place the dough on the surface and firmly press it away from you using the heel of your hand. Fold the dough back over itself and repeat this motion in a rhythmic manner—pushing, folding, and turning—for about 8-10 minutes or until the dough feels smooth and springs back when gently pressed.
If using a stand mixer fitted with a dough hook attachment, set it to low speed initially to mix the ingredients. Once the dough comes together, increase the speed to medium and let the mixer do the work for about 5-7 minutes. The dough should pull away from the sides of the bowl and form a ball.
Proper kneading ensures even distribution of yeast, strengthens gluten formation, and improves dough elasticity. It’s important to note that over-kneading can lead to a tough and dense loaf, so it’s best to stop once you achieve the desired texture.
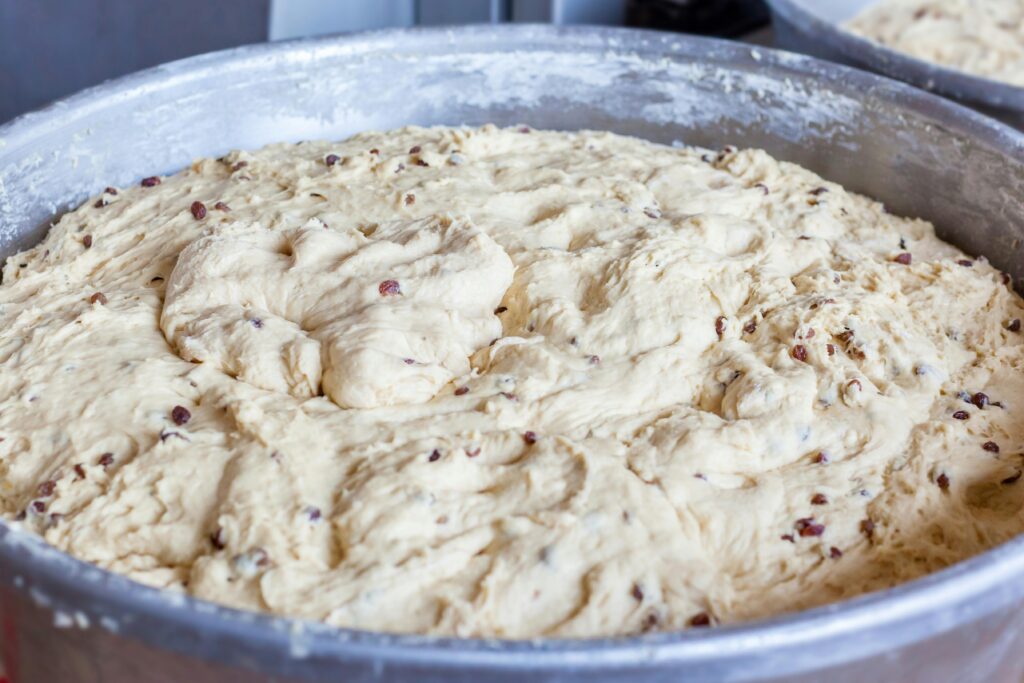
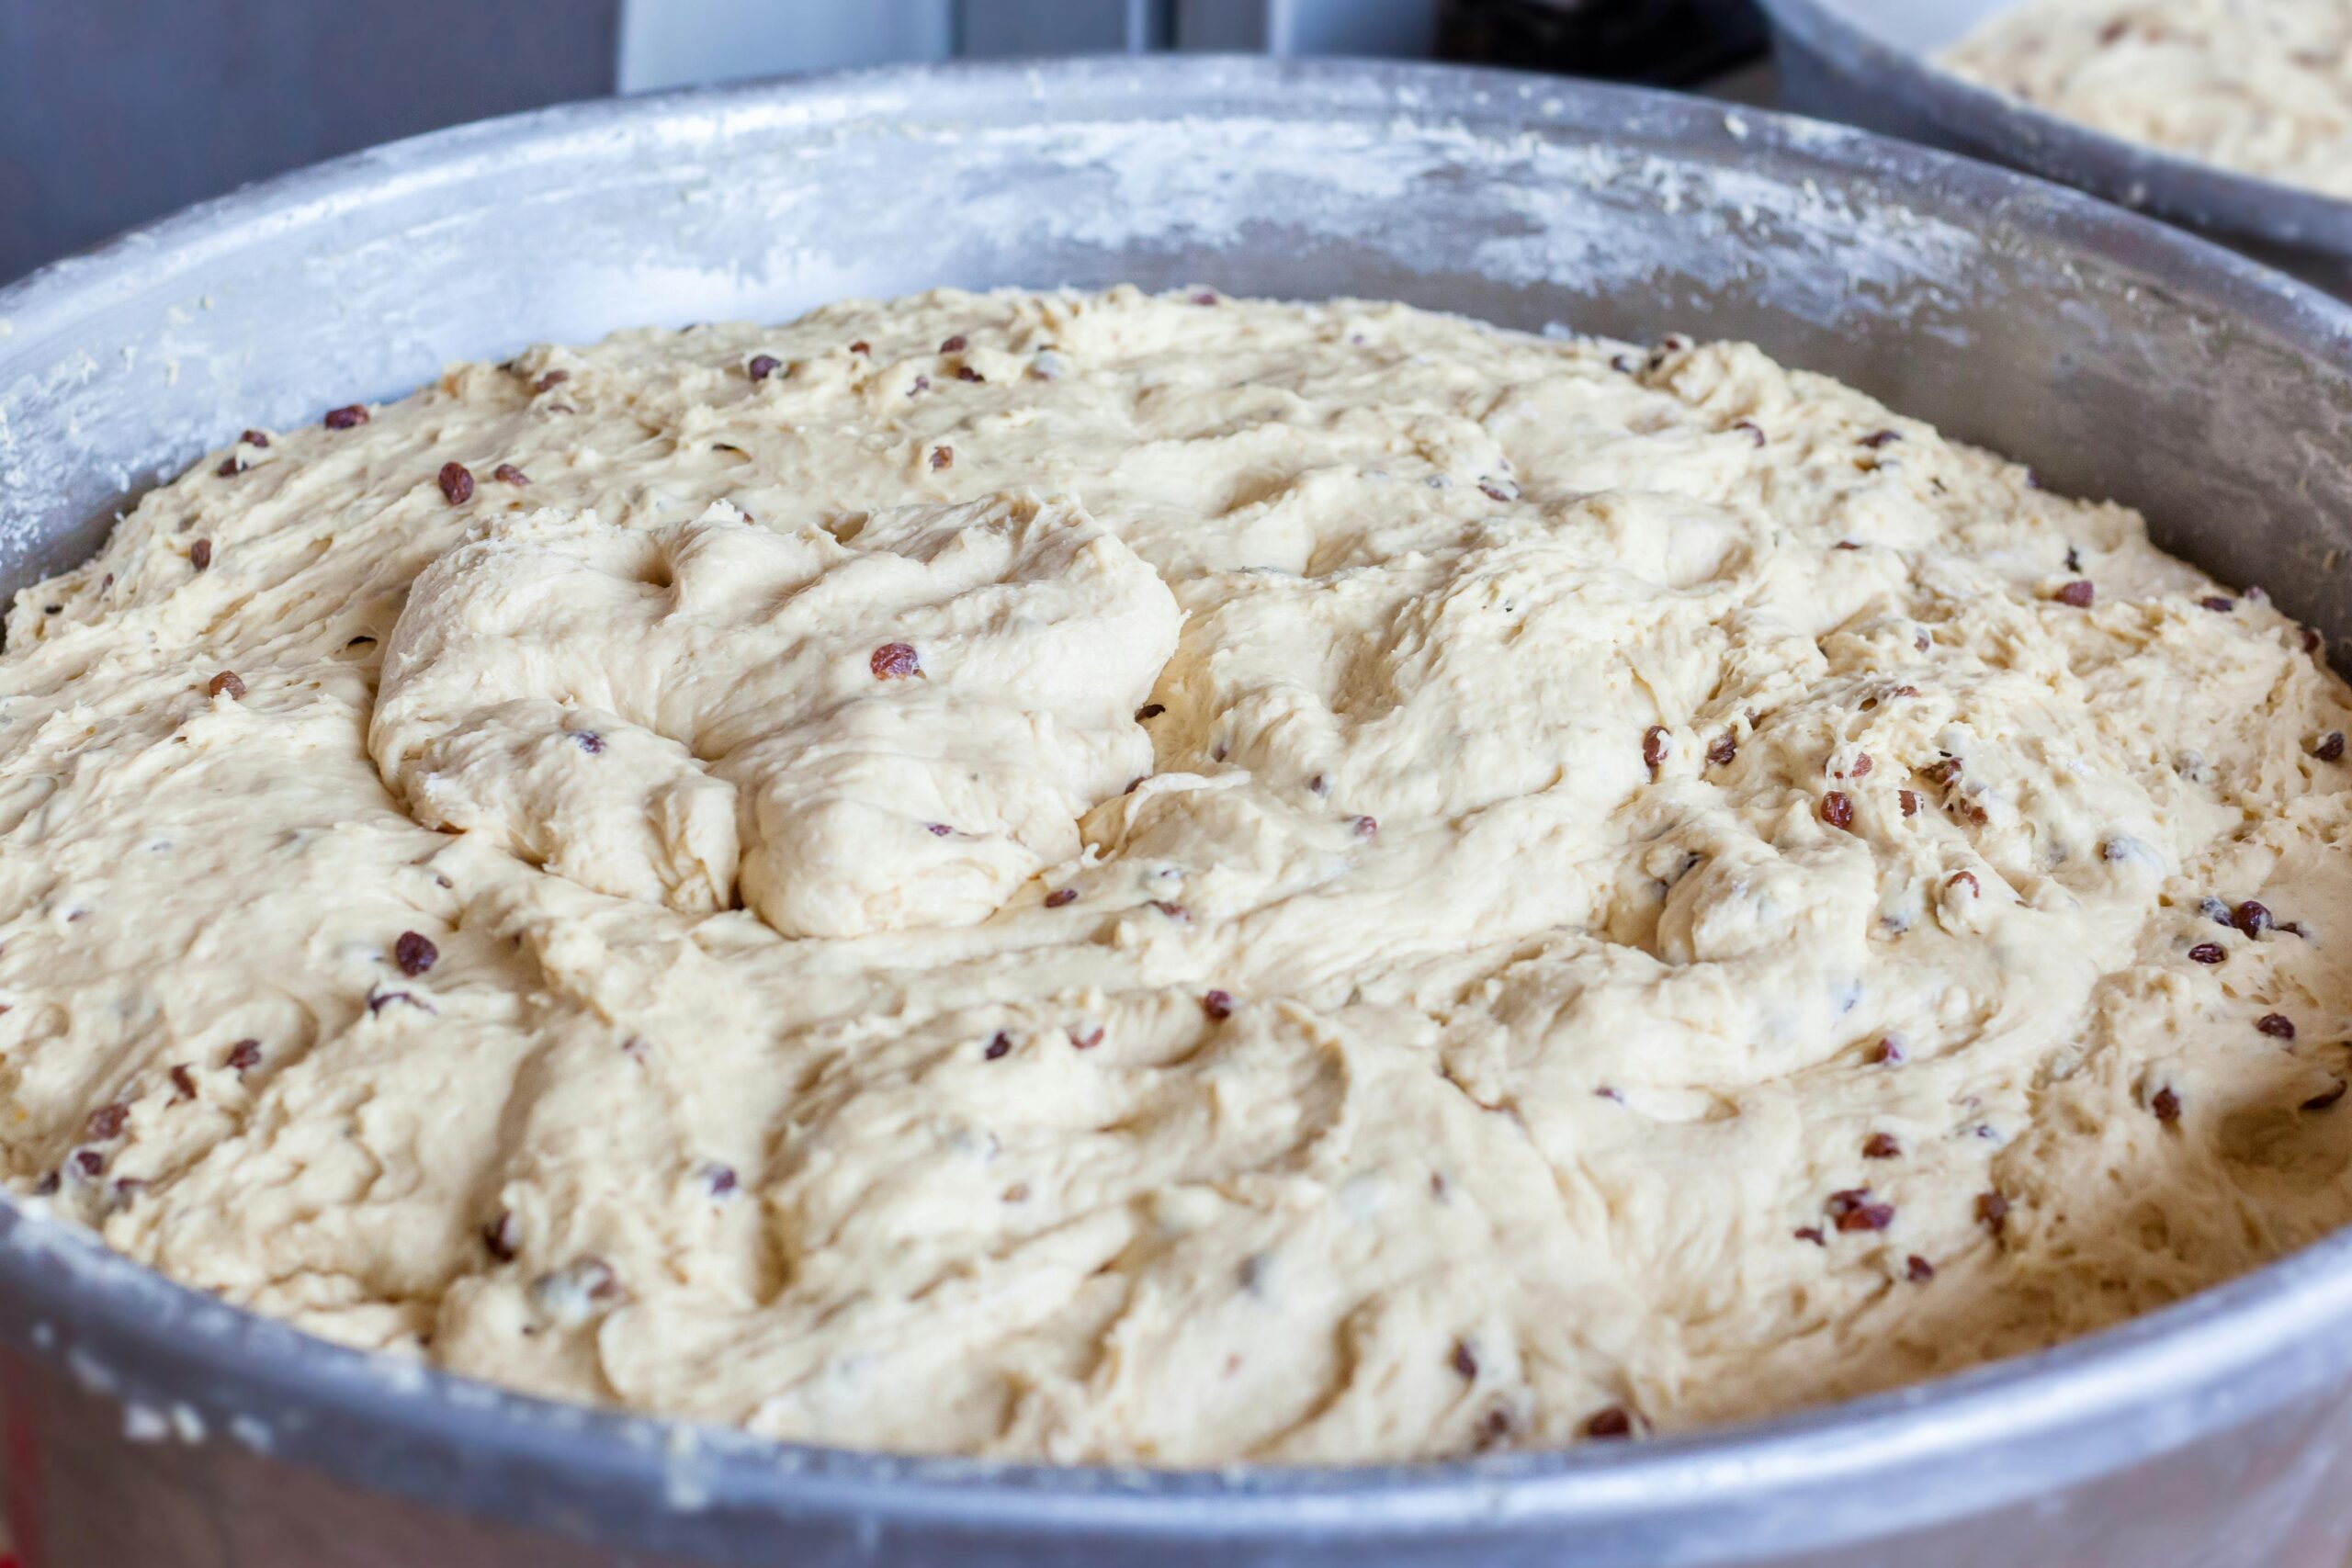
The Art of Proofing: Allowing Dough to Rise and Develop Flavor
Proofing is a crucial step in bread making that allows the dough to rise and develop its full flavor potential. During this stage, yeast continues to ferment, producing carbon dioxide gas that expands the dough. Proper proofing gives bread its light and airy texture while enhancing its taste.
To proof your dough, place it in a greased bowl or container large enough to accommodate its expansion. Cover it with a clean kitchen towel or plastic wrap to create a warm and humid environment. Let it rise until it doubles in size, which usually takes around 1-2 hours depending on ambient temperature.
Temperature plays a significant role in proofing. Warmer temperatures accelerate fermentation, while cooler temperatures slow it down. If you’re short on time, you can use slightly warmer water when mixing your dough or place it in a slightly warmer spot for proofing. Just be careful not to go too warm as it may kill the yeast.
A good way to check if your dough has finished proofing is by performing the “poke test.” Gently press your finger into the risen dough—if it springs back slowly without leaving an indentation, it’s ready for baking. If it springs back quickly or collapses under pressure, give it more time to rise.
Understanding Fermentation: Harnessing Yeast’s Transformative Power
Fermentation is the magical process by which yeast transforms dough into a flavorful and aromatic delight. As yeast feeds on sugars in the dough, it produces carbon dioxide gas, alcohol, and various flavor compounds. These byproducts contribute to the distinct taste and aroma of leavened bread.
The duration of fermentation greatly influences the final flavor profile of your bread. A longer fermentation period allows for more complex flavors to develop, while a shorter one yields a milder taste. Experimenting with different fermentation times can lead to exciting discoveries and personal preferences.
There are two main methods of fermentation: bulk fermentation and cold fermentation. Bulk fermentation involves letting the entire batch of dough rise at room temperature until it doubles in size. This method is commonly used for rustic breads and sourdoughs.
Cold fermentation, on the other hand, involves placing the dough in the refrigerator for an extended period—usually overnight or up to several days. This slow and controlled process enhances flavor development while providing convenience as you can bake your bread whenever you’re ready.
Whichever method you choose, remember that patience is key when it comes to fermentation. Allowing enough time for your dough to ferment properly ensures optimal flavor development and a well-rounded loaf.
Baking Temperature and Timing: Achieving the Ideal Crust and Crumb
The baking stage is where all your hard work pays off—the moment when raw dough transforms into a golden-brown masterpiece with a tantalizing aroma that fills your kitchen. To achieve bakery-worthy results, understanding baking temperature and timing is crucial.
Preheating your oven is essential to ensure even heat distribution throughout the baking process. Most recipes call for preheating at around 425-450°F (220-230°C) for bread. This initial burst of high heat helps create a beautiful crust and gives the bread its characteristic oven spring—the rapid rise that occurs during the first few minutes of baking.
Steam is another secret weapon for achieving a crisp and glossy crust. As the dough bakes, steam is released from its surface, creating moisture that keeps the crust supple and allows it to expand freely. To create steam, you can place a pan of hot water in the bottom of your oven or spritz water onto the walls using a spray bottle.
The baking time varies depending on factors such as loaf size, recipe, and oven performance. As a general guideline, most loaves take around 25-35 minutes to bake. To check for doneness, tap the bottom of the loaf—if it sounds hollow, it’s ready to be taken out of the oven.
Once your bread is baked to perfection, resist the temptation to slice into it immediately. Allow it to cool on a wire rack for at least 30 minutes—this allows moisture to redistribute within the loaf and prevents it from becoming gummy.
Enhancing Flavor Profiles: Exploring Additions and Variations
While leavened bread in its simplest form is a delight on its own, adding various ingredients can elevate its flavor profile and create endless possibilities. From herbs and spices to nuts and dried fruits, there are countless ways to experiment with different additions and variations.
For savory loaves, consider incorporating ingredients like rosemary, thyme, garlic powder, or grated cheese into your dough. These aromatic additions infuse your bread with enticing flavors that pair well with soups or make delicious sandwiches.
If you have a sweet tooth, try adding cinnamon swirls or raisins for an indulgent treat. A sprinkle of sugar on top before baking can create a delightful caramelized crust. Don’t be afraid to get creative and tailor your bread to suit your taste preferences.
Remember that when adding ingredients, it’s important to consider their moisture content and how they may affect the dough’s consistency. Adjustments may be necessary to maintain the proper hydration level and ensure a well-balanced loaf.
Troubleshooting Common Baking Issues: Solutions for Perfect Loaves
Baking bread is a rewarding experience, but it can also come with its fair share of challenges. Don’t be discouraged if you encounter any issues along the way—many common problems have simple solutions that can help you achieve perfect loaves every time.
If your bread turns out dense and heavy, it may be due to insufficient gluten development or overproofing. To remedy this, ensure proper kneading and proofing times, as well as using the correct flour type for your desired texture.
On the other hand, if your bread is too dry or crumbly, it could be a result of overbaking or inadequate hydration. Adjusting baking time or increasing water content in your recipe can help resolve these issues.
For loaves that don’t rise as expected, check the freshness of your yeast—it may have lost its potency. Additionally, make sure you’re using warm enough water during yeast activation and providing adequate proofing time in a warm environment.
By understanding these common pitfalls and their solutions, you’ll become better equipped to troubleshoot any baking challenges that come your way. Remember that practice makes perfect, so don’t be discouraged by initial setbacks—each loaf brings you one step closer to mastery.
 Presentation Matters: Tips for Beautifully Displaying Your Baked Creations
After putting in the time and effort to create a stunning loaf of leavened bread, it deserves to be showcased in all its glory. Presentation plays a significant role in how your baked creations are perceived and enjoyed.
One simple yet effective way to enhance the visual appeal of your bread is by scoring the dough before baking. Using a sharp knife or a razor blade, make shallow cuts on the surface in decorative patterns. This not only adds an artistic touch but also allows the dough to expand evenly during baking.
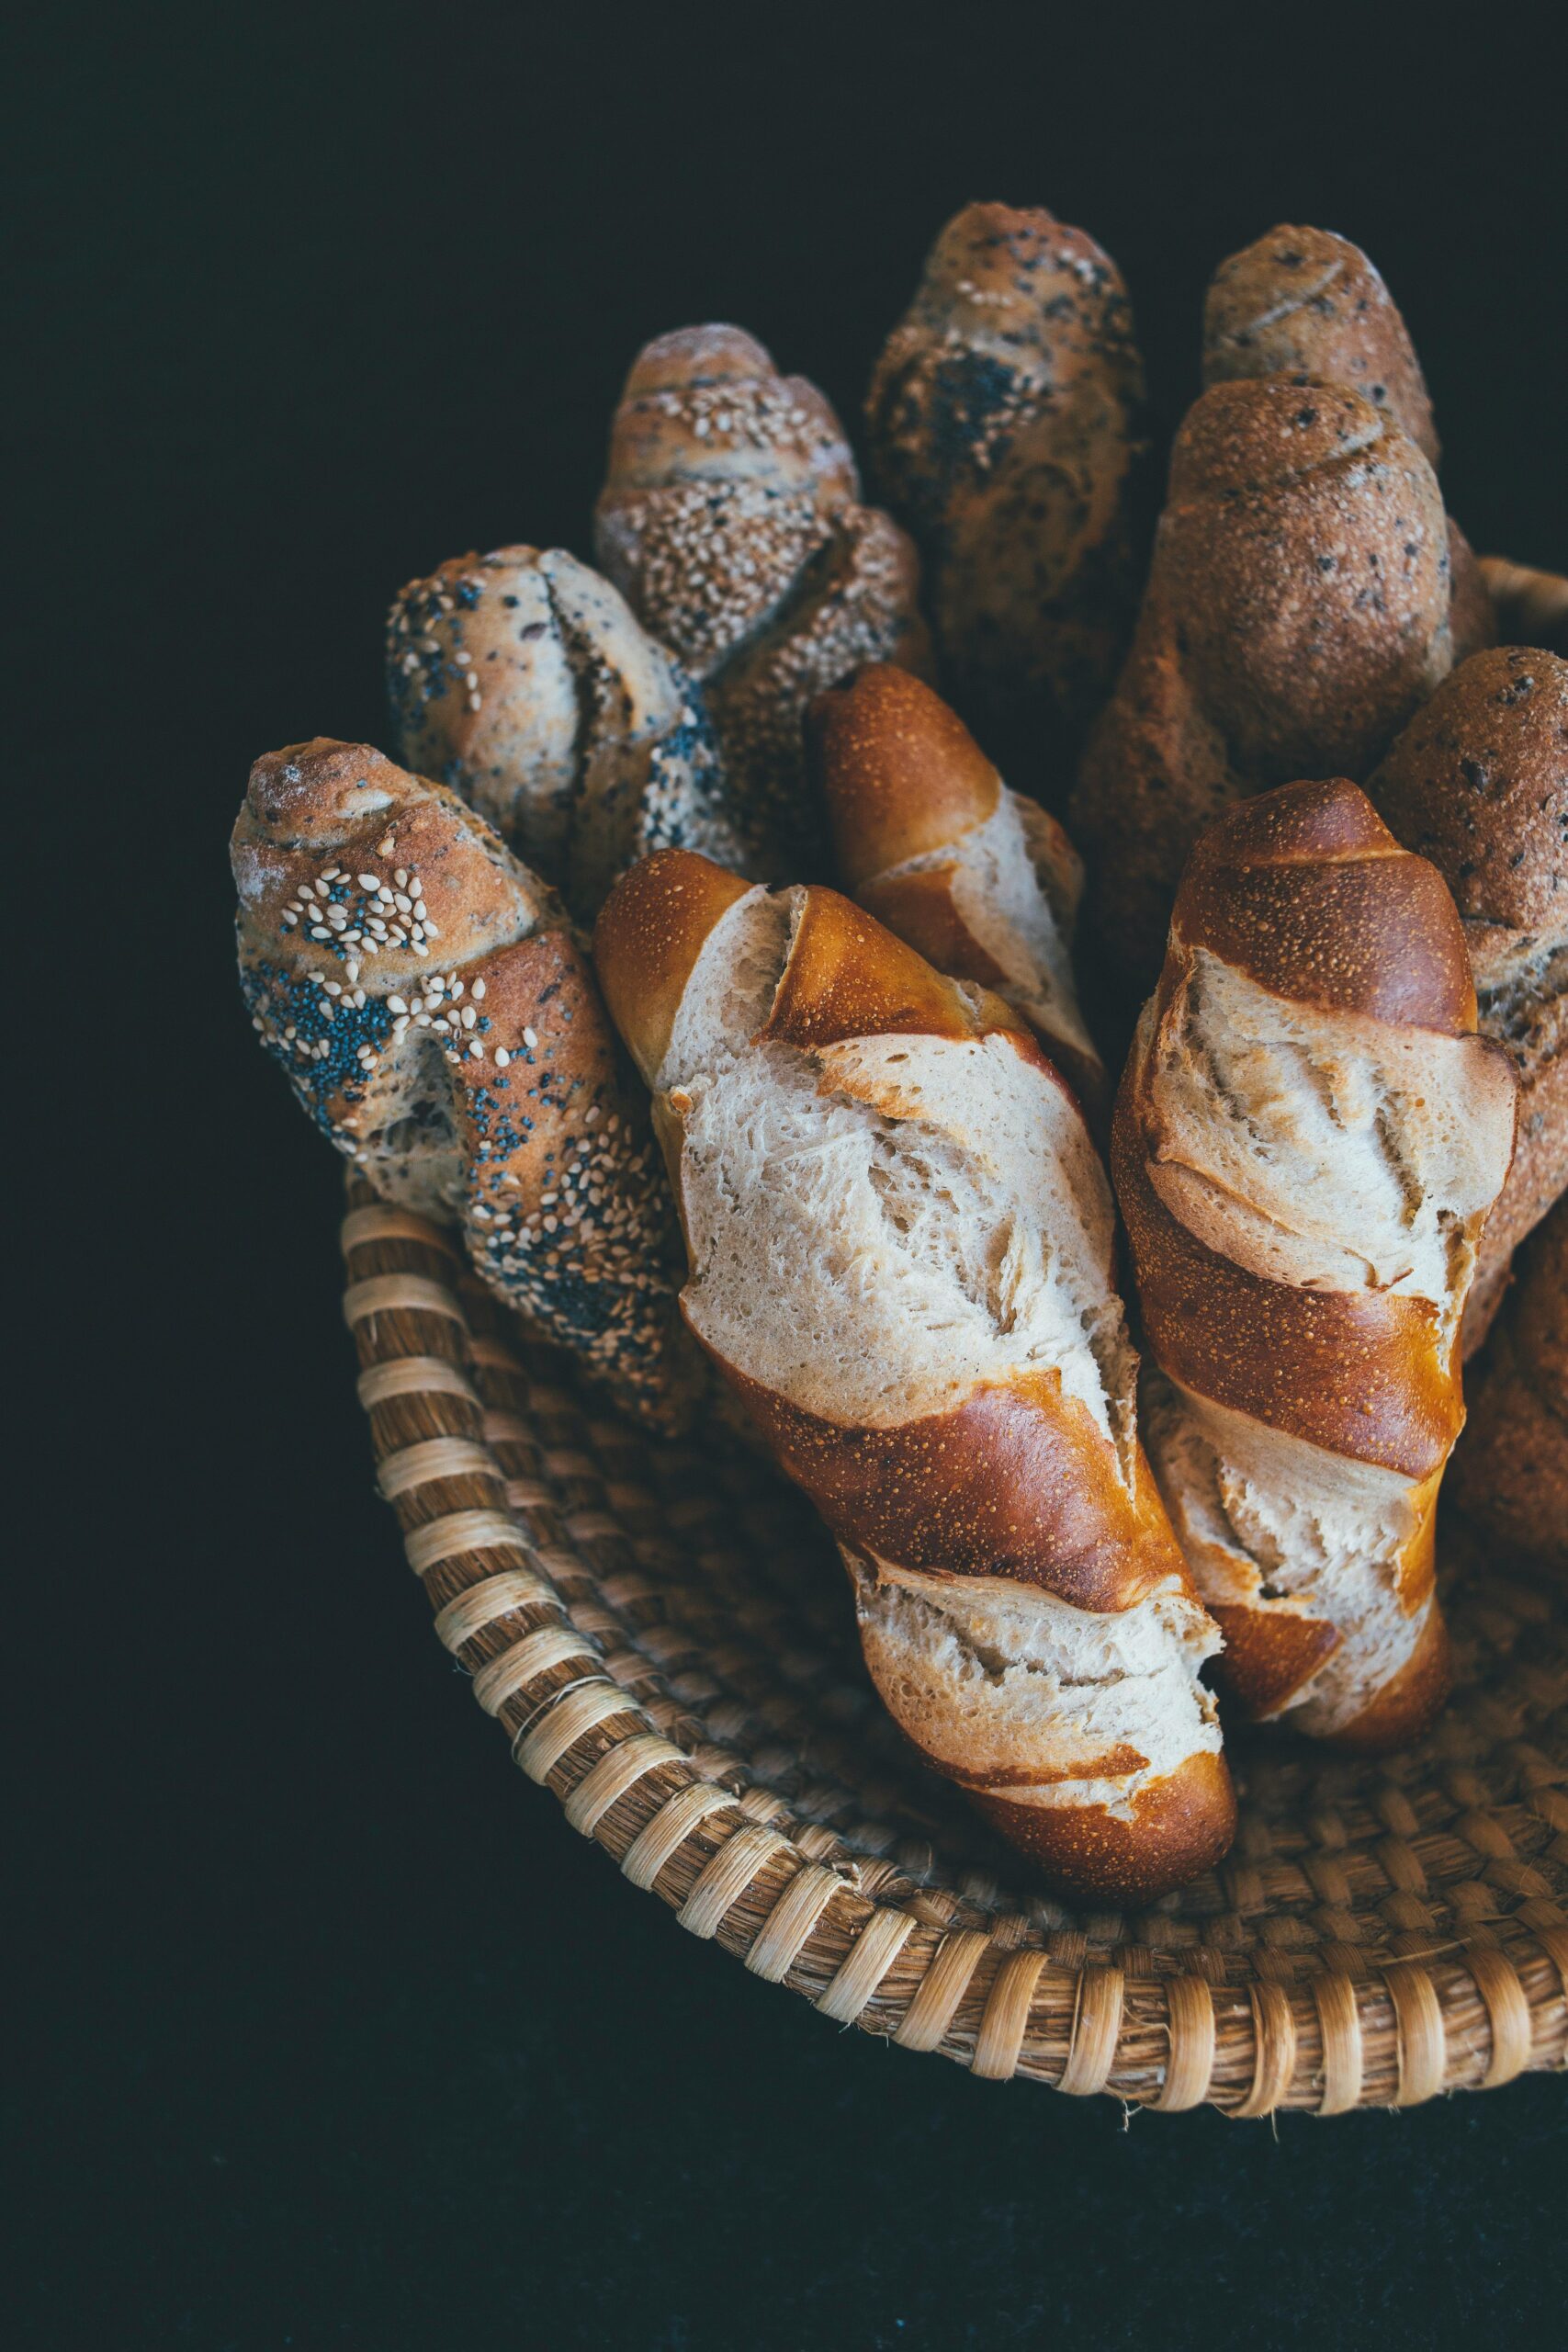
Another way to elevate your presentation is by dusting the loaf with flour or seeds before baking. This creates contrast and adds visual interest to the crust. Experiment with different types of flour or seeds for unique designs and flavors.
When it comes to serving your bread, consider slicing it at the table for an impressive display. The aroma that fills the air as you cut into a freshly baked loaf is truly irresistible. Serve it warm with butter or olive oil for an extra touch of indulgence.
Lastly, don’t forget about proper storage and preservation techniques. To keep your bread fresh for longer, store it in a paper bag or wrap it loosely in a clean kitchen towel. Avoid using plastic bags as they can trap moisture and make the crust soggy.
Embracing the Journey: Growing as a Bread Baker
Baking leavened bread is not just about creating delicious loaves—it’s about embarking on a journey of self-discovery and growth as a baker. Each batch offers new lessons, challenges, and opportunities for experimentation.
As you gain experience and confidence in your skills, don’t be afraid to push boundaries and try new techniques or recipes. Join online communities or local baking groups where you can exchange tips, share successes (and failures), and find inspiration from fellow enthusiasts.
Remember that baking is as much an art as it is a science. While precision and technique are important, don’t be afraid to trust your instincts and let your creativity shine through. The beauty of leavened bread lies in its versatility and the endless possibilities it offers.
So, roll up your sleeves, dust off your apron, and dive headfirst into the world of leavened bread. With each loaf you bake, you’ll discover new flavors, hone your skills, and experience the joy that comes from creating something truly extraordinary.