Today, I’m going to be talking about what might be causing those pesky cracks in your fondant and how to steer clear of them in the first place. Now, fondant is a fantastic way to give your cakes a sleek, professional finish. However, working with it can sometimes be as tricky as it is rewarding.
Often, the culprit behind cracked fondant is as simple as the consistency and temperature of the dough, or it might have something to do with the environment where you’re working. Knead your fondant too little, and it won’t be pliable enough; knead it too much, and it gets too dry and starts resembling a cracked desert floor. Temperature-wise, if it’s too cold, fondant can get rigid, but make it too warm, and you’ve got a sticky mess on your hands. Literally.
Preventing these cracks doesn’t call for a magical spell. It’s all in the fundamentals. Begin by kneading your fondant on a clean, flat surface until it’s soft and workable. Not too soft, mind you. Choose something that resonates with you in terms of rolling pins and smoothers – they’re going to be your best pals in this endeavour. A light dusting of powdered sugar or cornstarch will also help keep things from sticking. And remember, the way you store your fondant is critical. Keep it wrapped up tight in plastic wrap and stored in a cool, dark place when not in use.

You can always adjust these practices down the road once you find your rhythm. But, if you’ve ever wondered if you can fix cracks after they’ve happened, I’ve got good news – you absolutely can. Let’s move on to the nitty-gritty details of how to mend those fondant fractures in the next section.
The Step-by-Step Guide to Fixing Cracked Fondant
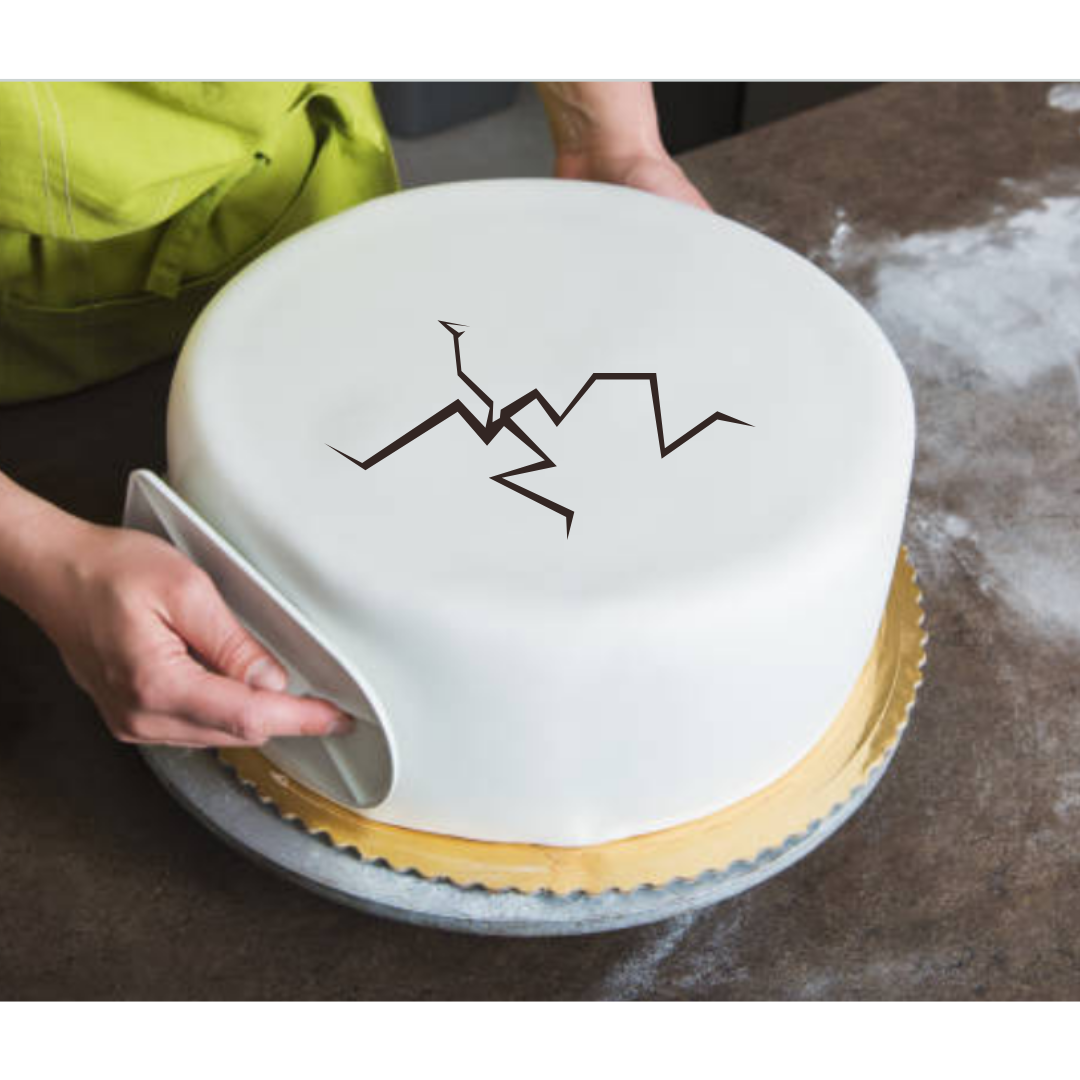
If you’ve discovered cracks in your fondant, don’t panic. With the right tools and a bit of patience, those imperfections can often be made nearly invisible. Let’s walk through the steps to repair those pesky cracks and revive your fondant-covered creation.
First up, gather some fondant repair essentials: a bit of spare fondant, a dab of water or edible glue, and some useful smoothing tools. If you’re dealing with small cracks, simply knead a small piece of fondant until it’s pliable and press it gently into the crack. Use a small paintbrush dipped in water or edible glue to seamlessly blend the new piece into the existing fondant.
For larger cracks or tears, take a slightly larger piece of fondant and work it into the gap. Be sure not to stretch the fondant too thin, or you risk creating more issues down the line. Once the crack is filled, use your fingertips or fondant smoothers to press and blend the added piece, achieving a smooth surface.
Speaking of fondant smoothers, these are your best friends for a professional-looking repair job. Using a smoother, apply consistent pressure to the repaired area, ensuring that it’s flush with the cake’s surface. Smooth all around the crack, feathering out any edges to make the repair as inconspicuous as possible.
Remember, the goal here isn’t just to hide the flaws, but to reinforce the fondant so that no future cracks develop. With deft repair work, you set the stage for a beautifully finished cake that’s ready for its close-up.
Finishing Touches: Ensuring a Professional Look
Once you’ve tackled those pesky cracks, it’s not just about moving on to your next baking project. You’re going to want to ensure your cake looks as impeccable as possible. Fondant isn’t forgiving by default, but I’m here to help you present a cake that’s as close to perfection as homemade gets.
After you repair the fondant, use fondant smoothers to glide over the surface. This isn’t just about flattening – it’s also about blending the repair seamlessly with the rest of your fondant. A gentle touch and patience go a long way. Remember, you can always adjust your approach down the road.
Sometimes a crack is stubborn or too noticeable. That’s when creativity shines. Choose something that resonates with you and your design, and use decorations like flowers, borders, or edible pearls to artfully cover up any flaws. This can turn a mistake into a highlight!
If your fondant has lost its luster, a steamer can do wonders. Lightly steaming the fondant can restore shine and rejuvenate colors. Just don’t focus too much on perfection – a little character sometimes adds to the charm of a homemade cake.
I really hope that you feel confident in not only fixing fondant but also in ensuring that your finished product reflects the love and effort you put into it. Mastering these final steps can be the difference between a good cake and a great one.