Making bread tends to have an image problem. Public perception is that it can seem a little complex, and even expensive! The reality couldn’t be further from the truth. Making your own bread is easy, simple, and fun! Not to mention cheap. This is why we are providing you with bread recipes with yeast.
In this article, I’m going to take you through my go-to bread recipes with yeast, and show you just how easy it is. Plus, I’ll let you know a couple of my top tips for making great bread!
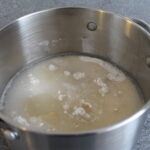
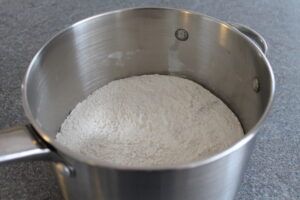 To get started, mix all your dry ingredients together. For an ultra-basic bread recipe like this, it’s simply flour, salt, and yeast. Throw those into a mixing bowl (or a high-sided pan, as I’ve done here), and then mix them thoroughly to combine. Next, add in your wet ingredients.
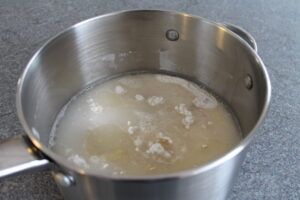
Really, you only need to use water in this step, but I’ve also used a little olive oil too!

The reason that I’ve used olive oil here is that it will help to make the bread much softer after it has finished baking. Do you remember those really soft loaves of white bread that you used to have sandwiches on at school? Like that!
The water that you add needs to be room temperature: not too hot, and not too cold. The reason for this is that the yeast you’re using has an ideal temperature. It prefers to work at room temperature, and if it’s one thing, it’s definitely fussy. If the temperature is too cold, then the yeast will work very slowly, so the process will take longer. If the temperature is too hot, then you can kill the yeast, and have no rise in your bread at all.
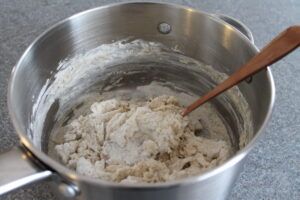
Then, give it a mix to combine everything, and turn it out onto a lightly floured work surface.
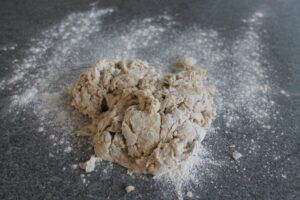
Now begins the kneading. In my experience, kneading bread dough is something that you either love or hate, but I absolutely love it! Once you get the knack, it becomes really therapeutic, and I struggle to put it down.
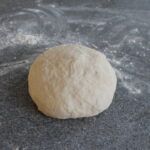
This bread needs about ten minutes of kneading time in total, but you can do a little more or a little less than that, whatever feels good. You’re aiming for a smooth dough with a taut skin on the outside.
The technique of kneading is really simple. There are two main parts to it. The first is to push into the ball of dough with the heel of your hand, then twist the (now flat) piece around by 90˚, and fold one end onto itself. Repeat this again, and again, and again, and it’s the best way to mix things into your dough during the kneading process.
The other technique that you might have to bear in mind during the kneading process is using the friction of a non-floured section of the counter top to add tautness to your dough. This is a fairly simple process once you’ve got the hang of it.
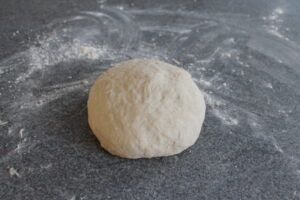
Shape your dough into a rough ball, and place it onto the non-floured section. Then, put your hands on the side of the dough facing away from you, and tuck that edge underneath the dough ball. Rotate the dough by 90˚, and do it again. You should only need to do this four to six times, but in the end, you should have a ball of dough with taught skin.
The reason that you want your ball of dough to have smooth, taut skin on the outside is that you want to give your dough some work to do as it rises. During the rising and proving process, you’re allowing the gluten in the dough to develop and elongate. By ensuring tautness, you’re giving those gluten chains something to work against, thereby improving the structure of your dough.
Now that you’ve kneaded your dough, you can begin on the first rise.
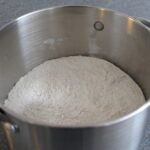
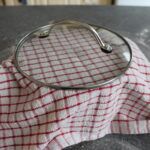
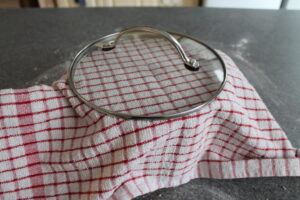 Put your dough into a large container with a lot of headroom to allow it to rise completely. You then need to make a mostly airtight environment. The classic way to do this is to use clingfilm, though you can also use a tea towel and the corresponding lid to your pot. This is why I used a saucepan: we were out of clingfilm.
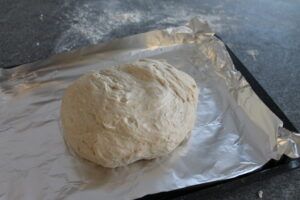
Put this into a warm place, and allow it to rise for an hour. At that point, it should have increased in size by one-and-a-half to two times. If that’s the case, knock back the dough (bang your container on the counter a few times), and then turn it out. Shape it into a ball, and put it into the vessel you’re be using to cook it on later.
 The dough now needs another hour-long rise, so leave it somewhere warm (perhaps on top of your oven while it preheats), and come back in an hour!
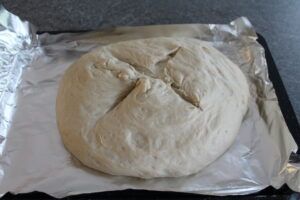
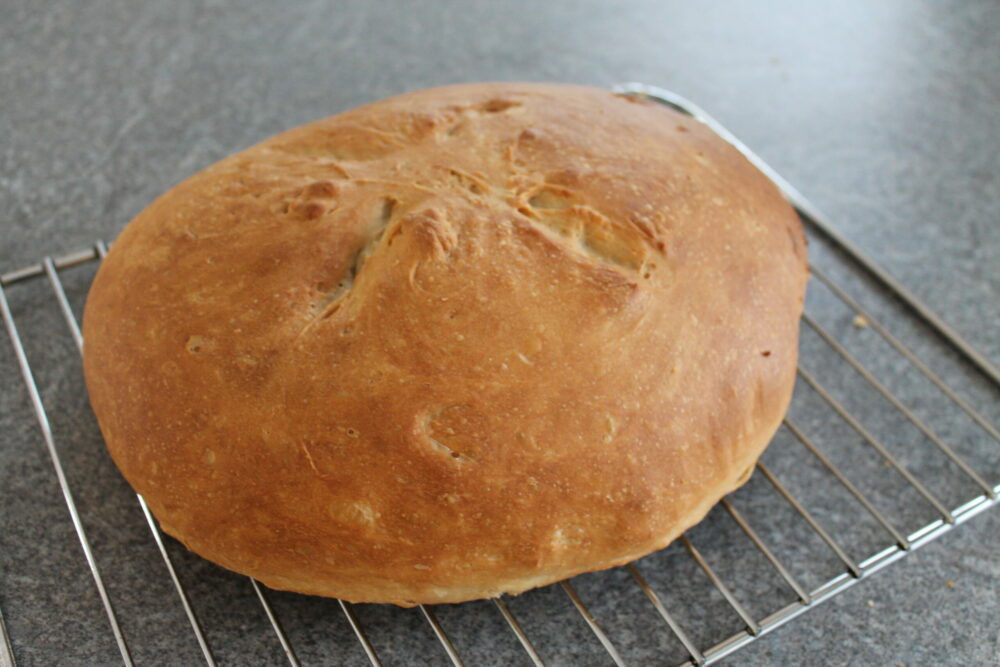
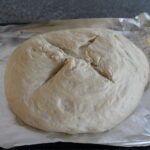
After the second rise, you can cut a cross into the top of your bread, and dust with a little flour. The reason for cutting the cross is to control the direction of rising, ensuring the bread rises up, rather than out. After the cut, simply bake, and you’re done!
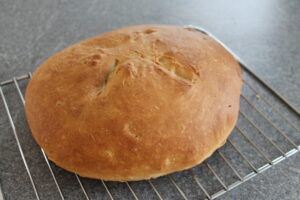
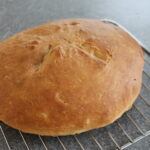
The bake takes twenty-five to thirty minutes, though you can allow it to bake a little longer if you’d like your loaf to be a bit darker. To tell if your bread’s done, tap the bottom – if it sounds hollow, then it’s done!
Bread Recipe With Yeast
Ideal for soup or sandwiches, make this easy loaf this weekend!
- 500 g flour (plain or bread)
- 7 g of yeast
- 2 tsp salt
- 300 ml warm water
- 2 tbsp olive oil
- Add your flour, yeast, and salt to a mixing bowl. Mix thoroughly to combine.
- Add in the warm water and olive oil, and mix to combine before turning out onto a floured surface.
- Knead for roughly ten minutes, or until the dough is smooth and taut.
- Place into a large container and cover, let rise for an hour.
-
Punch down dough, and then turn out and shape into a ball. Place onto the prepared baking sheet, and place in a warm spot to rise.

-
After the second rise, you can cut a cross into the top of your bread, and dust with a little flour. The reason for cutting the cross is to control the direction of rising, ensuring the bread rises up, rather than out.
-
Preheat oven to 220˚C/200˚C fan, and bake for 25-30 minutes.
- Let cool completely before eating.
[content-egg-block template=offers_list]