How to Make Cake Pops Baby Rattles – baby shower cakes for girls
When planning a baby show sometimes the perfect baby shower cakes for girls is actually cake pops! Cake pops are easy to make and delicious! Below is a step-by-step tutorial to help you make the perfect dessert for your next baby shower or baby gathering.
Please note: All the products for this project can be found at www.thecakegirls.com.
INGREDIENTS:
1 – 10 oz. Frozen Pound Cake (such as Sara Lee)
1 – 16oz. Tub Icing
1 lb. Pink Colored Coating Discs
Paramount Crystals
Pink Sanding Sugar
Piping Gel
SUPPLIES:
Large Glass Measuring Cup
2 – 1/2 Sheet Trays Lined With Parchment
Small Ice Cream Scoop
Sucker Sticks
Paintbrush
Ribbon
STEP 1: PREPARE THE CAKE POP FILLING
Cut the pound cake into cubes and place in the bowl of a food processor.
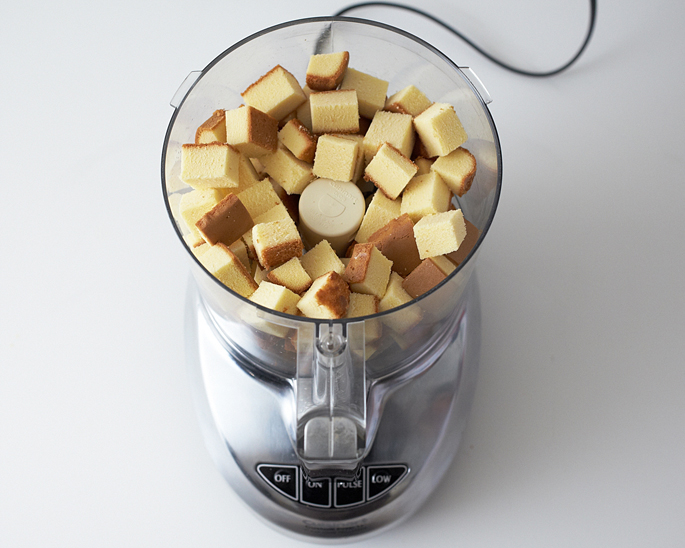
Pulse until the mixture is even, fine crumbs. Place 1/3 tub of icing in the processor and then pulse until the mixture comes together.
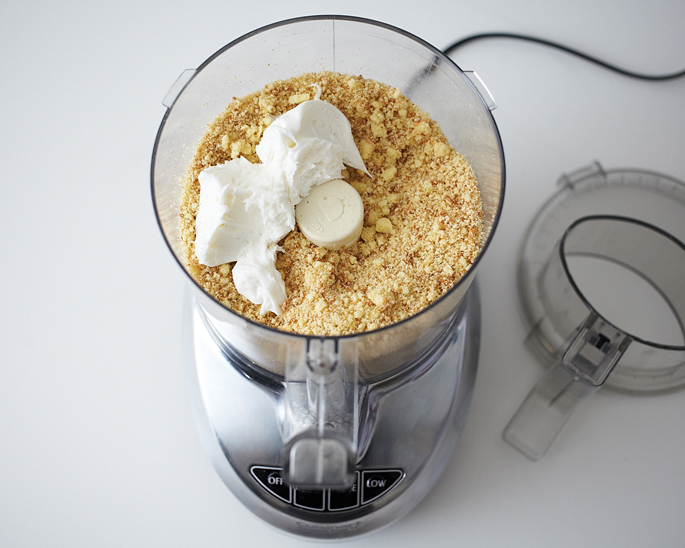
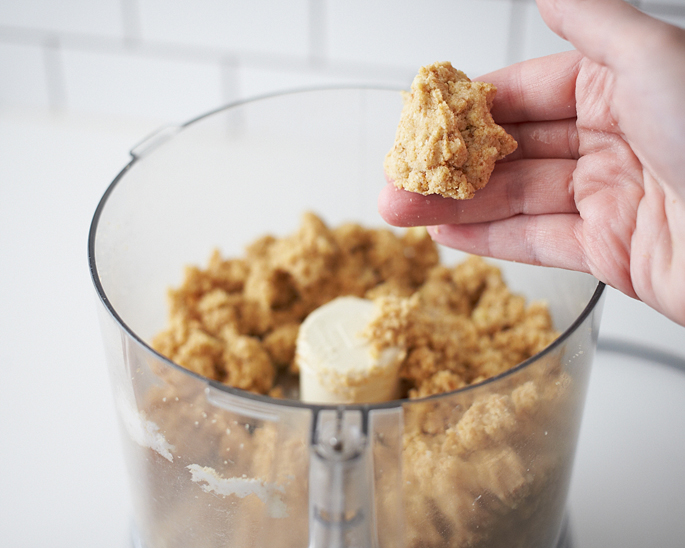
Check to see if the mixture will hold it’s shape by squeezing a small amount between your fingers. If not, add a little more icing. (You do not want the mixture too moist or if will fall off of the stick when dipped). Refrigerate the mixture for 30 minutes before continuing on to the next step.
STEP 2: SCOOP INTO BALLS
Use the small ice cream scoop to scoop the filling into 15 evenly sized balls. (You may have a little bit of filling left over).

Roll each ball between the palms of your hands to make them symmetrical.
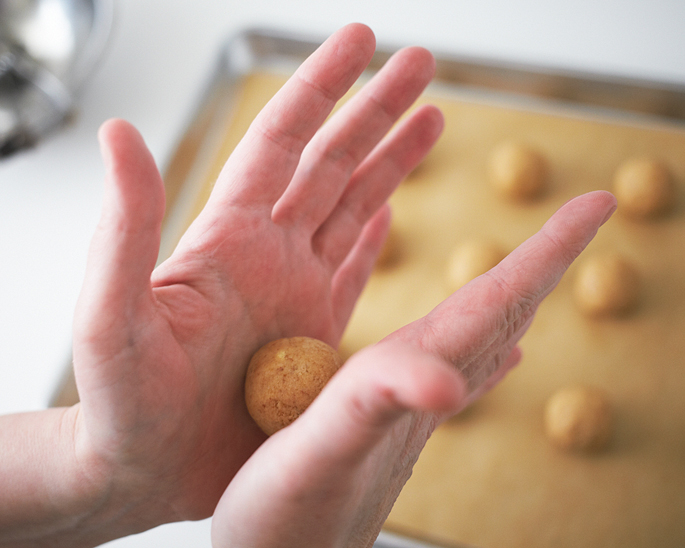
Using a knife, cut 5 of the balls in half and then re-roll these balls until they are symmetrical.
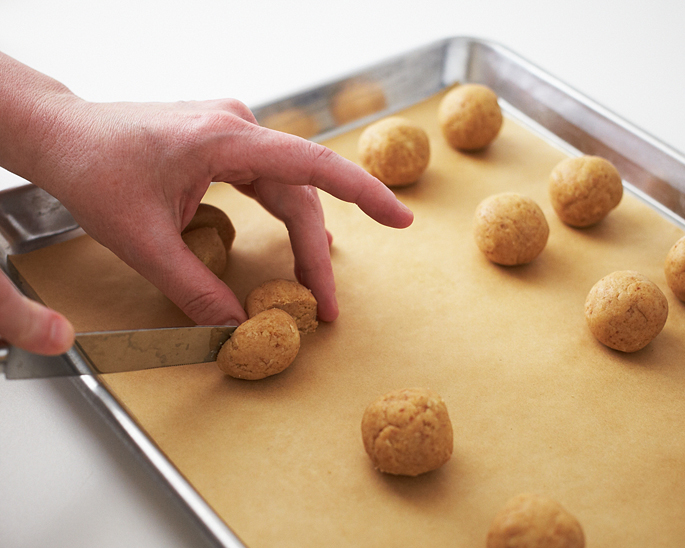
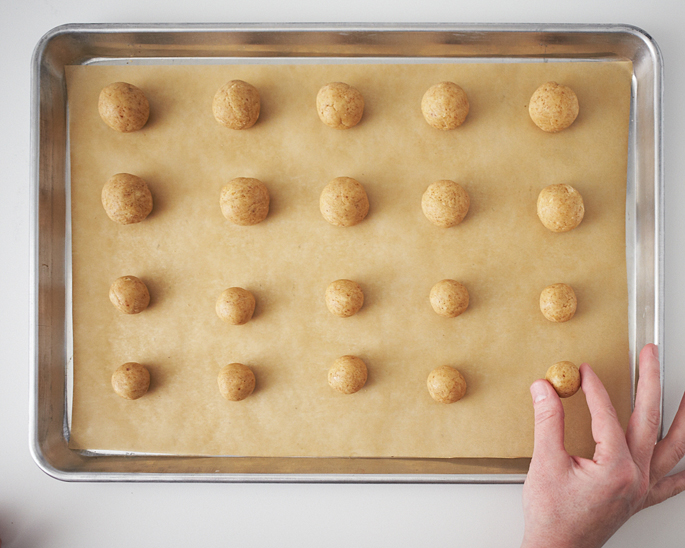
When you are done, you will have 10 large balls and 10 small. Place the tray in the freezer for 15 minutes.
STEP 3: COVER IN COATING
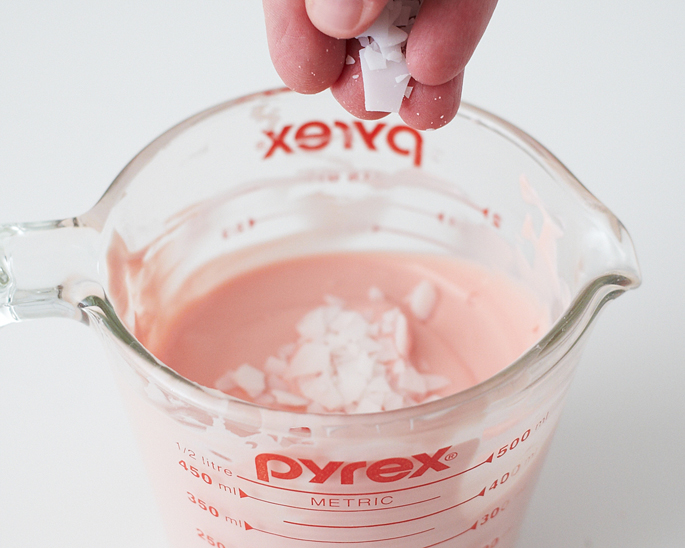
Place the coating discs in the glass measuring cup and microwave in 30 second intervals, stirring in between. Remove when 3/4 melted and continue stirring until completely melted. Add a few pinches of paramount crystals and stir until the coating is very fluid. Add a little more if necessary. (This step is essential for creating nice, neat cake pops).
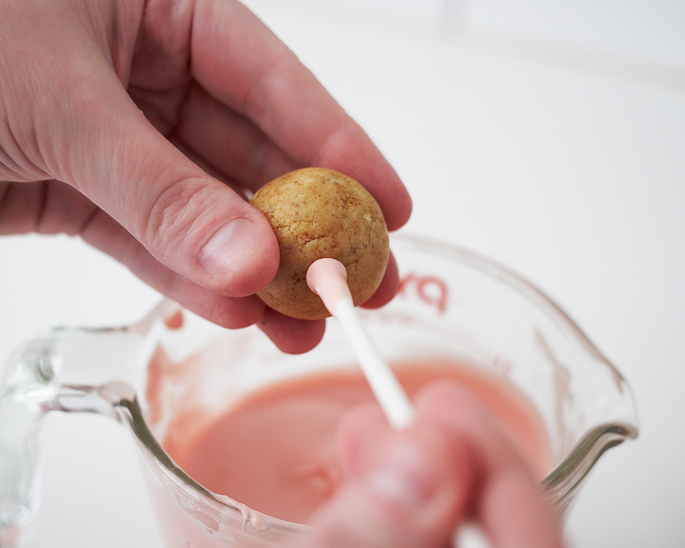
Remove the balls from the freezer and re-roll in the palms of your hands to reshape into perfect balls. Dip the end of a sucker stick in the melted coating and place half way into one of the balls. Wipe away any drips with your fingers.
Next, dunk the entire ball in coating and tap on the edge of the cup to remove any excess coating.
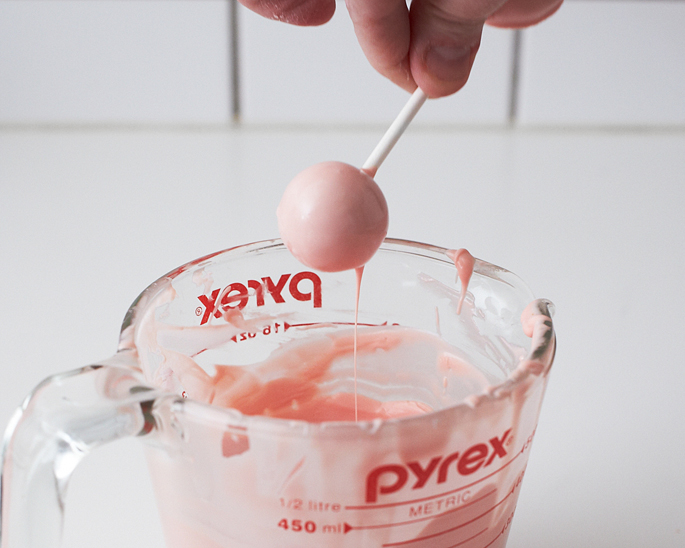
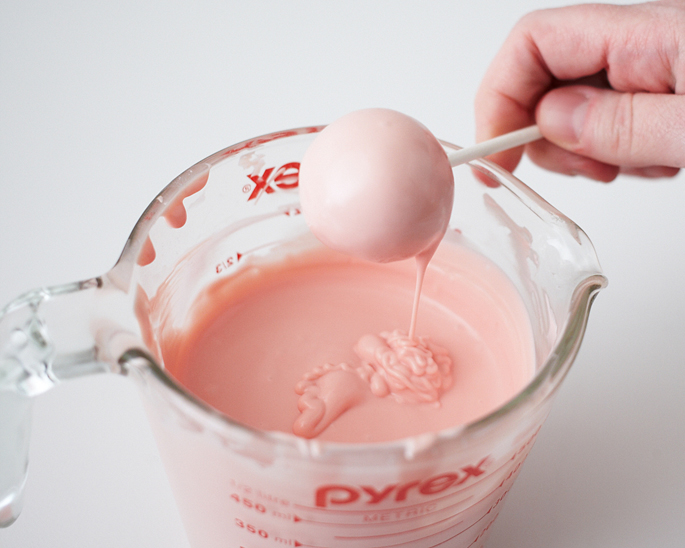
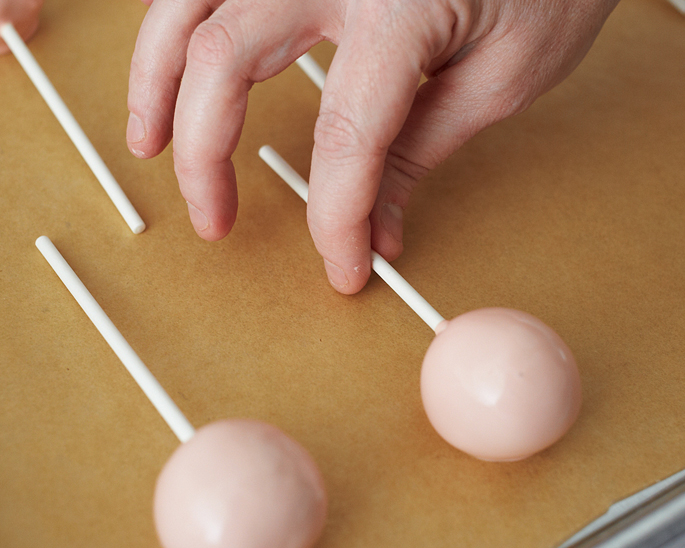
Place on a sheet tray to harden. Repeat with the remaining large balls and sticks. Place the tray in the fridge for 10 minutes to harden the coating. Repeat the entire process with the small balls, using the opposite end of each cake pop stick to create a rattle.
STEP 4: Decorate with Sanding Sugar and Ribbon
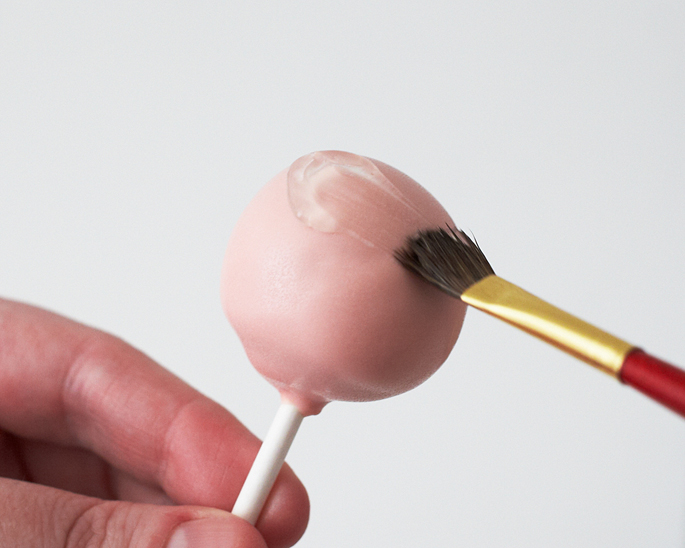
Use a paintbrush to lightly coat the top half of the cake pop in piping gel (this coat should be thin and not gloppy).
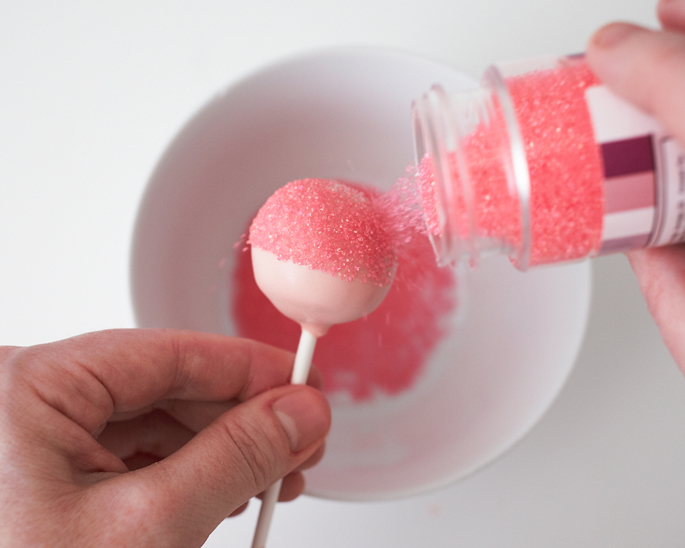
Sprinkle the rattle in sanding sugar.
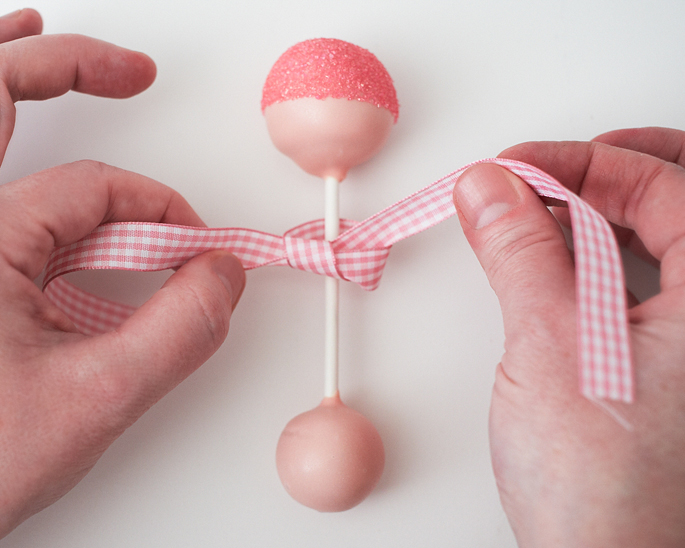
Tie in a bow to finish. This is how to make cake pops!
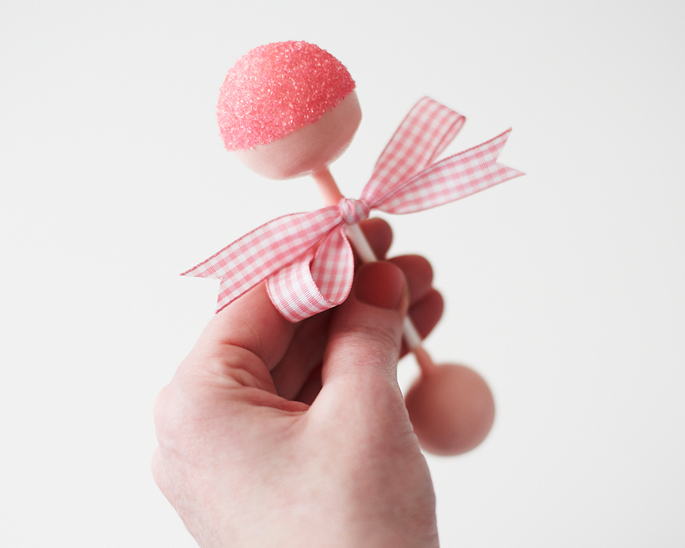
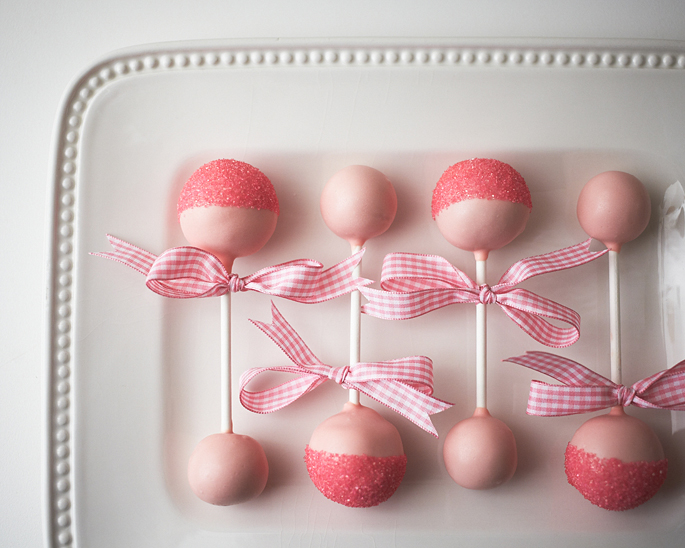
So you see when thinking about the perfect baby shower cakes for girls it is helpful to think outside the box and consider making cake pops. They are fun and easy and your guests are sure to LOVE the results! Thank you and if you have any questions or comments please leave them below!
[content-egg-block template=offers_list]


Very cute!
Liz @ Cakery Creation
http://www.facebook.com/cakery.creation
So pretty! Thank you for sharing the awesome step-by-step tutorial. I’ll be pinning this to my Cake Pop How Tos board for sure!
These are do cute!!! I’m making a pregnant belly cake and now I can add these as extras!
🙂 I wondered where you were, I miss seeing you on TV but am so glad you have found something to do that you like. I love this idea and the step by step directions are super.
Thanks so much
My bestfriend is going to hold her baby shower and I was thinking of a contribution — these look like a great idea! I’m so glad I found your blog, I wish I could have found it sooner. Lol, I’m not too late though as I found it just in time for my best friend’s baby shower 2 weeks from now. I have time to practice and give a taste test out. 🙂